

1
Start off with making some prints. I used the hexagon shaped plate, but any will do. I used leaves as that is always my go to for printing, but again, any prints will do, so use your personal preference!

 Grades 5 to 8

Start off with making some prints. I used the hexagon shaped plate, but any will do. I used leaves as that is always my go to for printing, but again, any prints will do, so use your personal preference!
I layered up several layers of bright colours using the DecoArt paints.
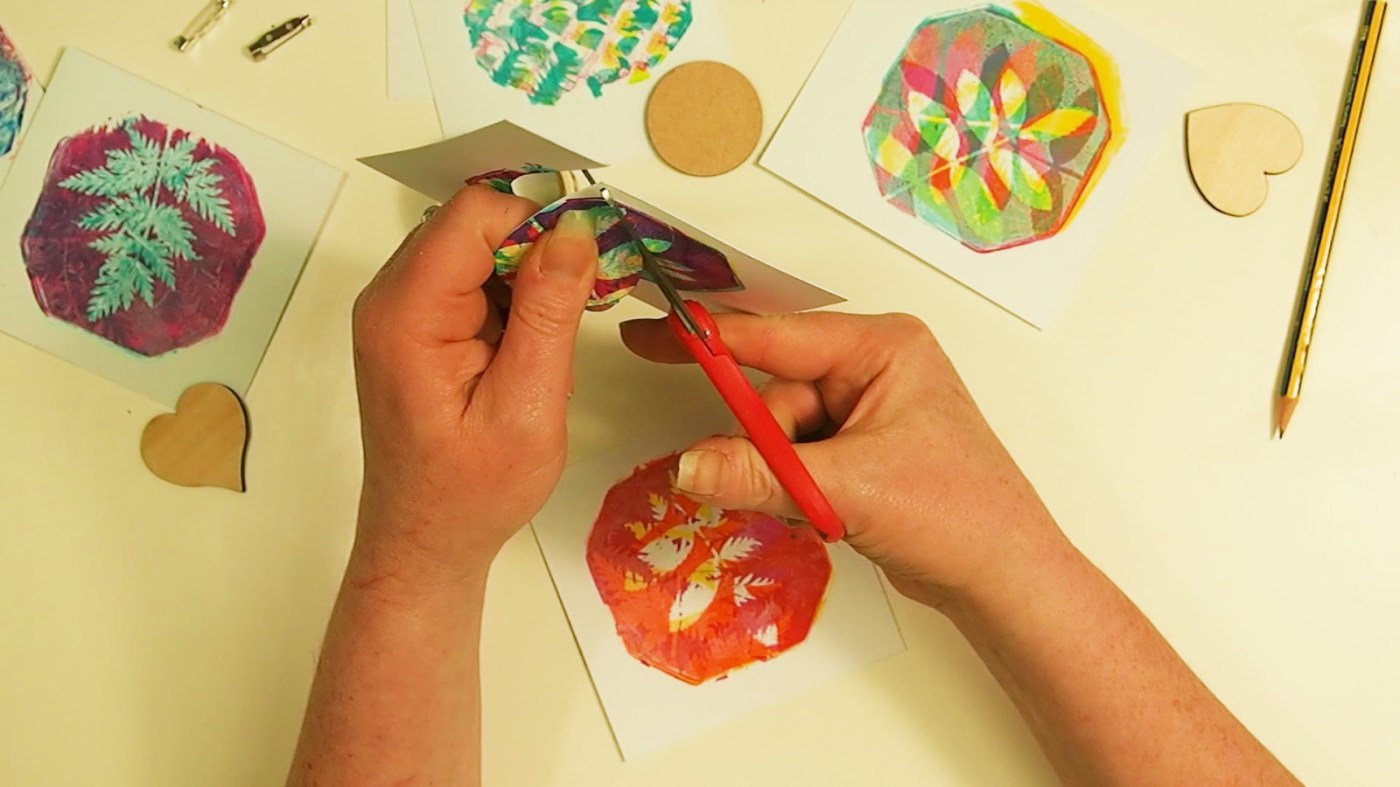
Once your prints are dry, draw around the shapes you are going to use for your badges and cut out the shapes. I used a roll of washi tape just so I could see what the prints would look like when cut out before I committed to cutting them.

Using gel medium or pva glue, attach your prints to the wooden shapes. Let them dry completely, then trim them with scissors. You can also use some sandpaper to neaten up the edges.

I am using Sepia Accents to add a dimensional shiny surface to my badges, but you can also use Diamond Glaze, or just do a layer of varnish if you do not have those products. If you are adding a dimensional medium, apply it carefully and use a pin to get rid of any air bubbles. Let this layer dry completely! It may take a while so be patient!

Finally, once this is dry, attach a brooch pin to the back using some E6000 glue. Let this dry for several hours (12-24) before using.





13 artists teaching on video, lifetime access. $199, enroll anytime.