

Getting started
How to make your first gel print, step by step, with everything to know about looking after your plate. Then a few easy projects to try.
How to make a gel print
Eight steps, from opening your plate to putting it away. Every tip from the booklet in your box is here, right where you need it.
How to make a gel print
Eight steps, from opening your plate to putting it away. Every tip from the booklet in your box is here, right where you need it.
-
1
Open your plate
Lift the plate from its clamshell and peel the clear film off both sides.
- Work on a smooth, flat, non-porous surface such as glass or a baking tray.
- Your plate takes the imprint of any texture it sits on.
-
2
Add paint
Squeeze a small dot of paint onto the plate.
- Use acrylic paints or water-soluble oil paints. Water-soluble printmaking inks and fabric paints work too.
- Some rubber stamp inks and dyes can stain the plate. Stains won’t affect printing.
-
3
Roll it out
Roll the paint into a thin, even layer with your brayer.
- Roll in a few directions until the paint looks smooth and even. A thin layer prints best: if it looks wet and shiny, roll a little more.
-
4
Make your marks
Press textures into the wet paint, or draw into it.
- Try bubble wrap, foam stamps, stencils, leaves and string.
- Draw with soft tips: cotton swabs, paint brushes, rubber-tipped tools. Never pointed or sharp tools.
-
5
Lay down paper
Place a sheet of paper over the plate.
- Lower the paper gently and don’t slide it once it touches the paint. Plain copy paper is perfect for your first prints.
-
6
Rub
Smooth the paper with your hands so it touches the paint everywhere.
- Press with your palm and fingertips, working out from the middle, so the whole sheet picks up the paint.
-
7
Pull your print
Peel the paper back. That’s your monoprint.
- No need to clean between prints: leftover paint makes surprising layers.
-
8
Clean and store
Wipe the plate clean, paper both sides and put it back in its clamshell.
- Acrylics: mild soap and water, an alcohol-based hand sanitizer, or baby wipes. Oil paints: rub with baby oil, wipe with a paper towel, then wash with mild soap and water.
- Got a stain? Rub in a little baby oil, wipe with a paper towel, then wash with mild soap and water. A stain that stays won’t affect your prints.
- Store it with copy paper on both sides, smoothed so no air, paint or grit is trapped, in its clamshell or flat on a tray or glass.
- Never cover it with plastic wrap or waxed paper: they wrinkle and leave an imprint.
- It contains mineral oil, so keep it off wood and other absorbent surfaces. In a warm room it may sweat a little oil: wipe it off, printing isn’t affected.
- Keep the booklet label from your box, but not touching the plate.
Your first projects
 Holiday
Snowflake Prints
with Birgit Koopsen Classroom · Grades 1 to 4
Coffee Filter Flowers
with Marsha Valk Classroom · Grades 1 to 4
Paper Animals
with Tania Ahmed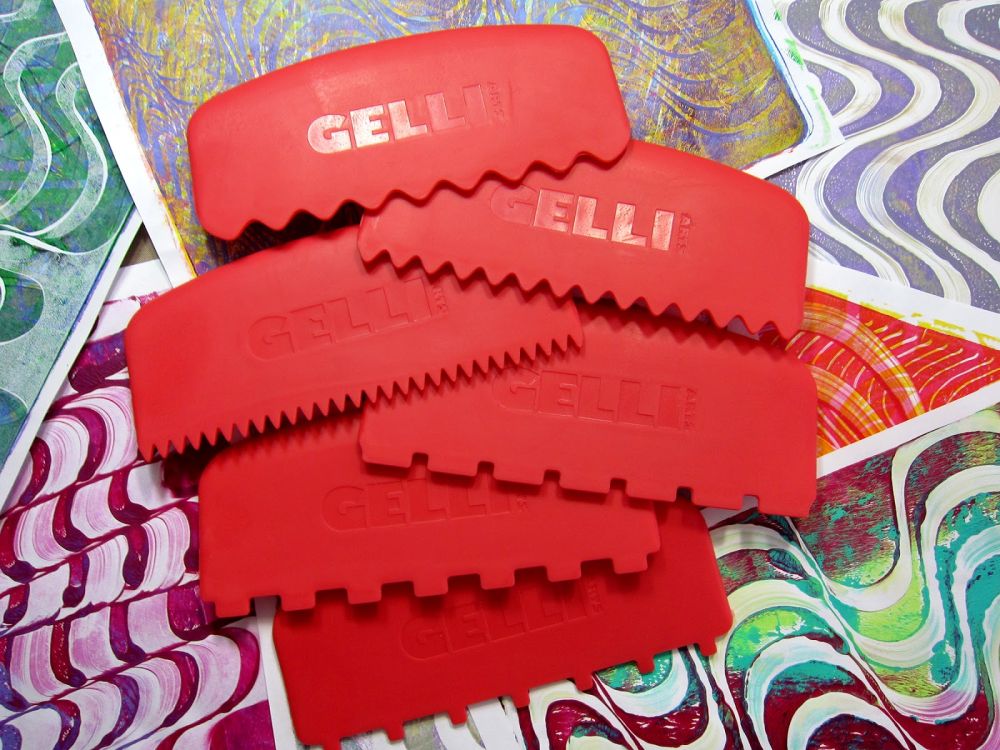 Printing tools
Combed Prints
with Gelli Arts Image transfer
Five Easy Image Transfers
with Giovanna Zara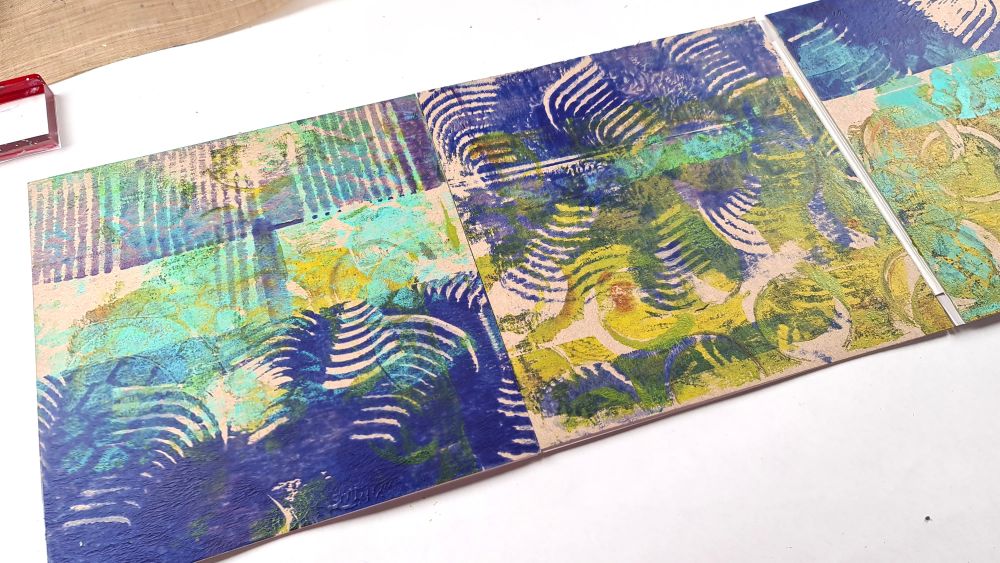 Beginner friendly