
1
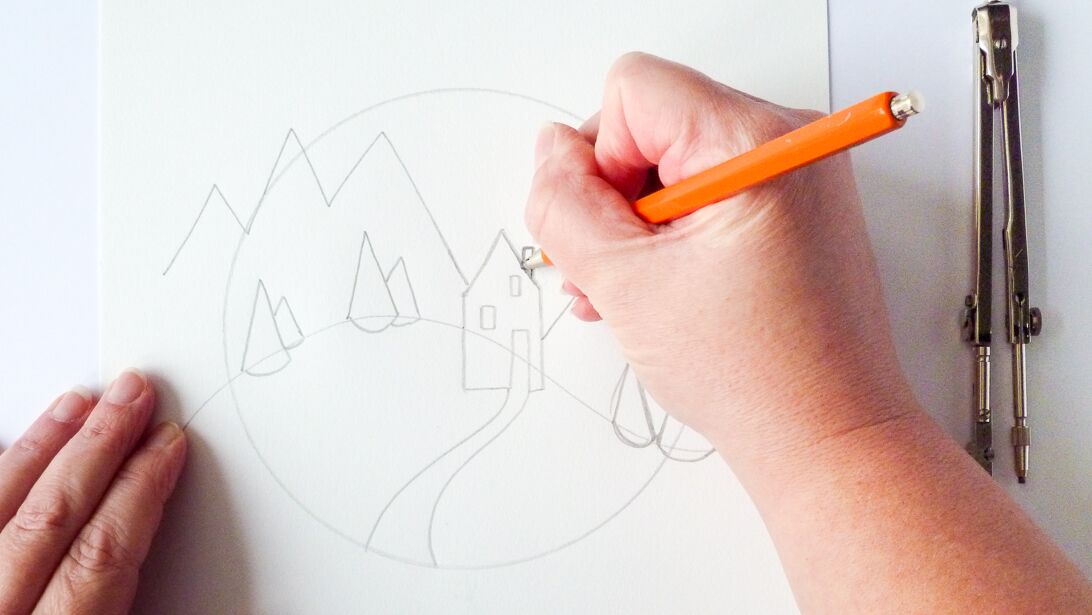
Draw a circle on a sheet of drawing paper and then sketch a winter scene into the circle. Keep the sketch as simple as possible: just a few basic shapes.

 Grades 1 to 4
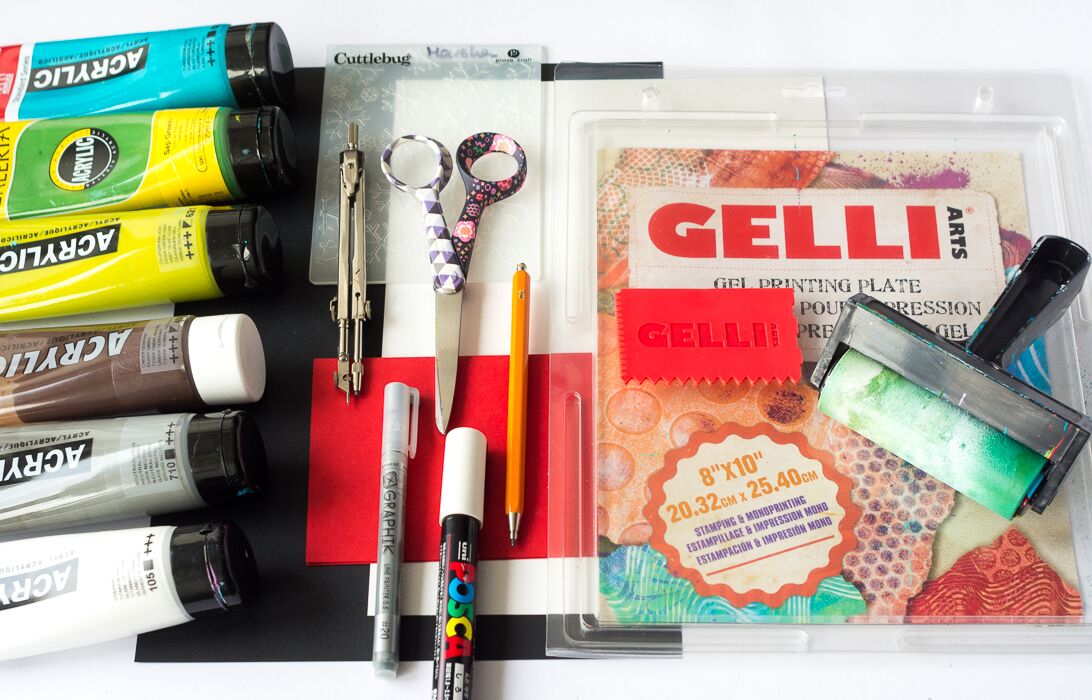
Draw a circle on a sheet of drawing paper and then sketch a winter scene into the circle. Keep the sketch as simple as possible: just a few basic shapes.

Cut the sketch into masks. Cut out the trees, the house, the mountains and the sky.
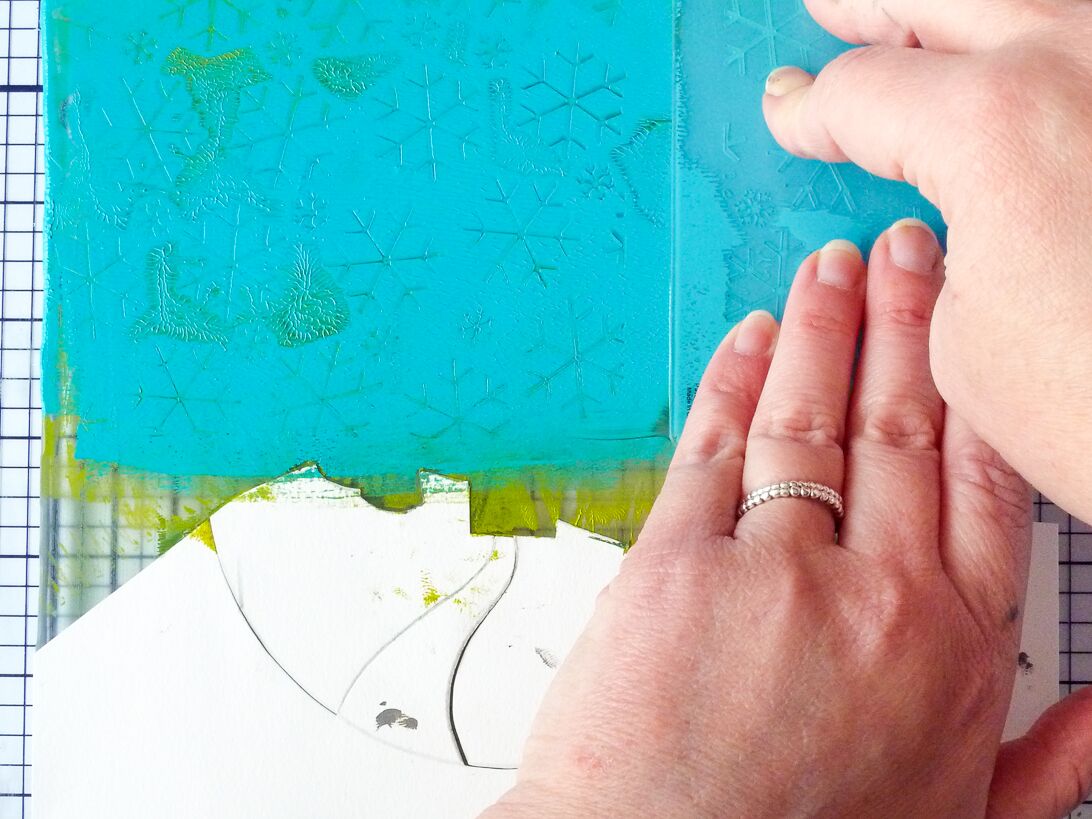
Take a sheet of black paper and start Gelli Arts® printing! Use the masks like a puzzle: decide which part you want to print, add the paint color you want to print with onto the plate, make marks if you want, put the mask on the plate leaving out the part you want to print and then pull the print!

Start with the trees and the house, and then move on to the mountains and the sky. Print the snowy ground last, because you may want to clean the plate before you print that part.
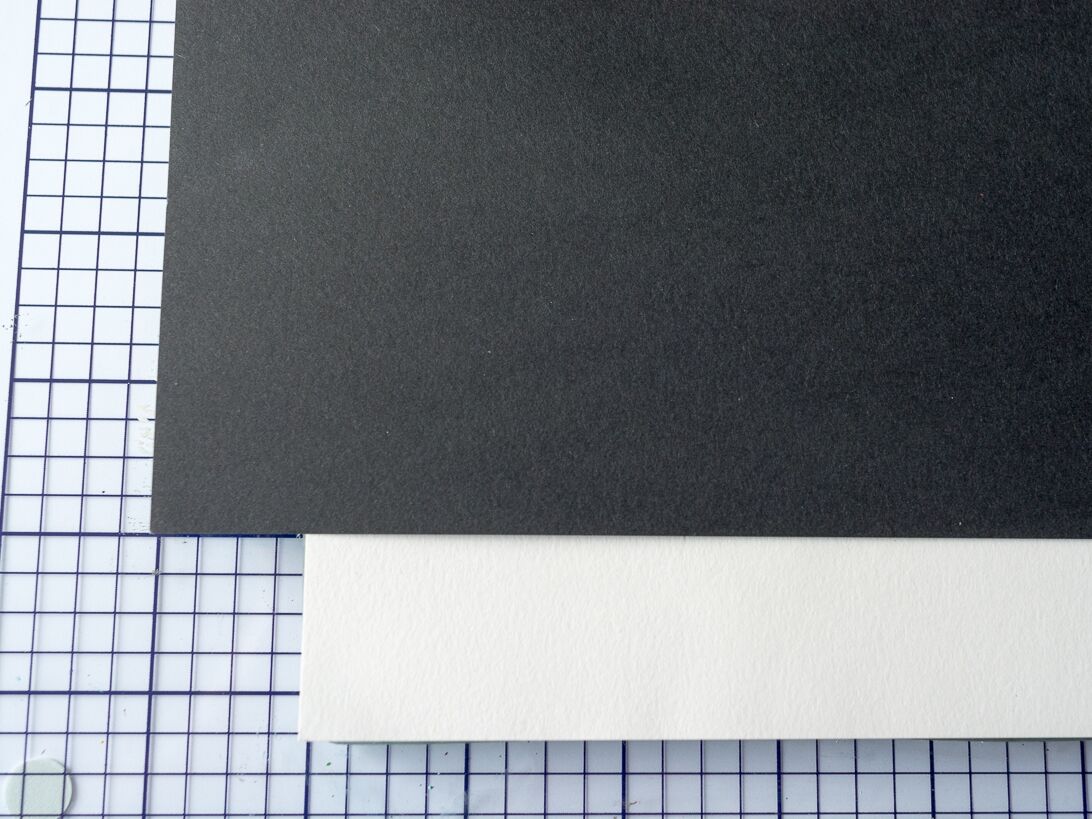
Be sure to line up the mask and the paper you’re printing on with either the Gelli Arts® plate or the grid on your cutting mat, so you know where to place the paper each time you print another section. If your work surface doesn’t have a grid, then mark it off with some washi tape that you can remove easily when done.

Cut the print into a circle and fill in the details with paint markers and pencil.
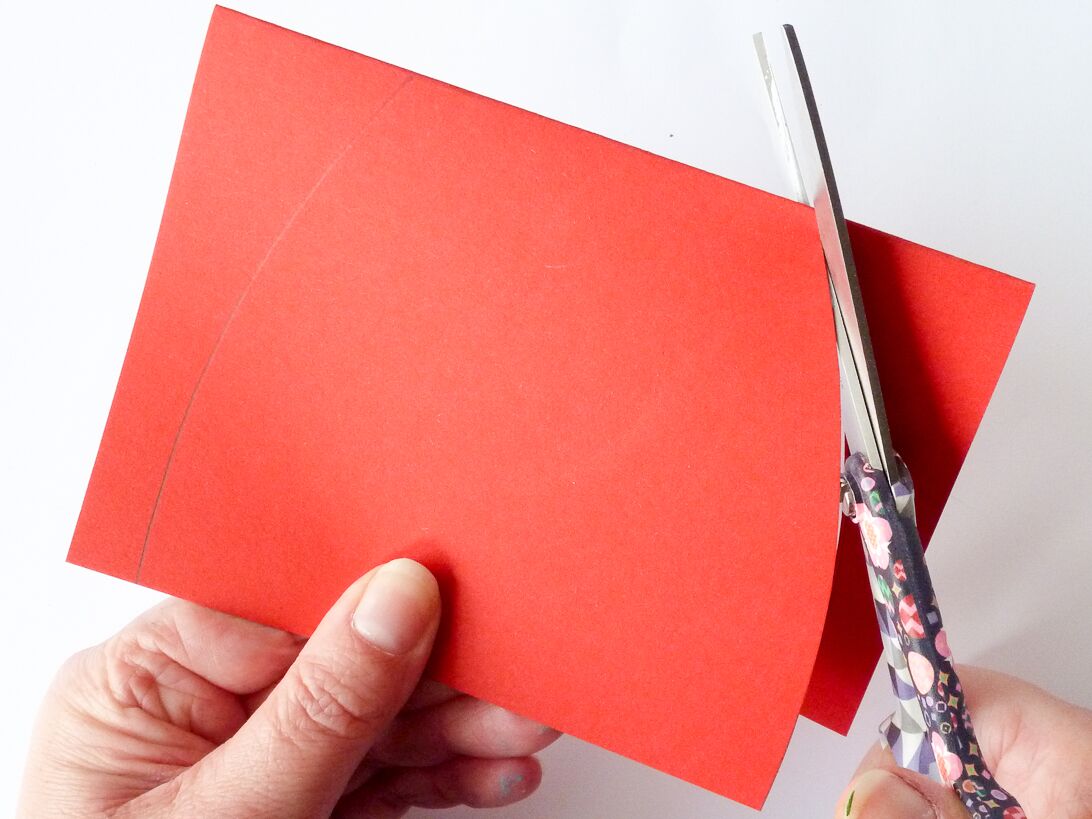
Assemble a snow globe. Take a 4” x 6” double notecard and cut a rounded edge on each side. I cut the first edge freehand and then I used the cut-off piece as a template.

Add glue to one of the new flaps and fold the card into a little stand for the snow globe. Back the print with card stock if needed and adhere it to the stand.

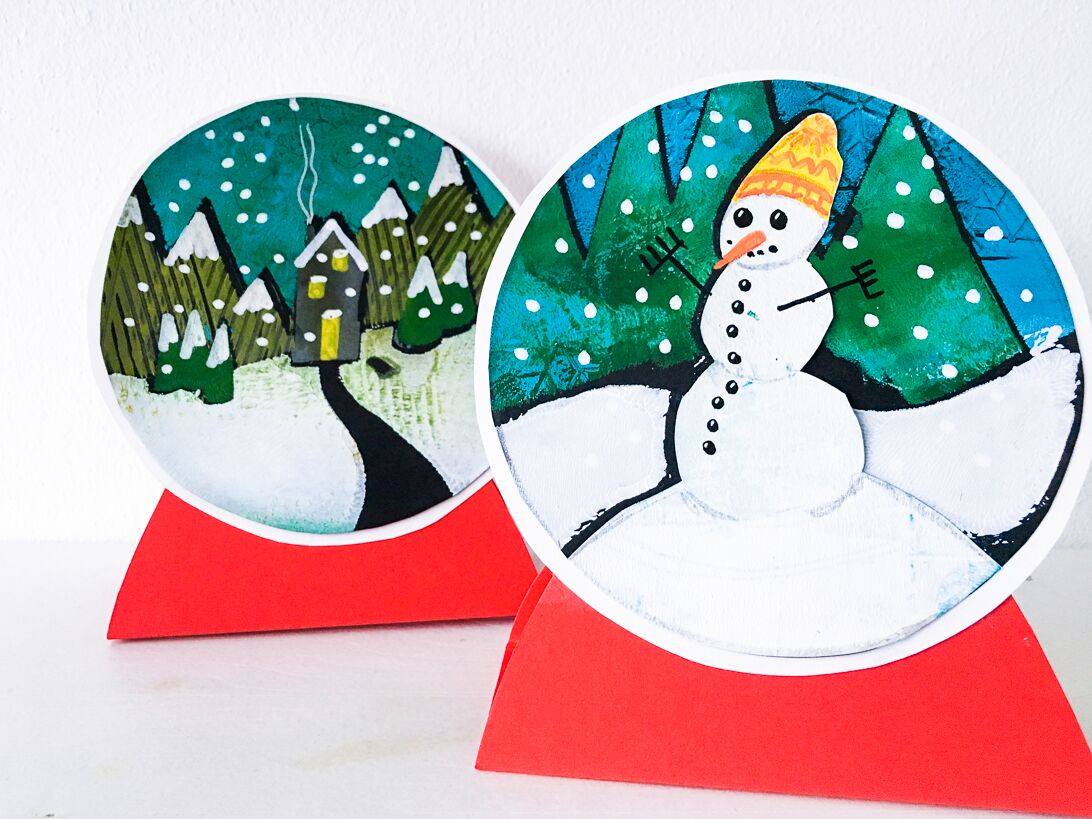
Lesson plan by Marsha Valk for Gelli Arts®. Photos from Marsha Valk’s snow globe post on the Gelli Arts® blog.





13 artists teaching on video, lifetime access. $199, enroll anytime.