The Original Gel Plate · Est. 2011 · Made in the USANew: Holiday Card & Ornament Kit · $43.99Your Printmaking Journey · Fall Edition on now · enroll anytime
Texture Blocks
Grades 5 to 8
Classroom lesson plan

Texture Blocks

with Birgit Koopsen
TechniqueGel printing
You’ll makeTexture Blocks
LevelGrades 5–8
Objectives

Students will be able to

  • create a block of textures.
  • develop their planning skills.
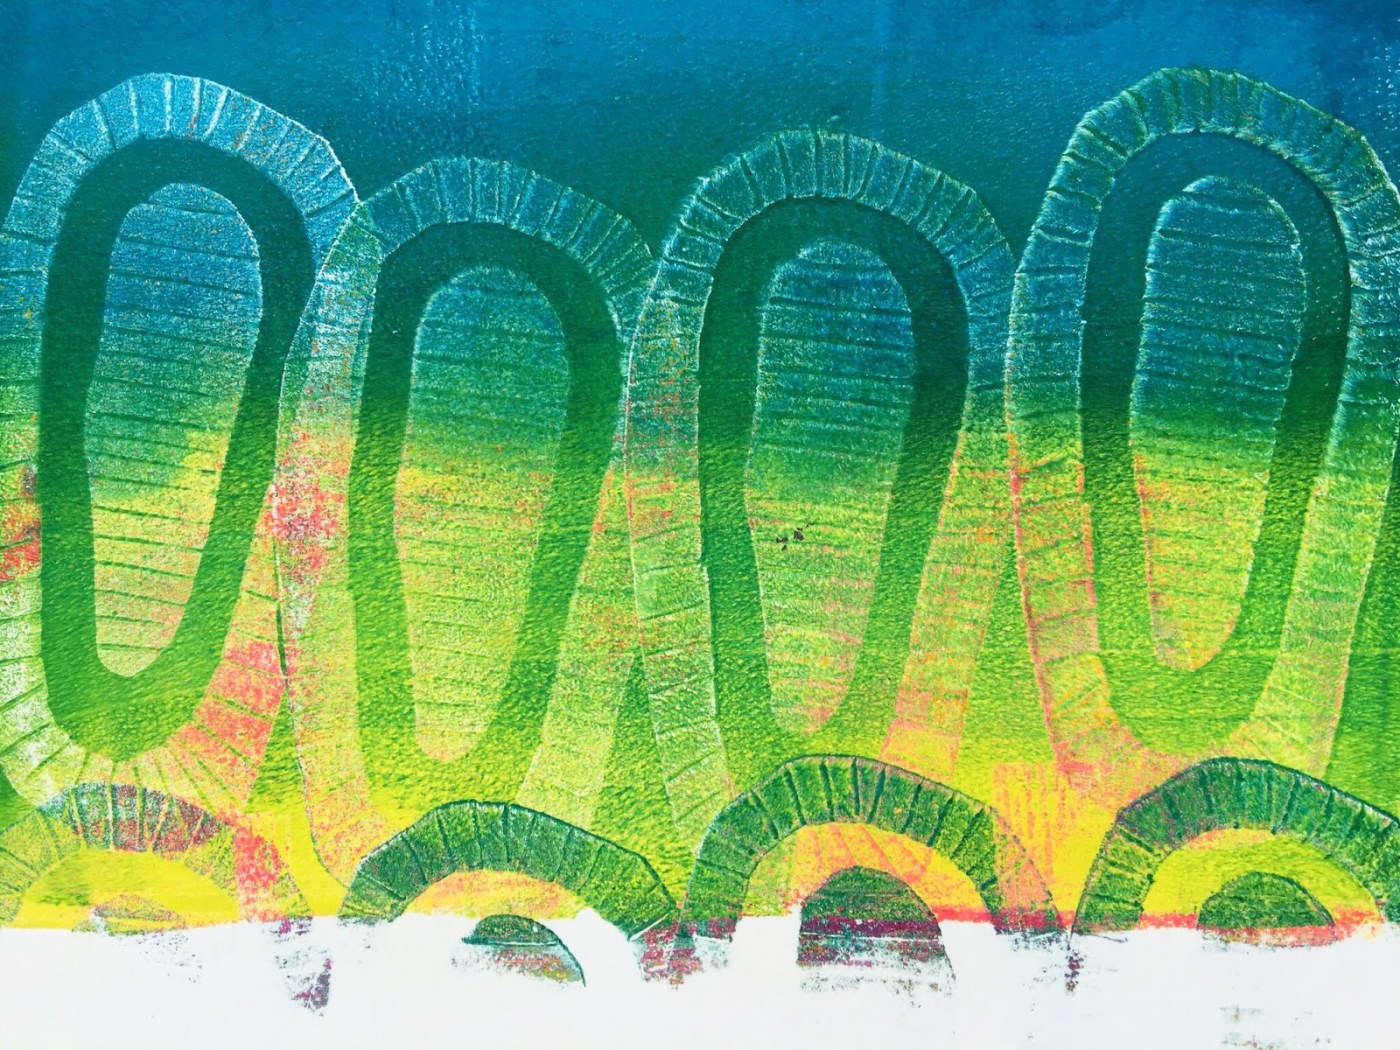
  • use the block that they have created to create Gelli Arts® prints.
  • define the word texture and how it is important in their artwork.
Essential questions

Ask the room

  • What is texture?
  • Where do you see texture in your everyday life?
  • List five different types of texture.
  • Is it important to use texture in art?
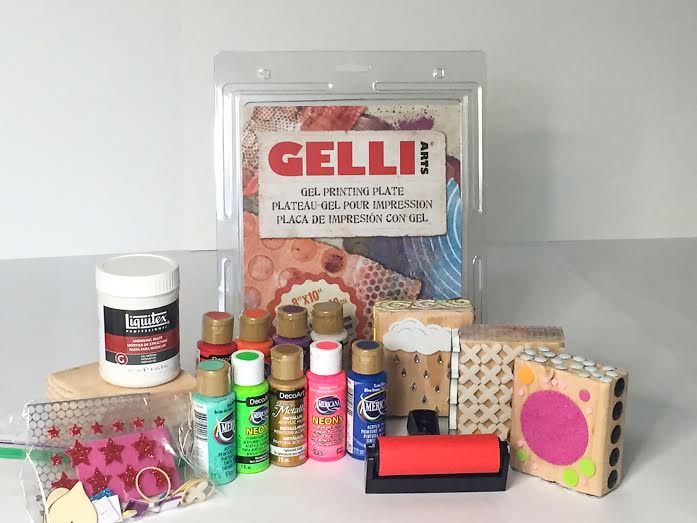
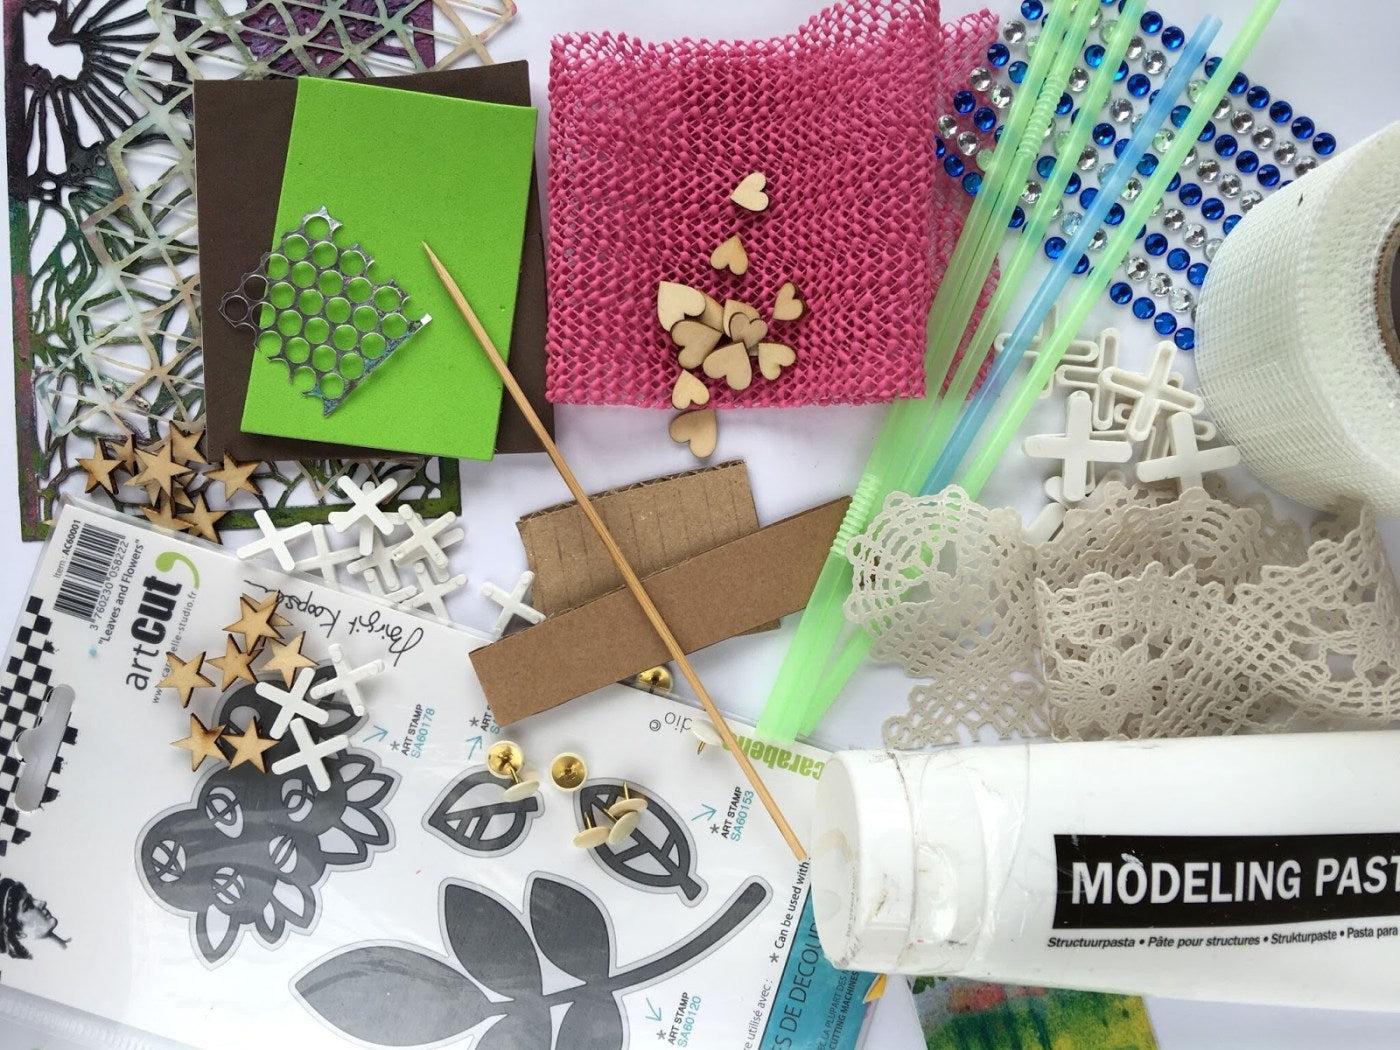
Materials for Texture Blocks
Materials9 items
Step by step

Procedure

1

First, make sure that your wood block has been sanded and is smooth so that there are no splinters while using.

Step 2: Decide if you want to a theme for your block and plan it out
2

Decide if you want to a theme for your block and plan it out. Then, gather your textures.
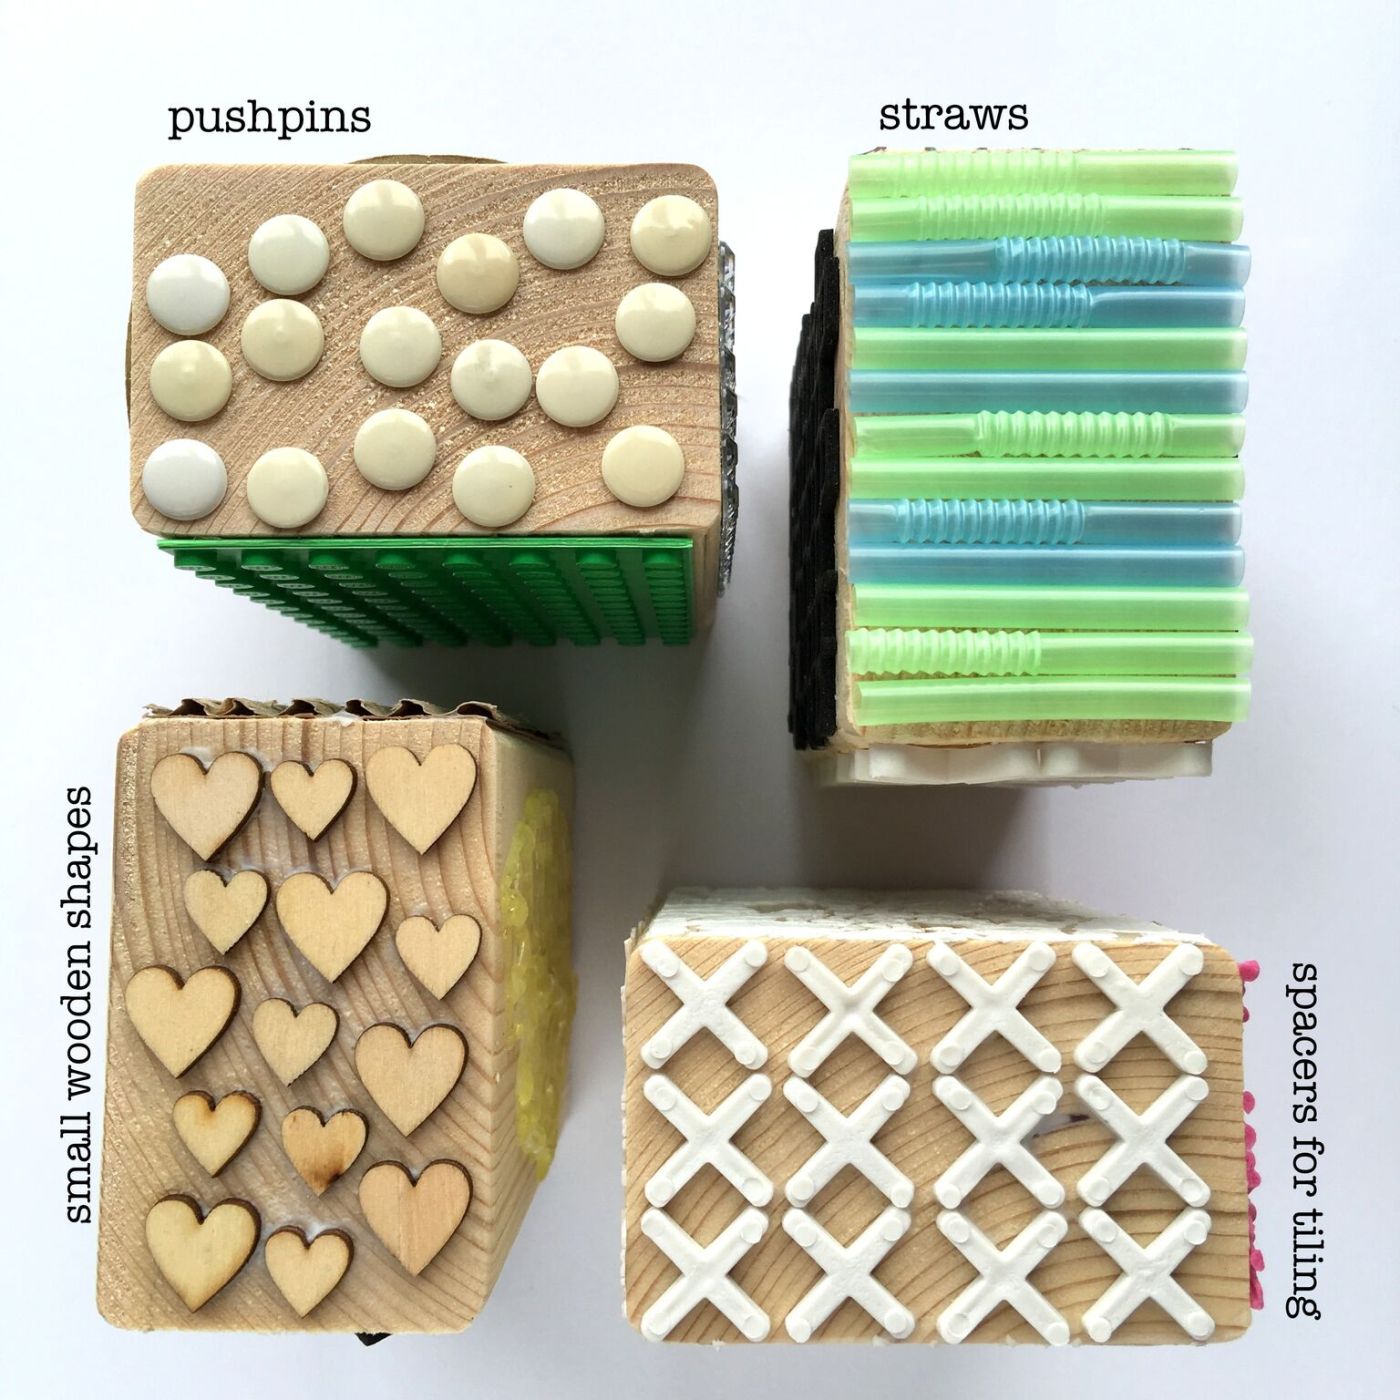
Step 3: Adhere your textures to the block by using glue or double-si
3

Adhere your textures to the block by using glue or double-sided tape.
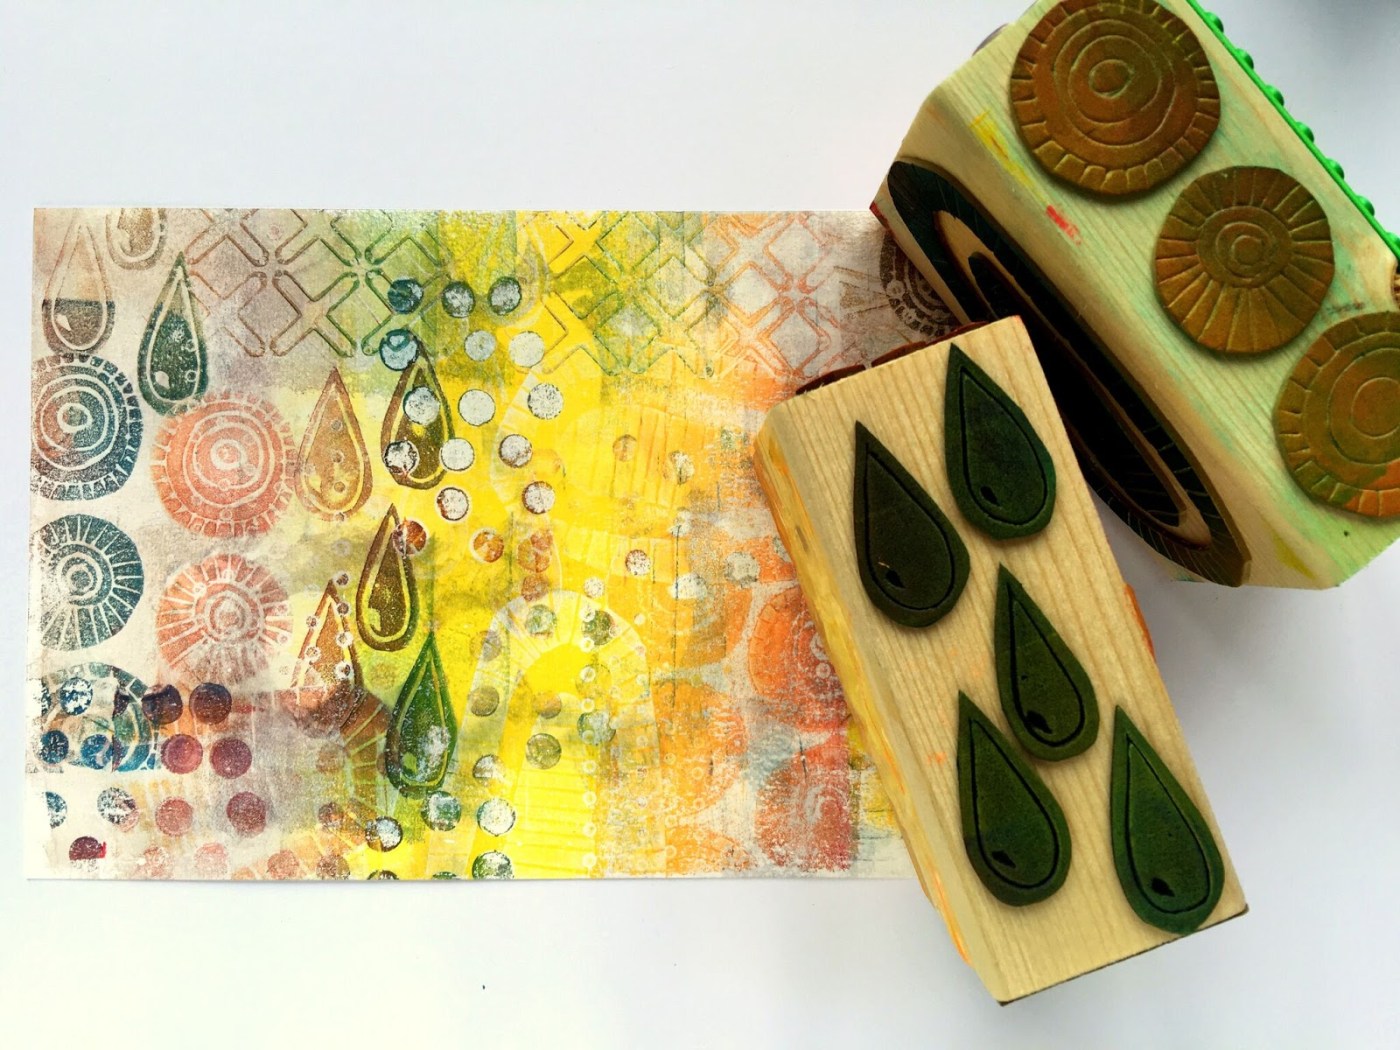
Step 4: Use your texture block as a mark making tool to create Gelli
4

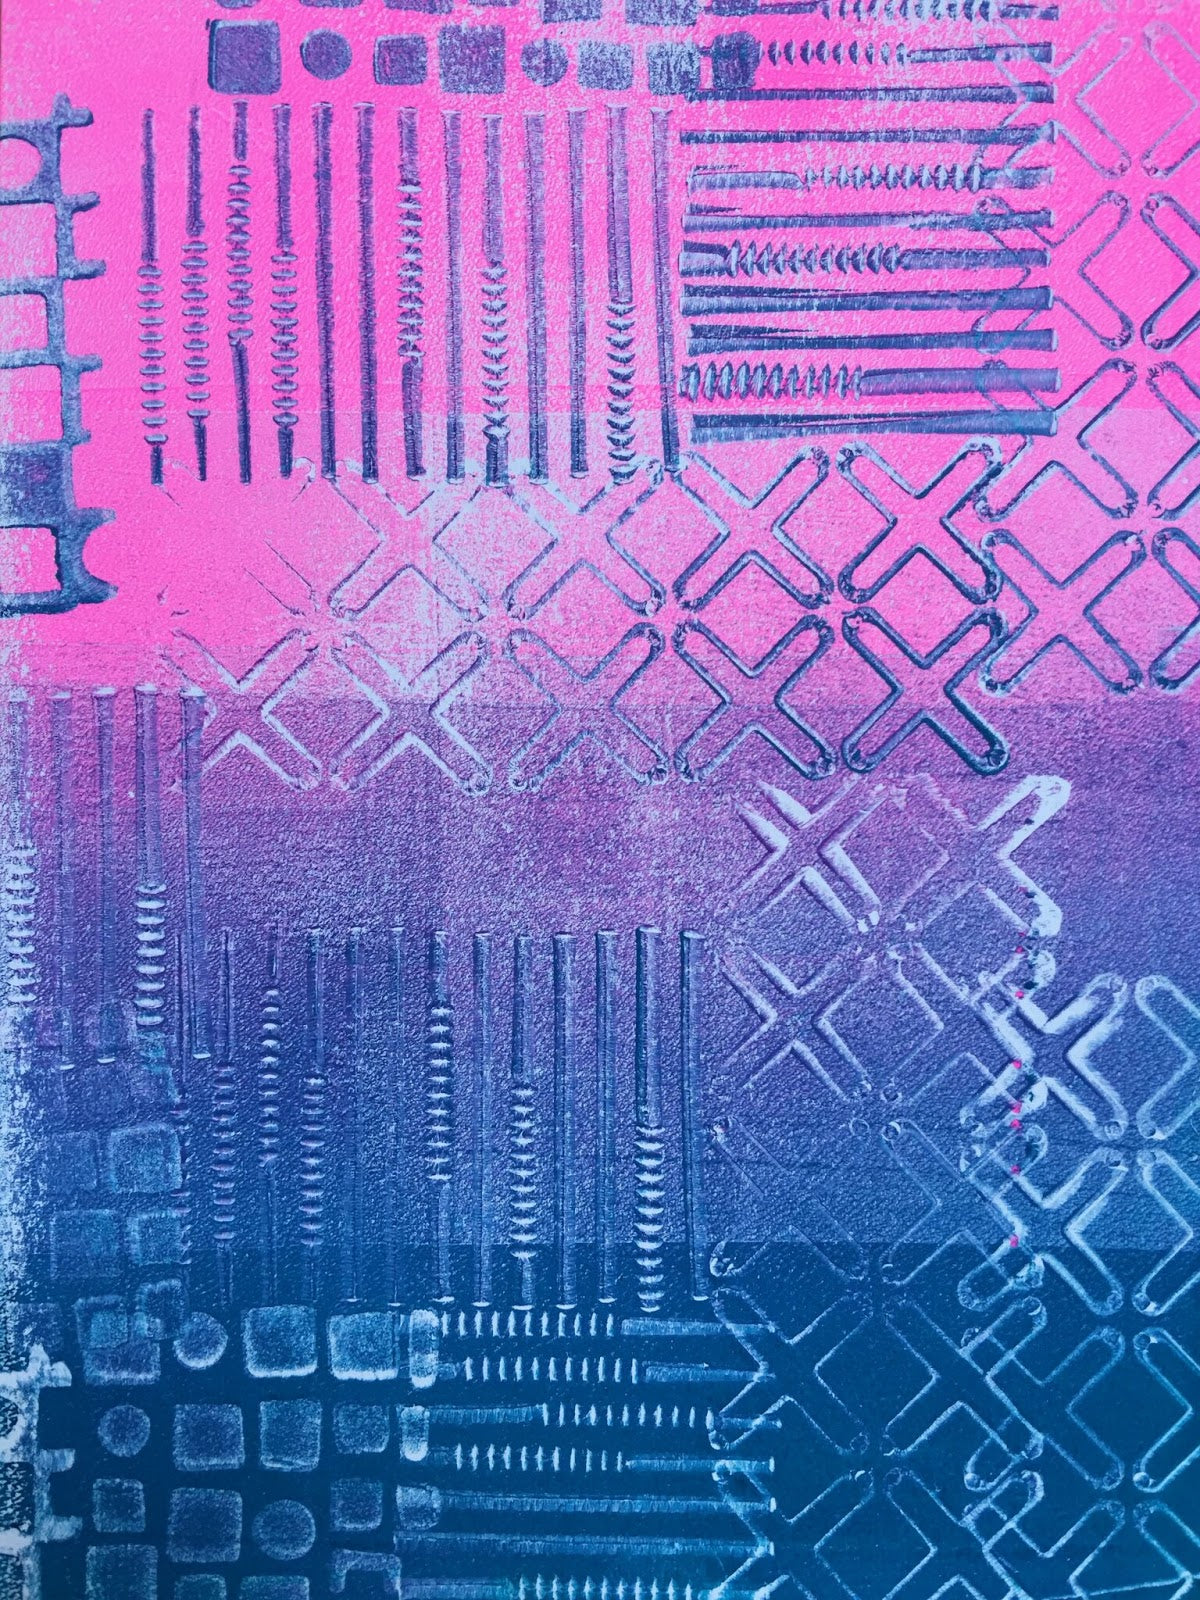
Use your texture block as a mark making tool to create Gelli Arts® prints.
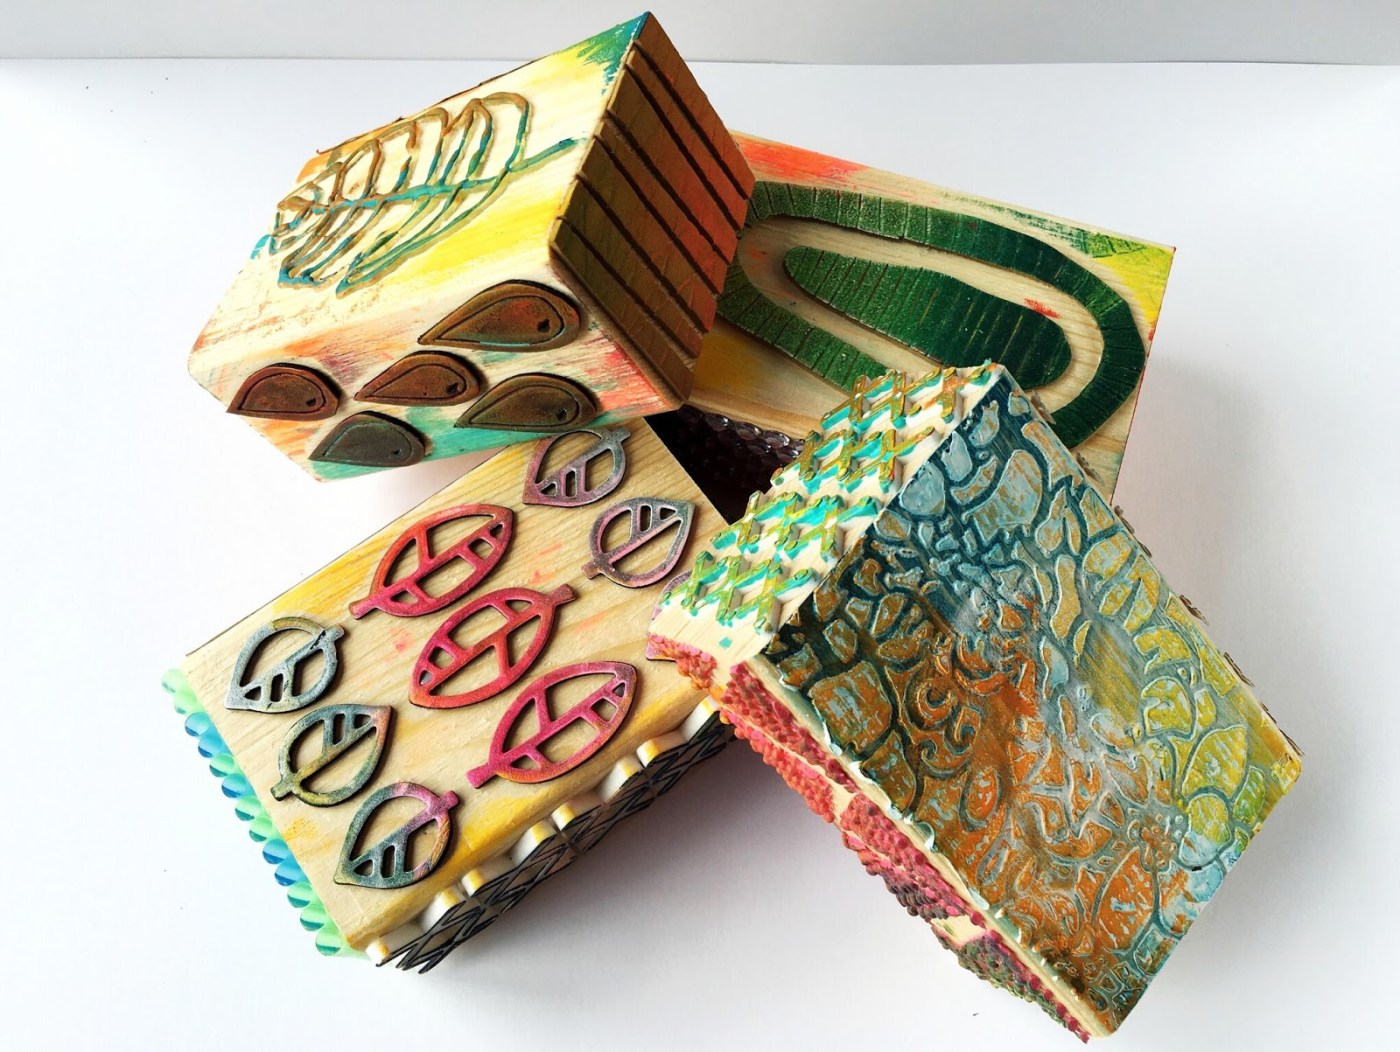
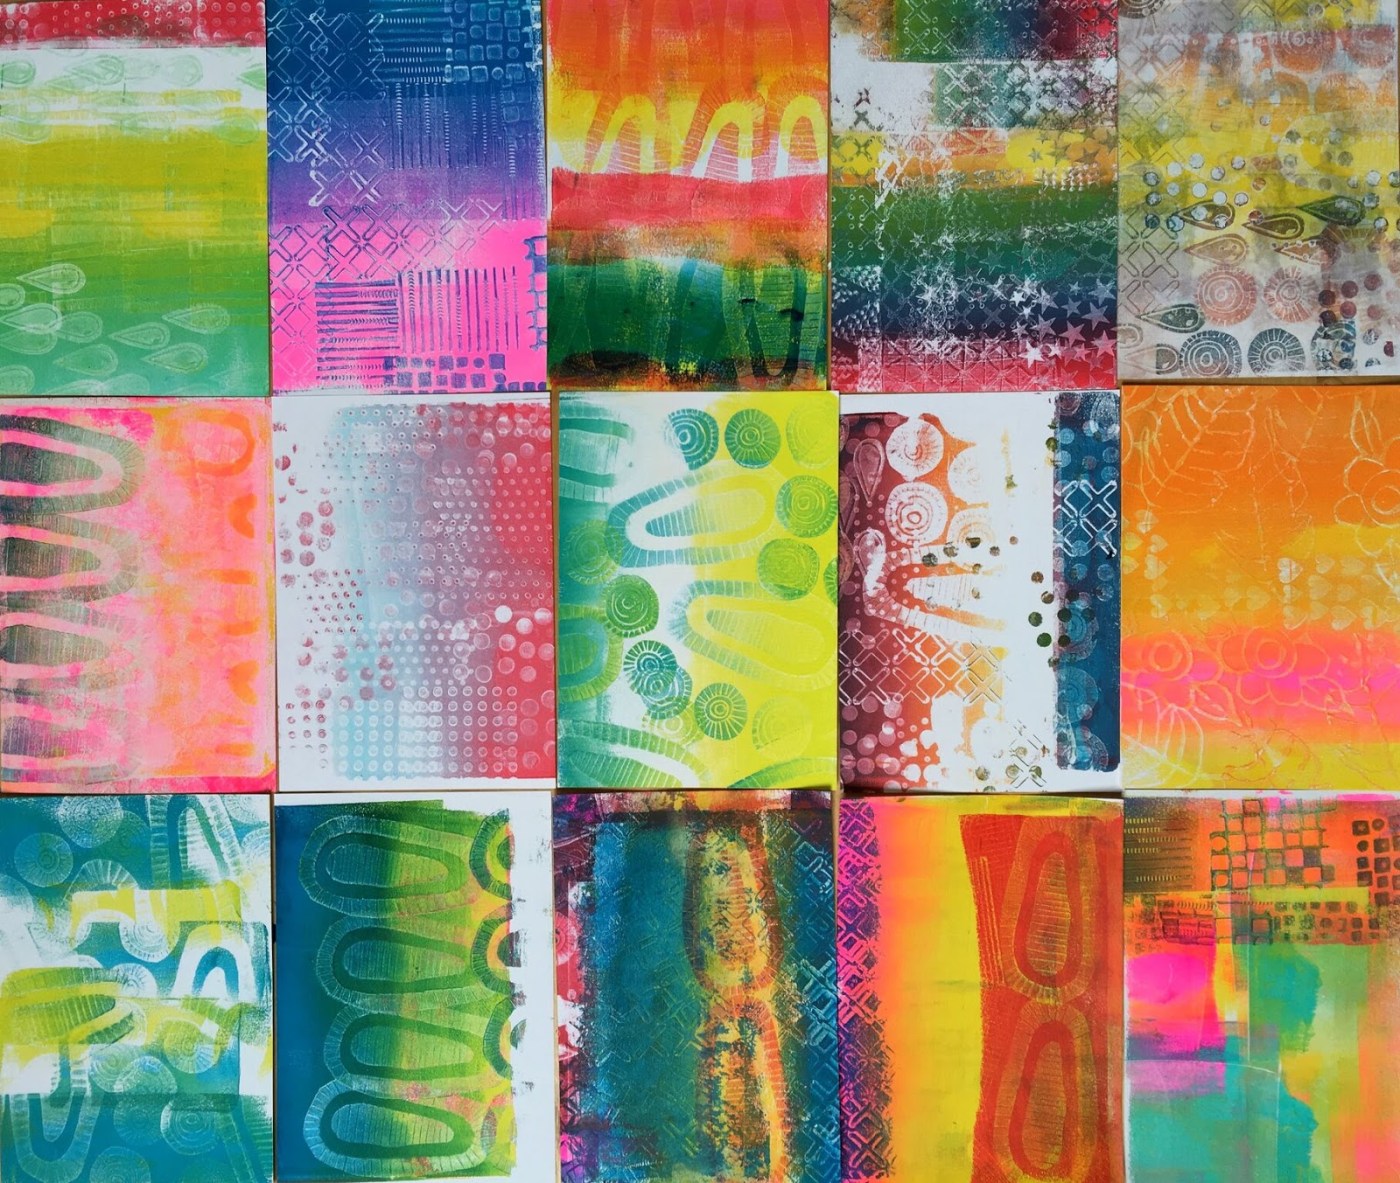
From Birgit Koopsen’s prints

Lesson plan by Birgit Koopsen for Gelli Arts®. Photos from Birgit Koopsen’s texture blocks post on the Gelli Arts® blog.

The course

Your Printmaking Journey · Fall Edition

Tania AhmedKim BloombergPhoebe GanderKim HerringeSusan CliftonJessica Russo ScherrGiovanna ZaraMary Beth ShawMaren OatesRobyn McClendonBirgit KoopsenJulia WoningStewart Taylor
13classes, six weeks

October 18 to November 28, 2026

13 artists teaching on video, lifetime access. $199, enroll anytime.

See the course