


Combed Prints
 Watch
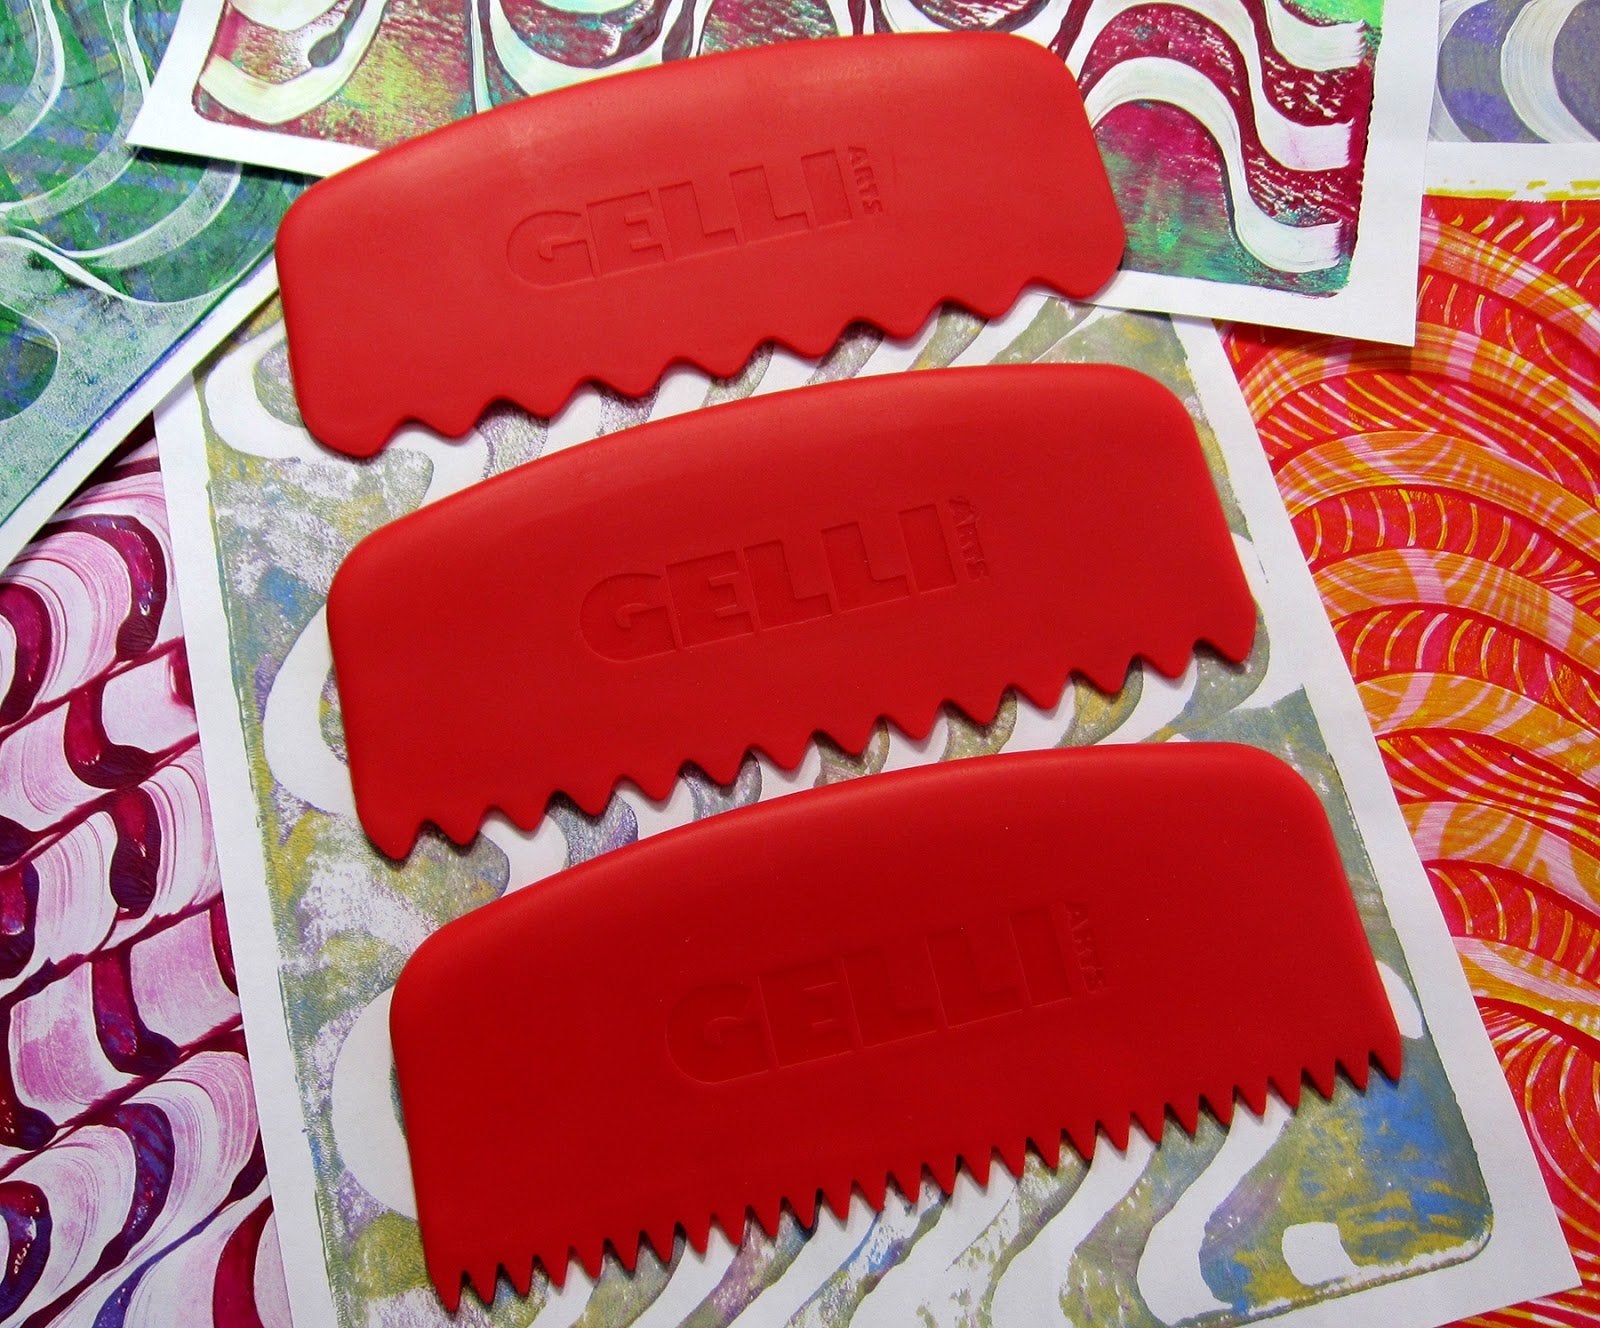
Sometimes bigger IS better! That’s exactly what we discovered while developing our dream for the fabulous NEW Gelli® combs! Watch this video and see our Great Big Gelli® Combs in action! It’s a THRILL to introduce Gelli Art’s® first mark-making tools! Our goal has been to develop fun tools that enhance the Gelli Arts® printing experience — and we came up with these two sets of BIG combs. I love, love, LOVE them!!! All of us at Gelli Arts® do! And we know you’ll love using them as much as we do!
Combed prints
Swiping a comb through paint is intuitive and easy — and watching amazing patterns emerge is mesmerizing! There’s so much variation in the patterns you can create with these large combs. Pulling combed prints is as addictive as it gets — start combing patterns in the paint and you’re in the flow! Such FUN! Just look at some of the possibilities!
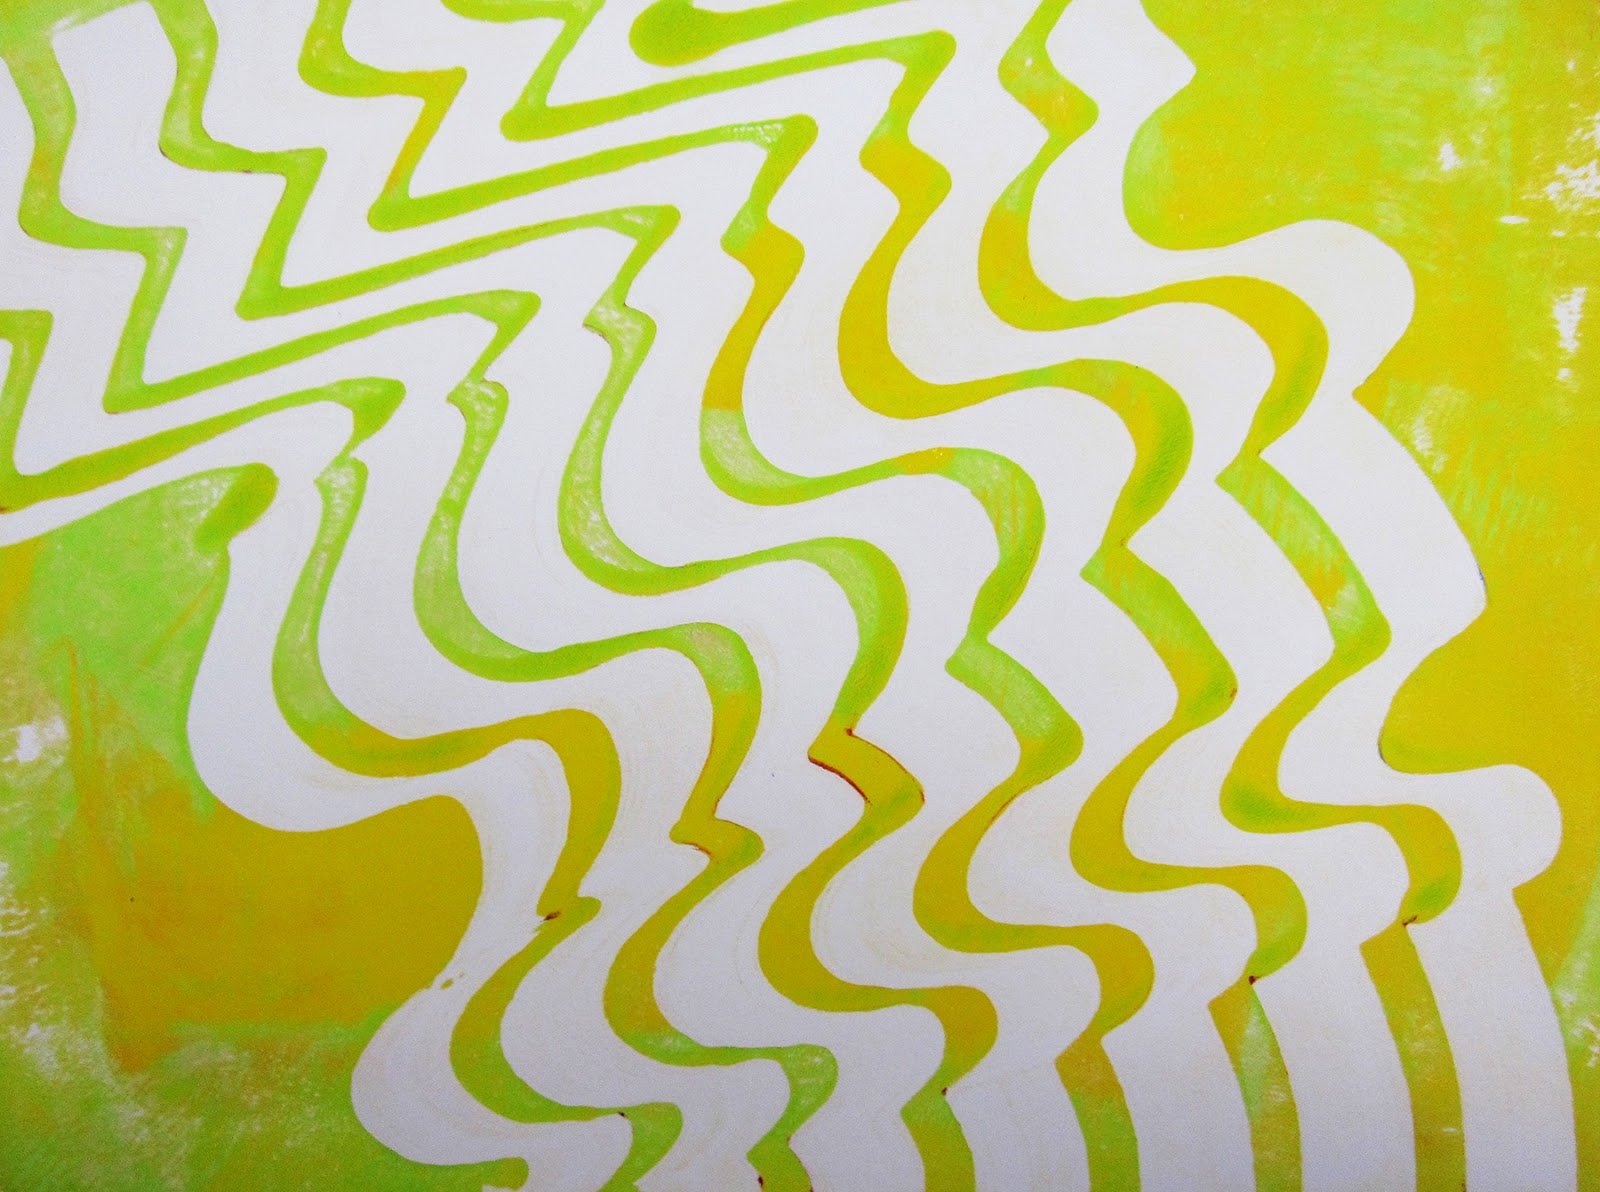
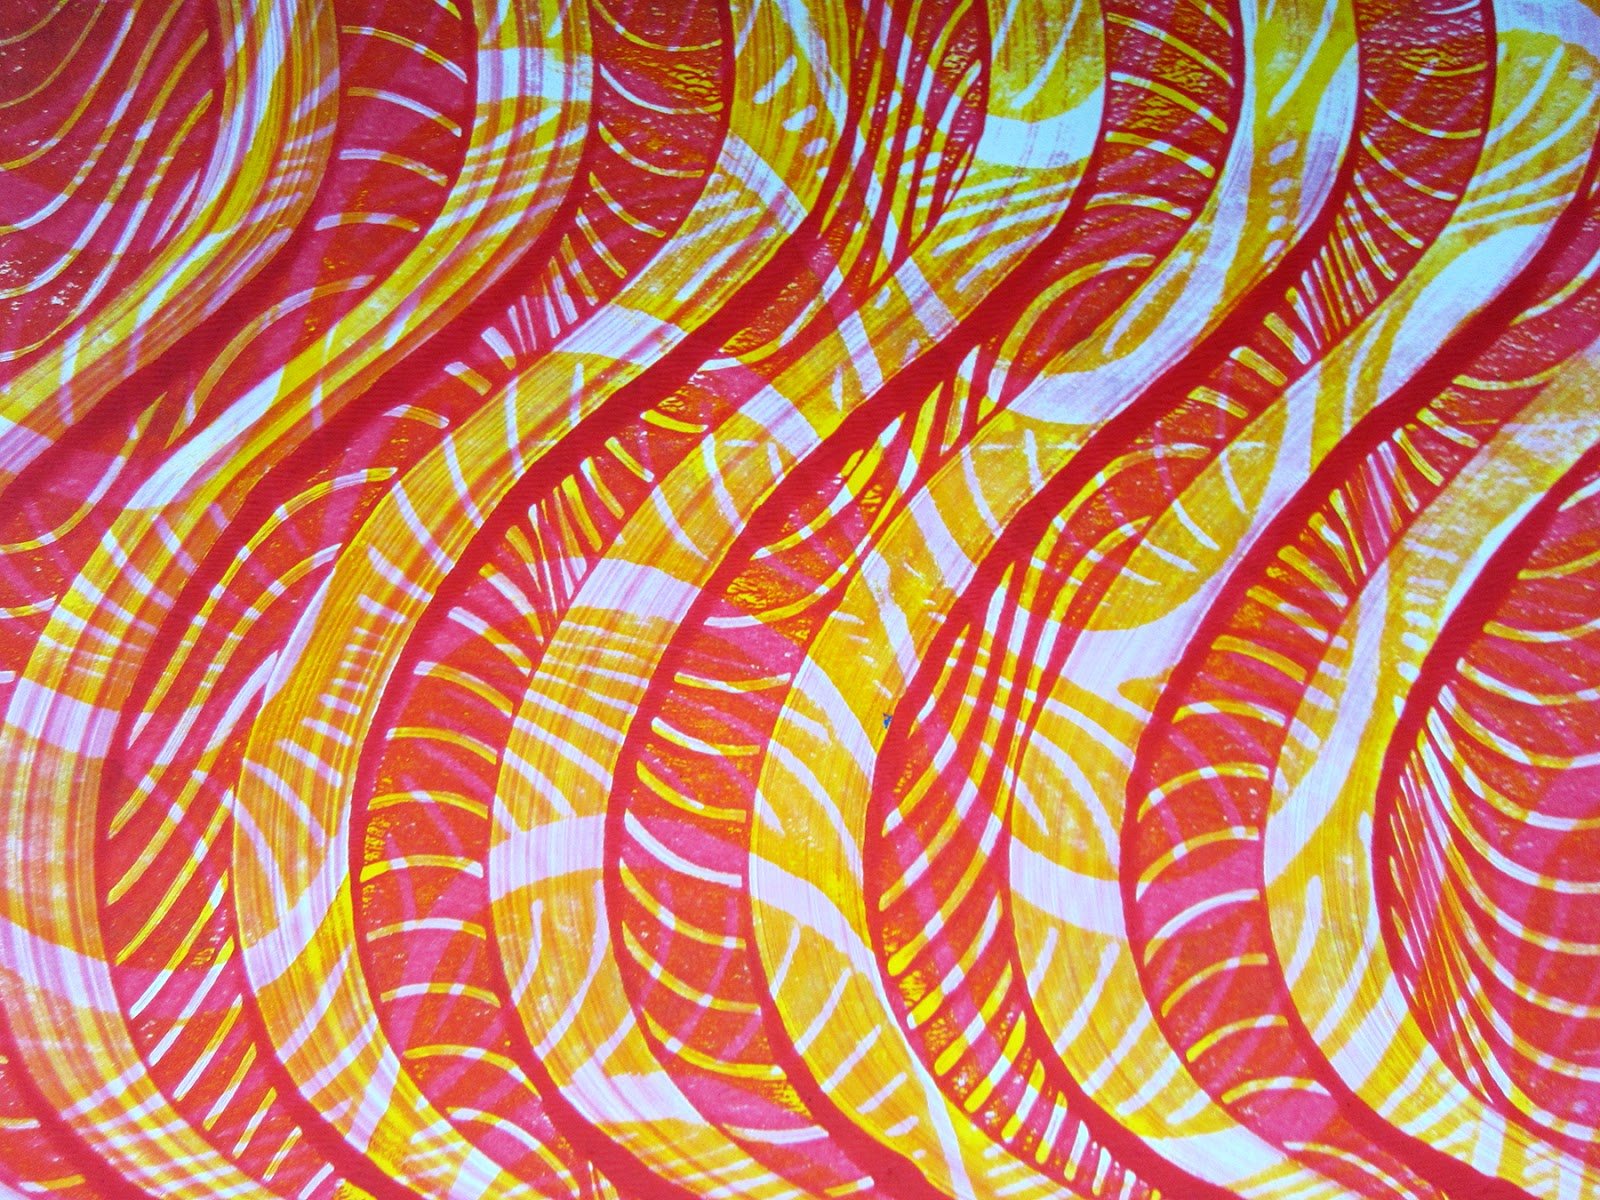
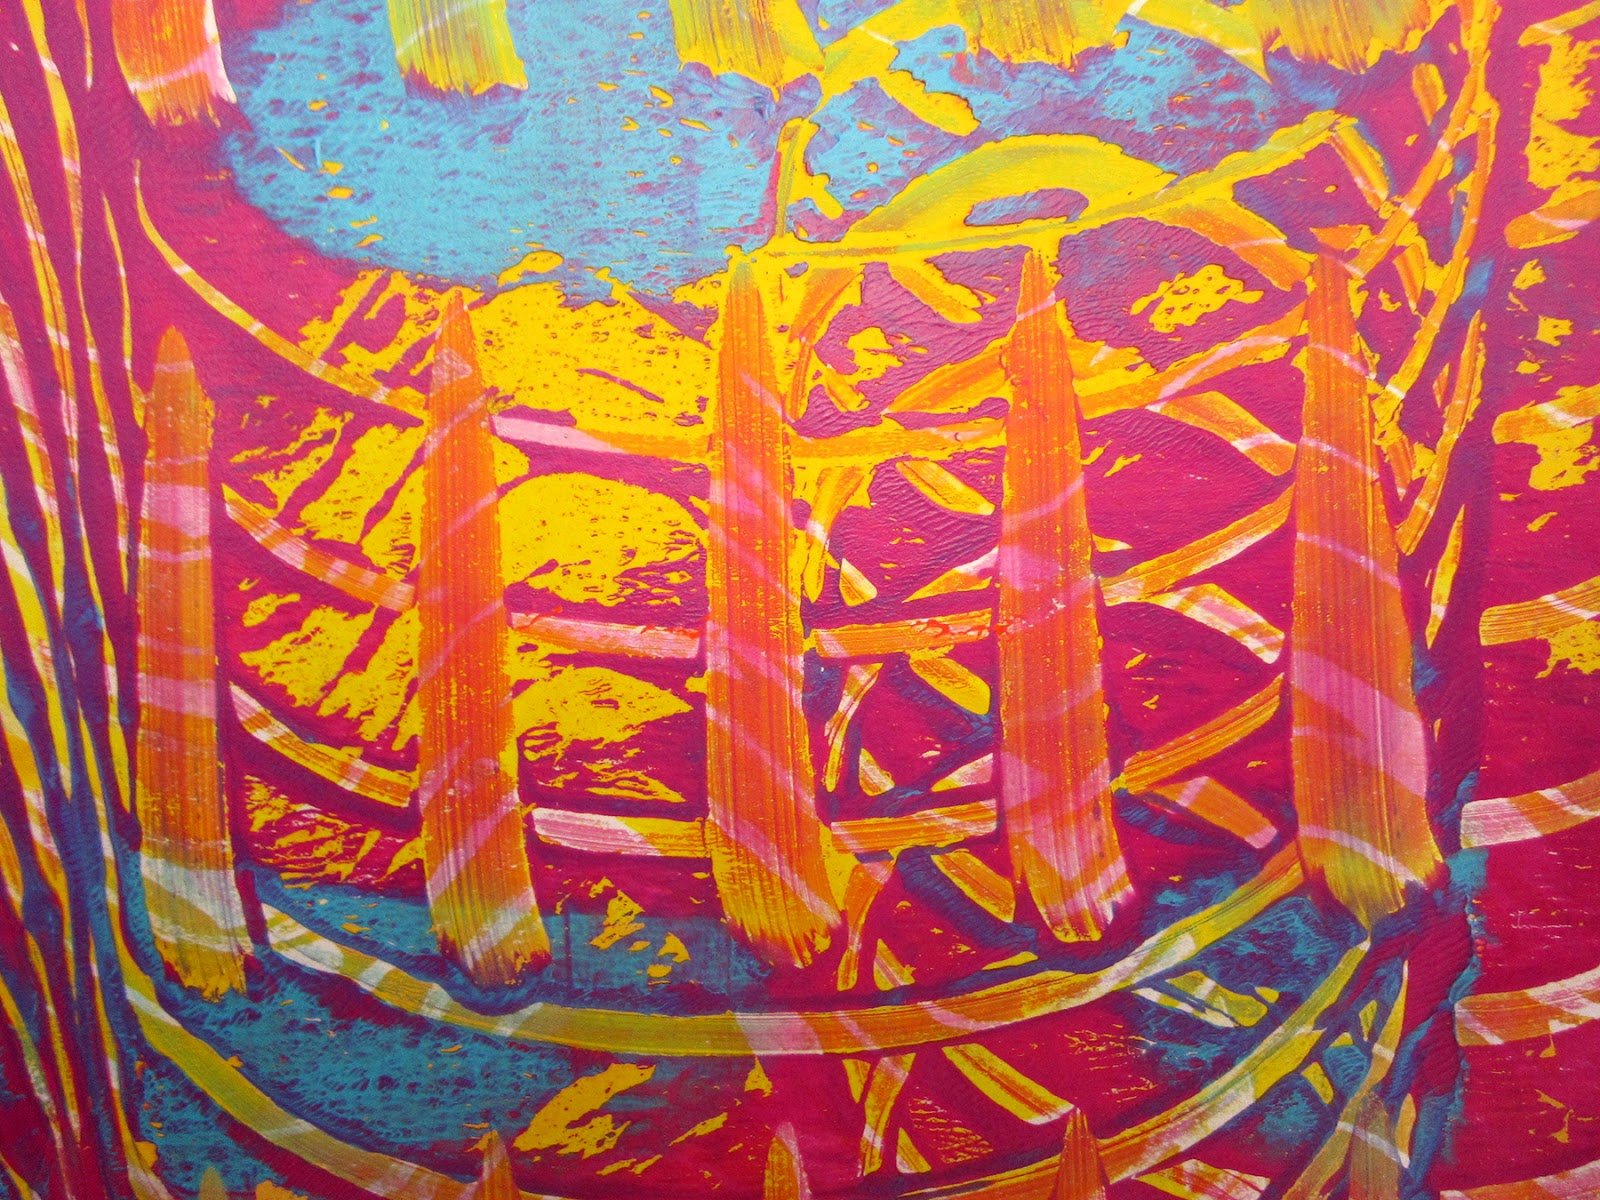
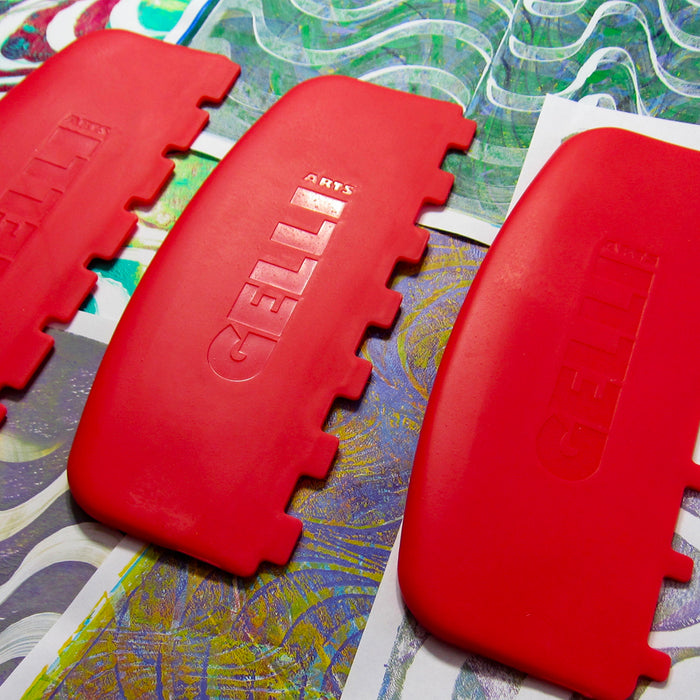
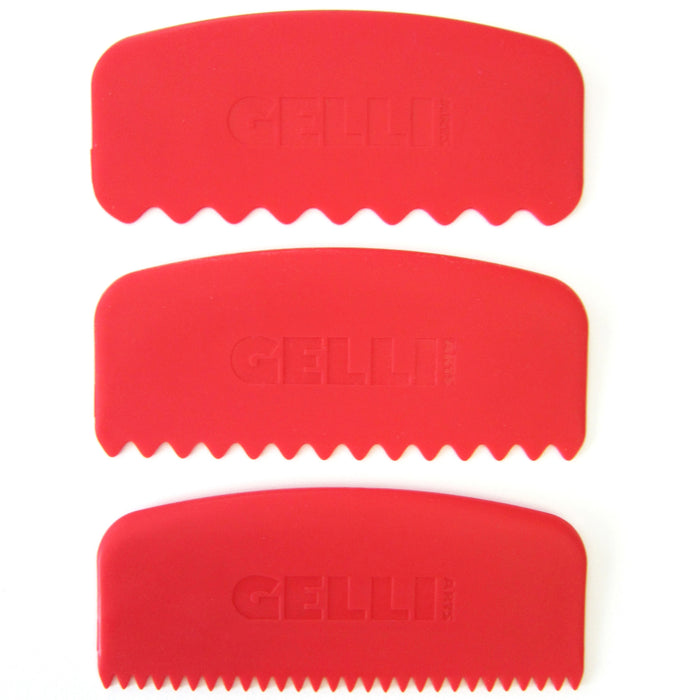
Each set contains three combs — each with a different edge producing a different mark. They work beautifully together for creating a huge range of striped patterns and swirly marks, depending how you apply them. Lots of mark-making to explore!
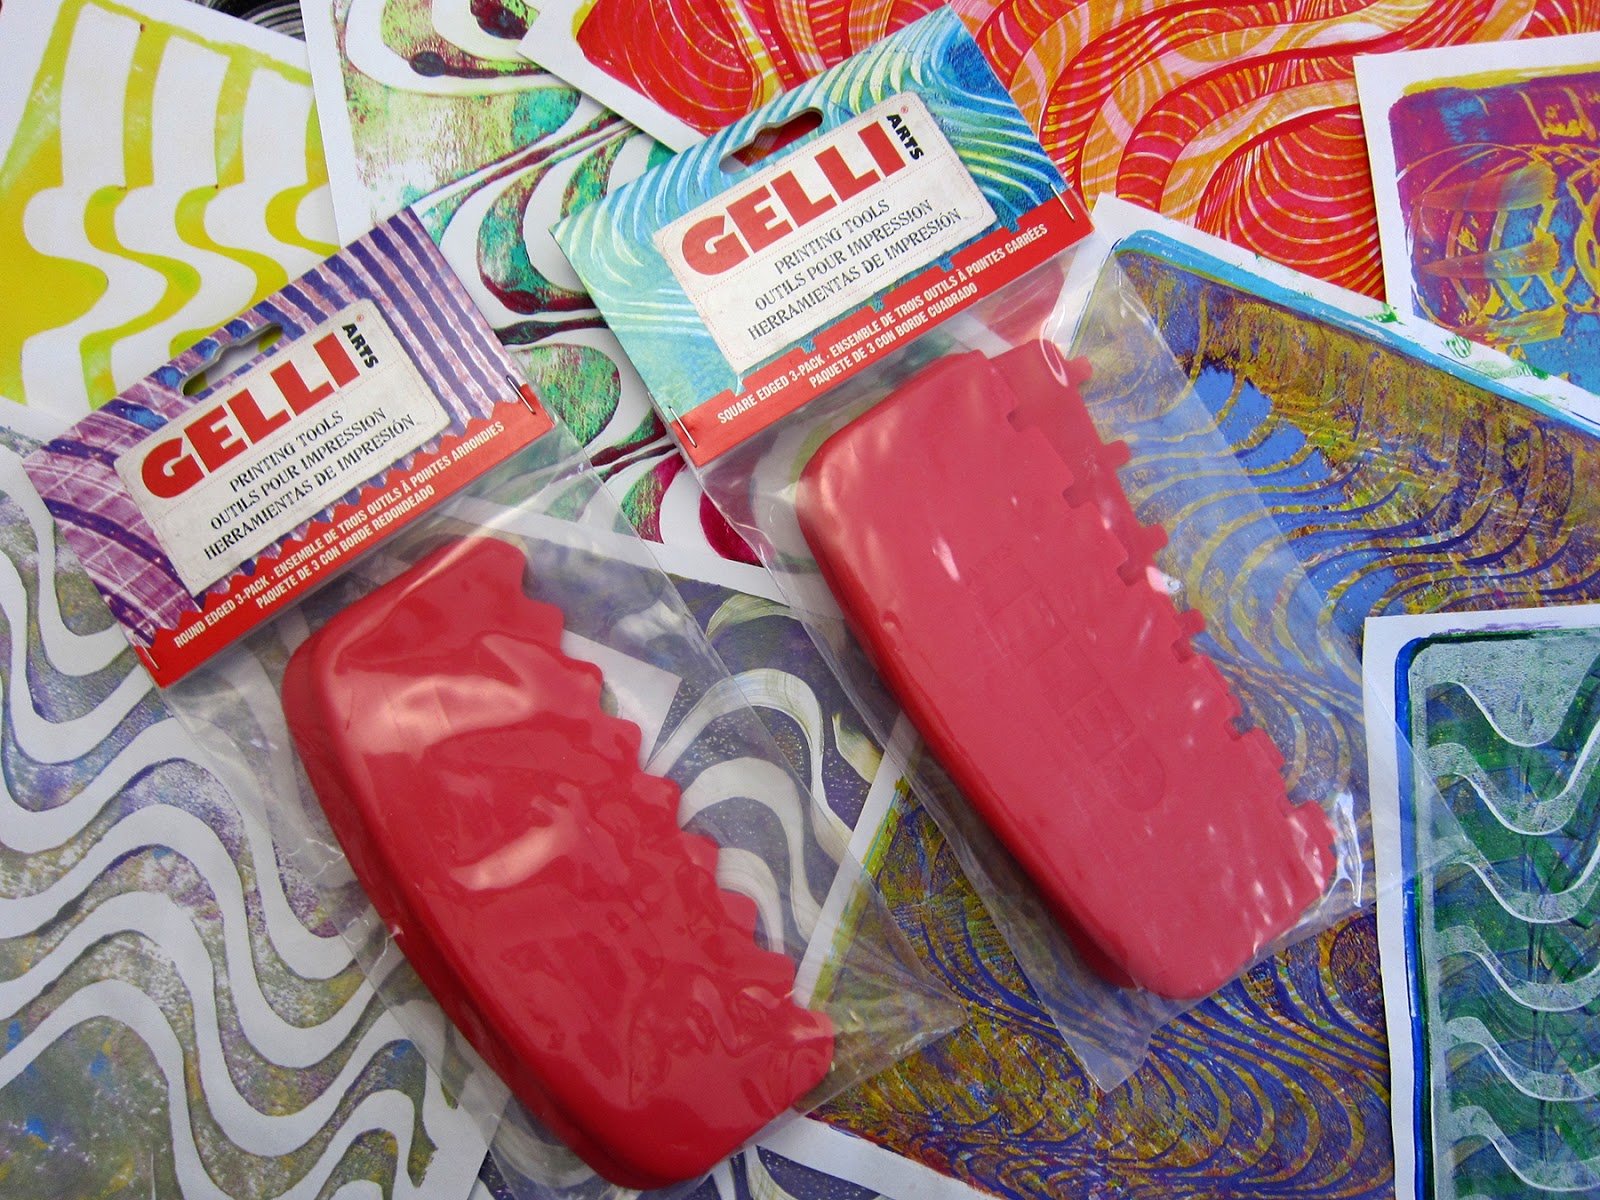
One set has squared ‘teeth’.
The other set has rounded ‘teeth’.
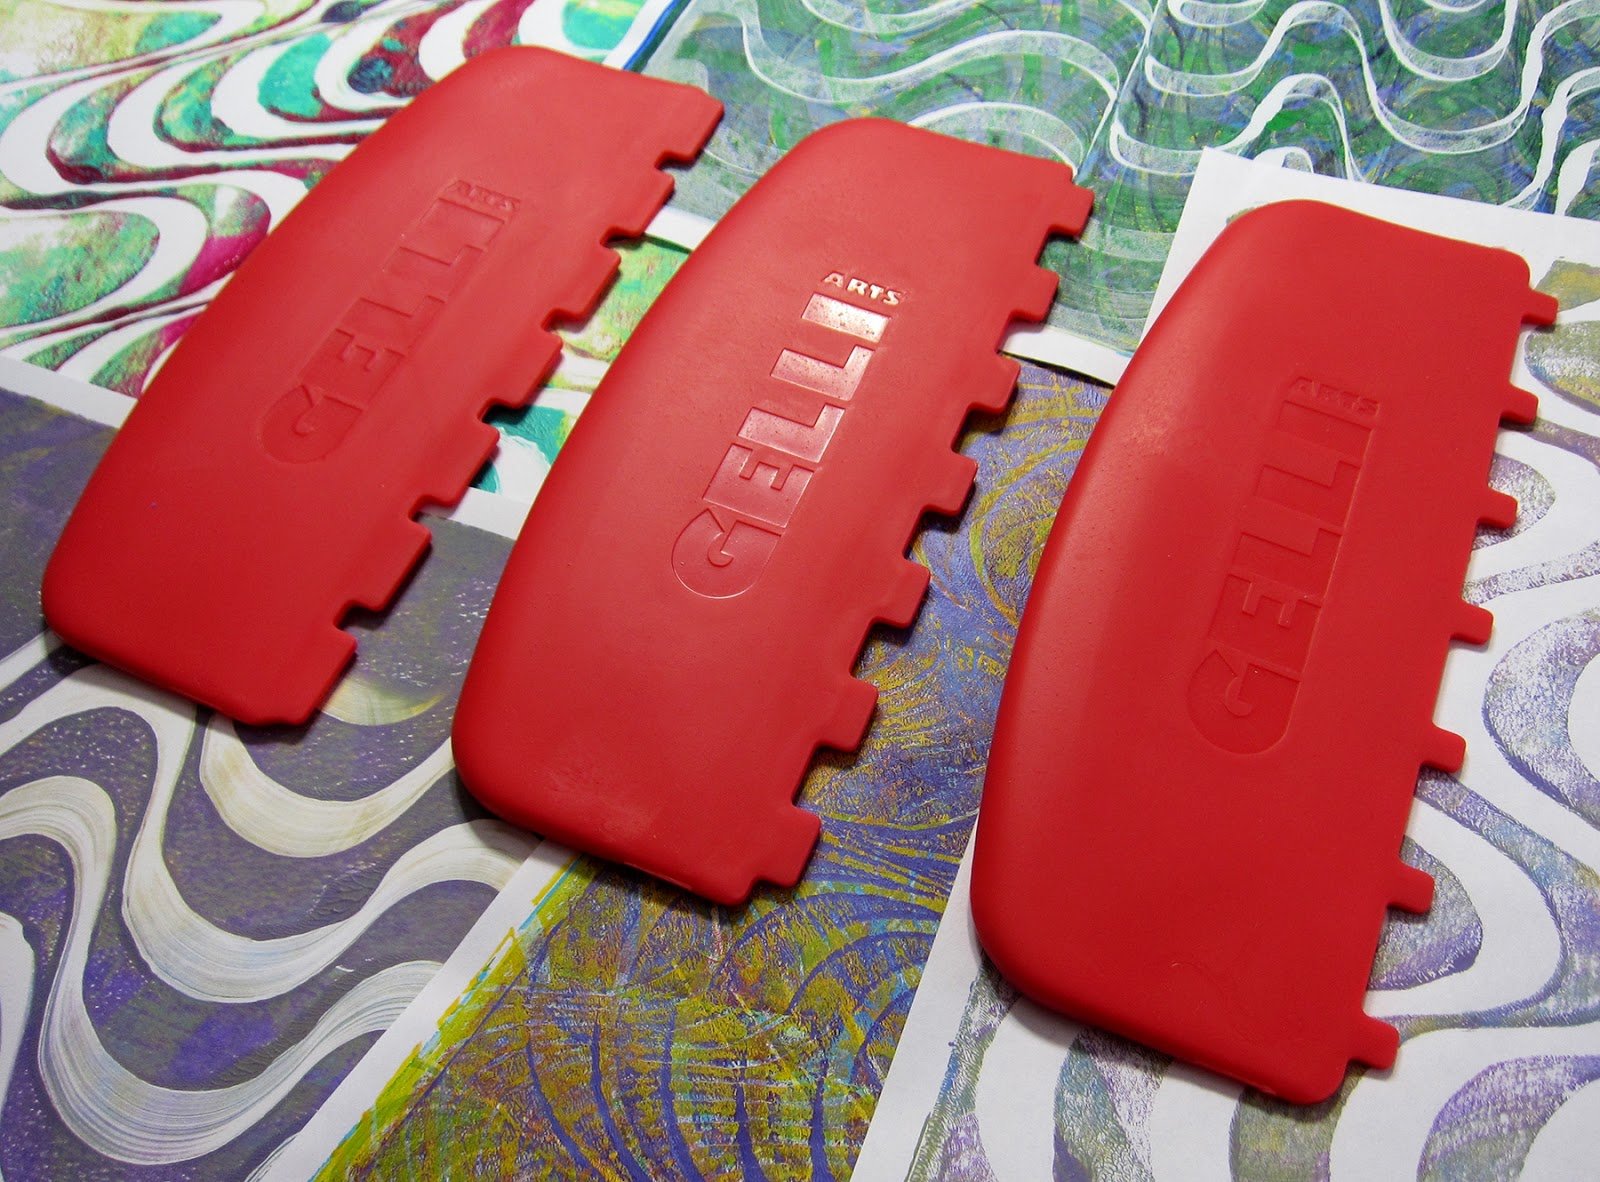
To create a great print in one layer, try this:
1. Apply more than one color to your Gelli® plate and roll into a smooth layer with a brayer.
2. Comb through paint in one direction.
3. Using a different comb — swipe in another direction. You’ll see the dimensional result, as one pattern appears on top of another. It’s fascinating!!
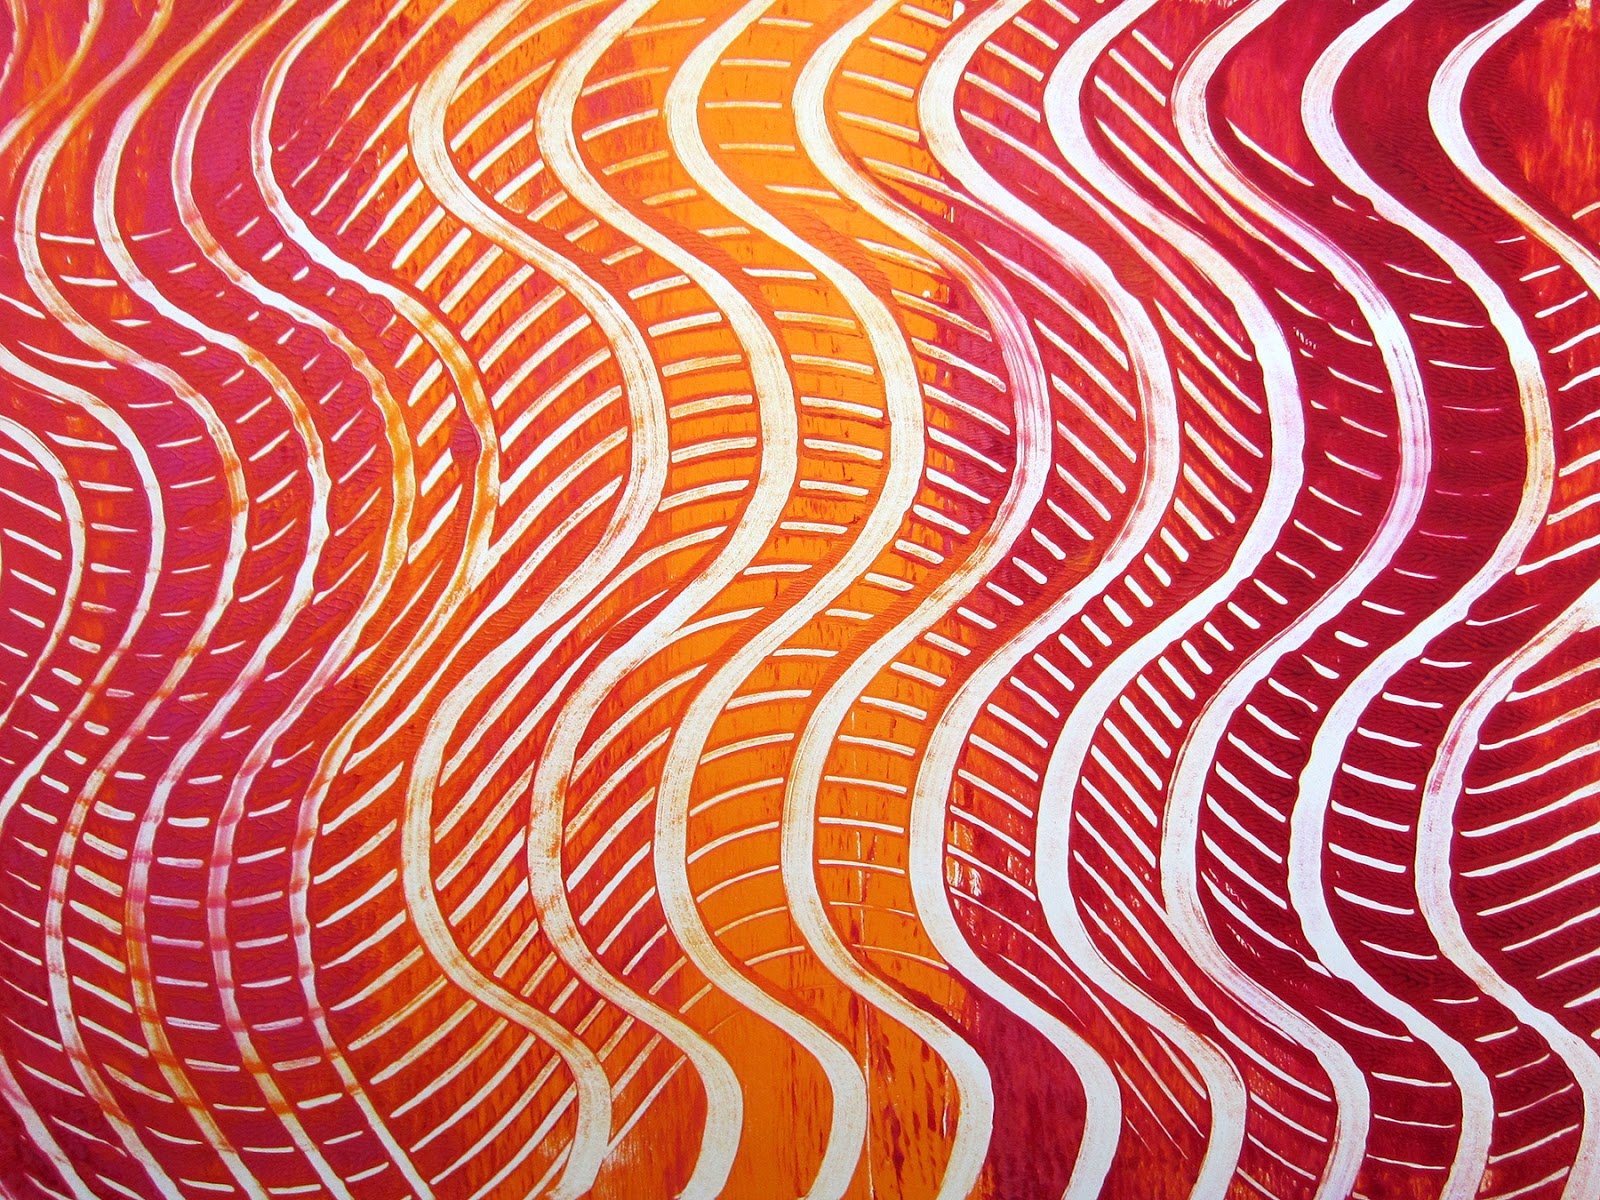
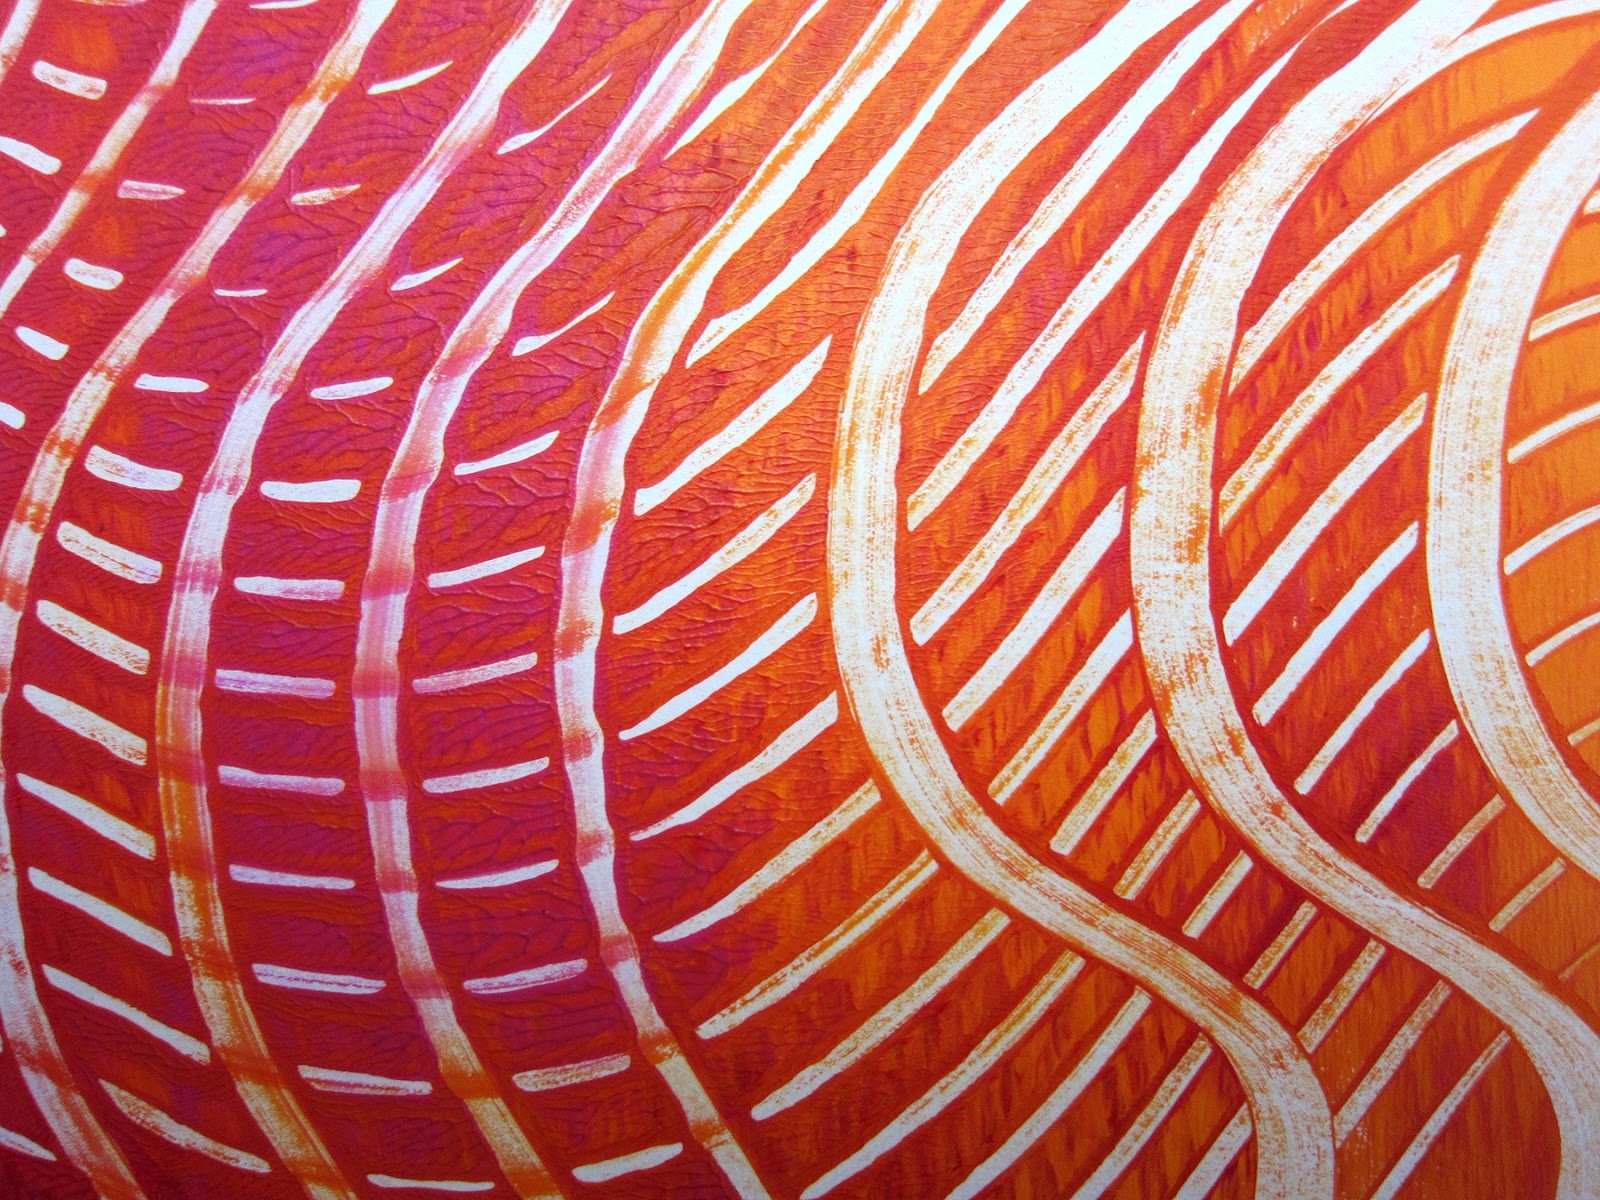
An easy way to create dynamic prints is to layer combed images. It never fails! The trick is to create a contrast in color and value in the layers. If you don’t love the image you have — once your print is dry — print another combed layer over it. You can do this over and over on the same print — with the creative use of opaque colors or metallic paint — and end up with amazing, complex images.
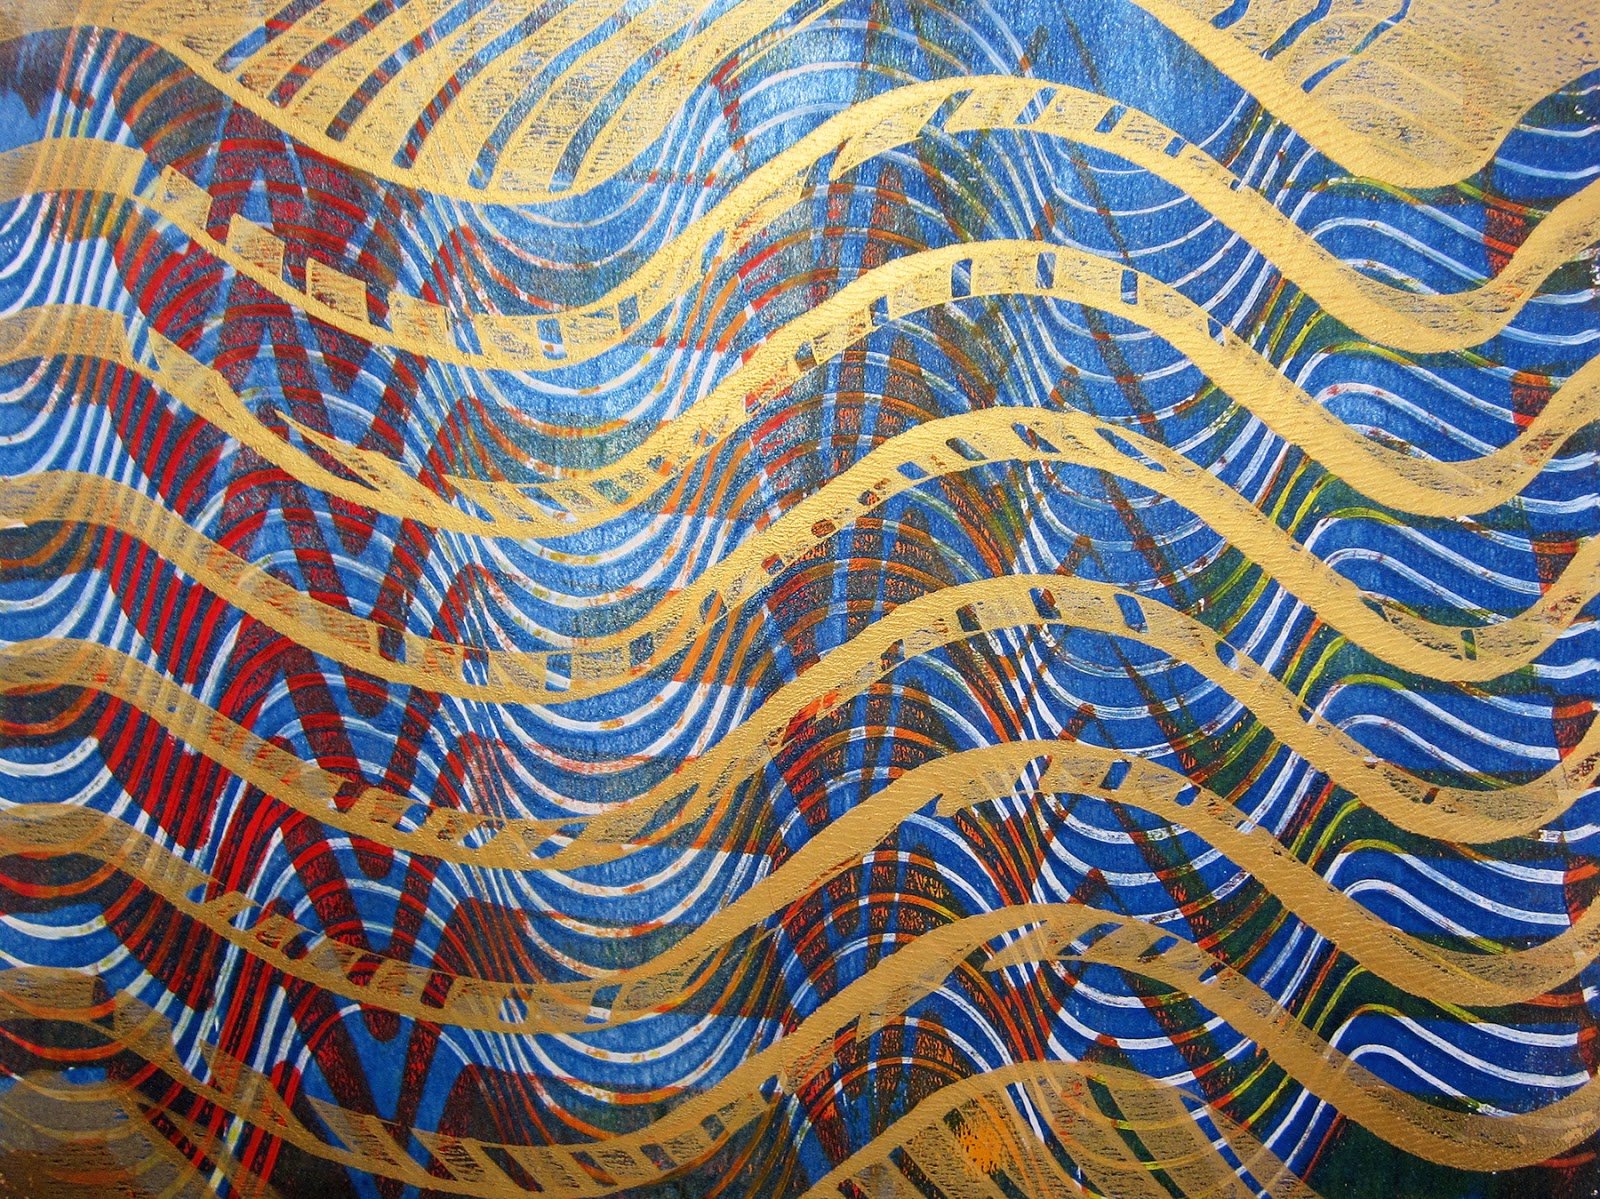
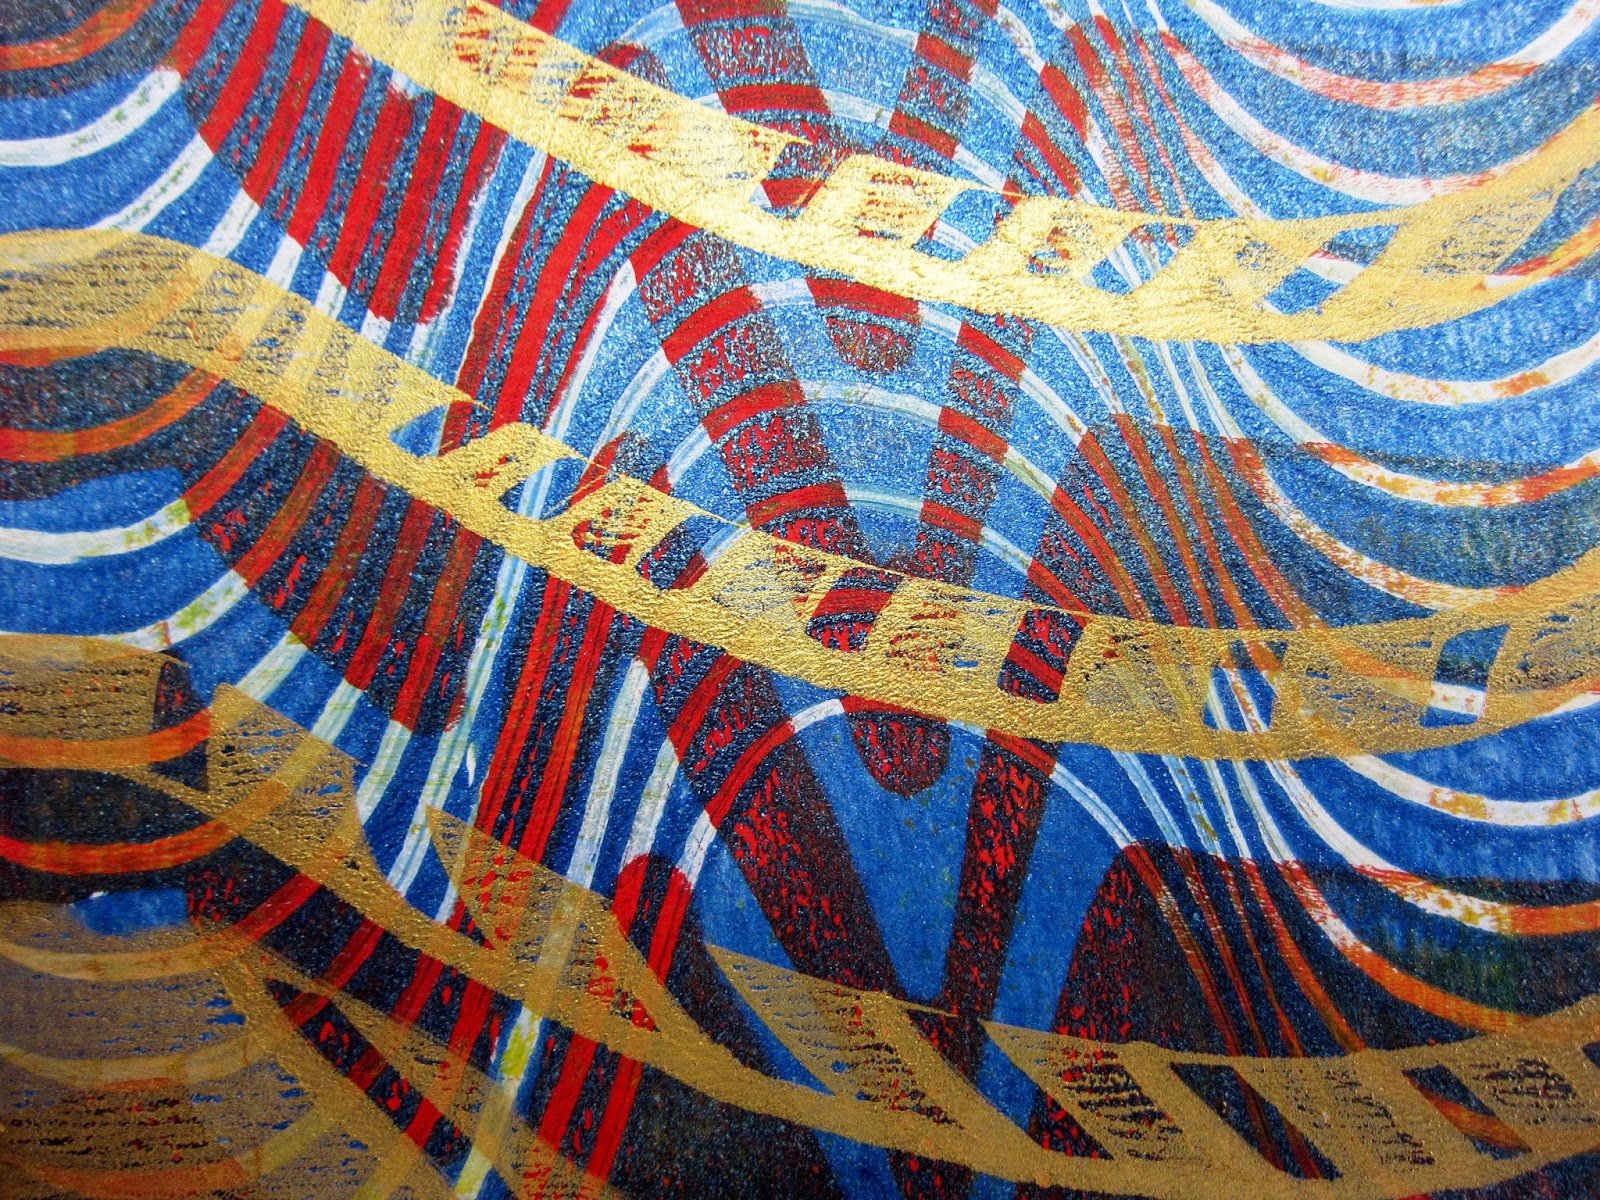
There’s usually enough wet paint left over on the plate, and you may find you’ll have lots of second and even third pulls of combed prints. So keep layering!! It’s so much fun to watch a print evolve this way from layers and layers of ghost prints!
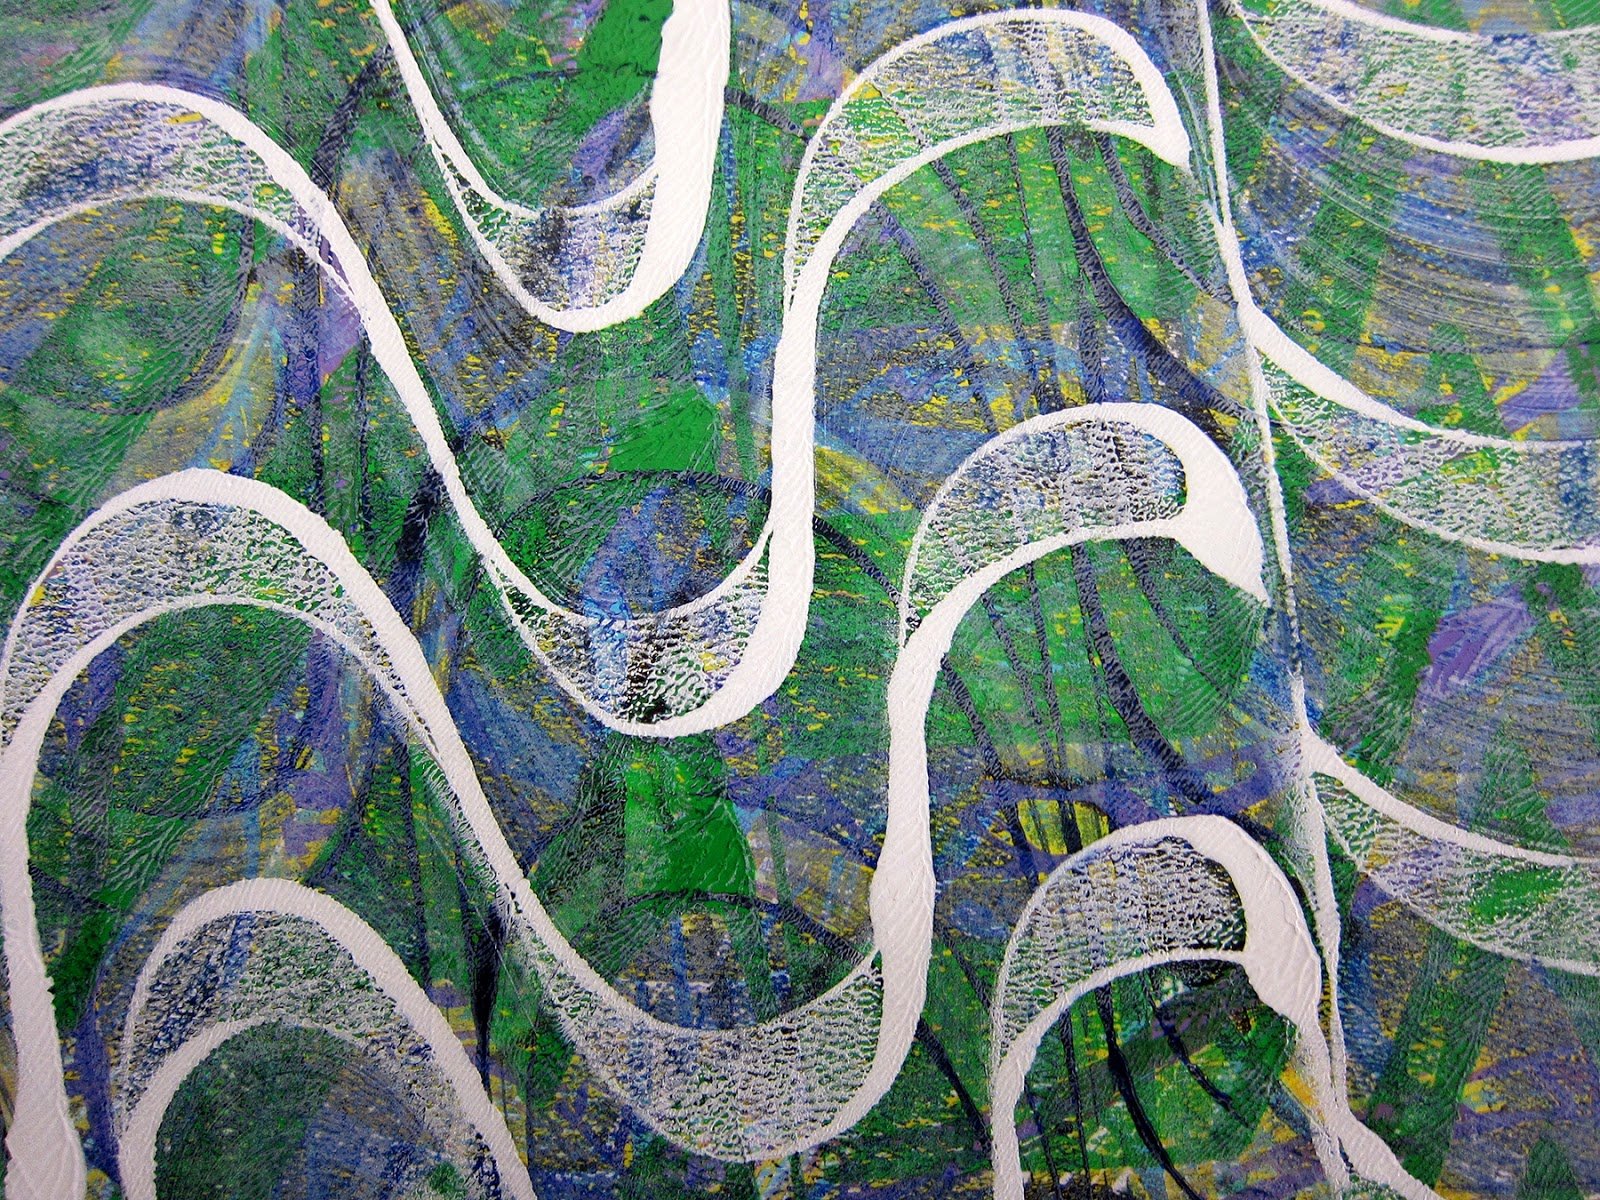
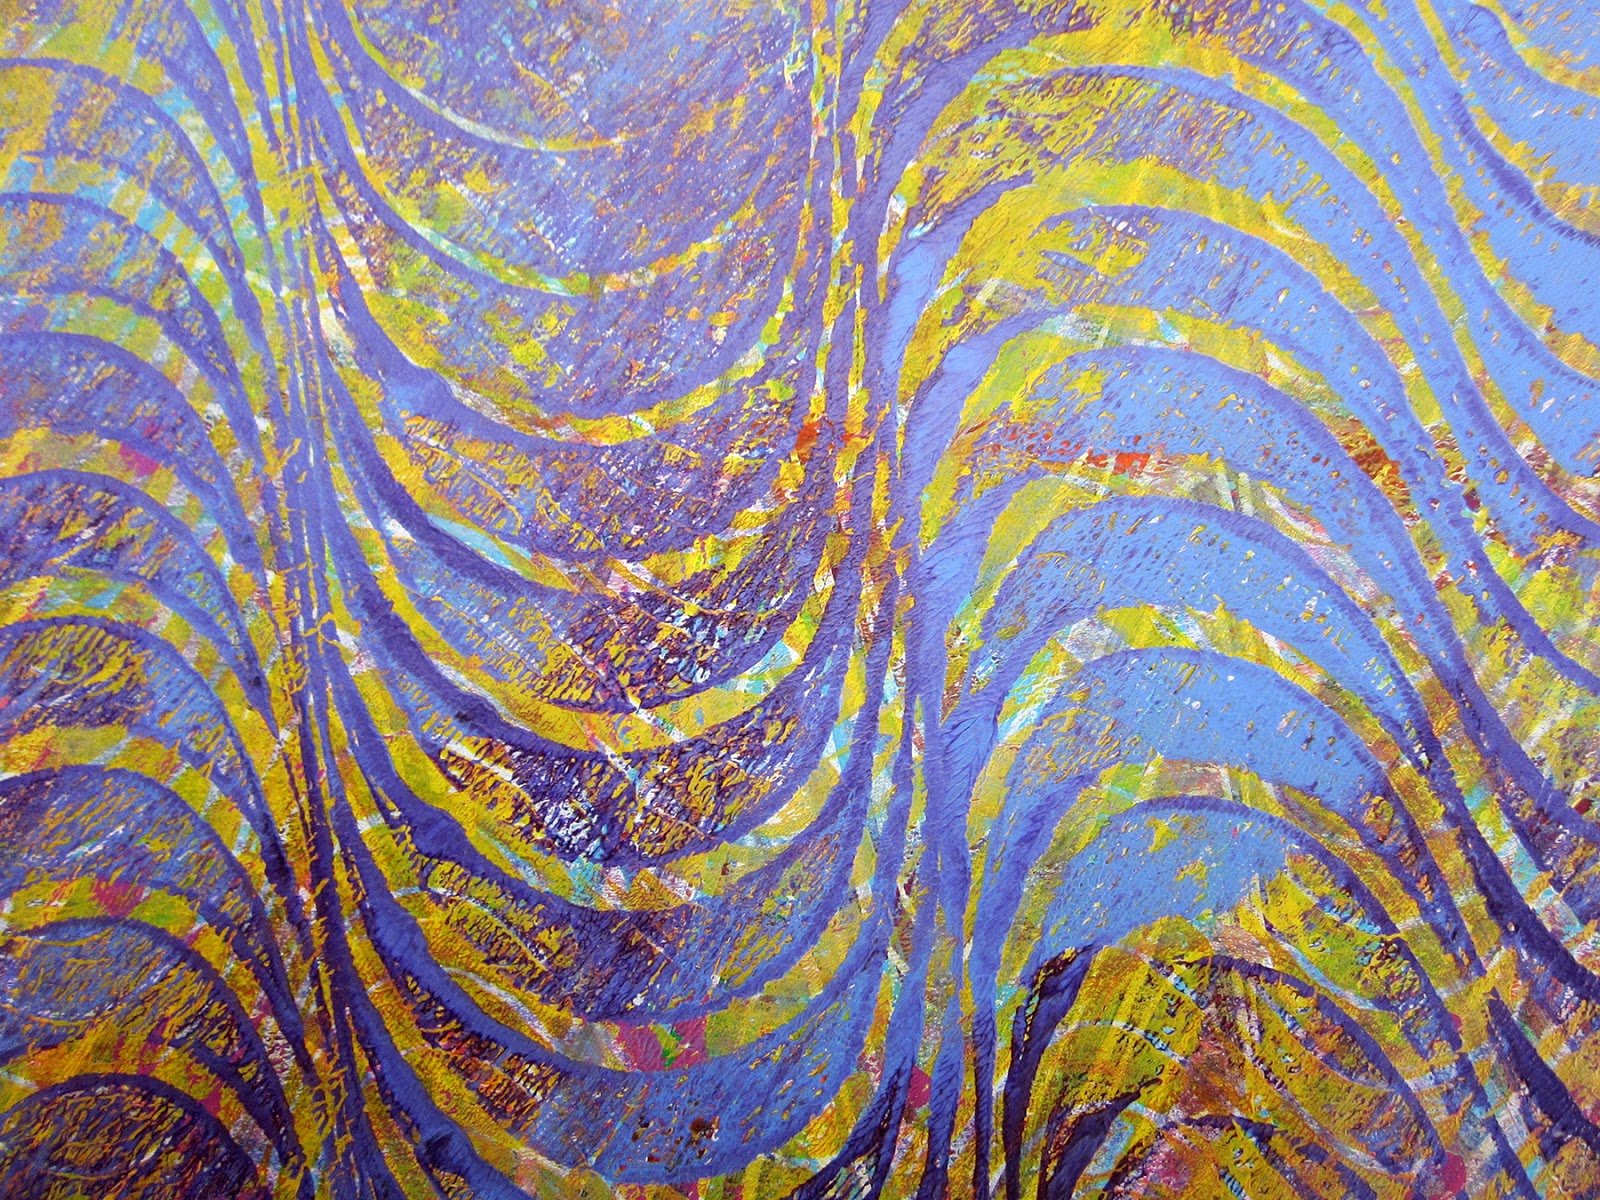
You’ll get beautiful color blends by applying several colors to your Gelli® plate and combing through them. Using analogous colors (next to each other on the color wheel) helps keep your colors clean and avoids making muddy mixtures. But there are NO RULES! Here’s an example of a multicolor print created with complementary colors (opposites on the color wheel) — and no mud 🙂 Just use a light touch and take care not to over-blend complementary colors with your brayer.
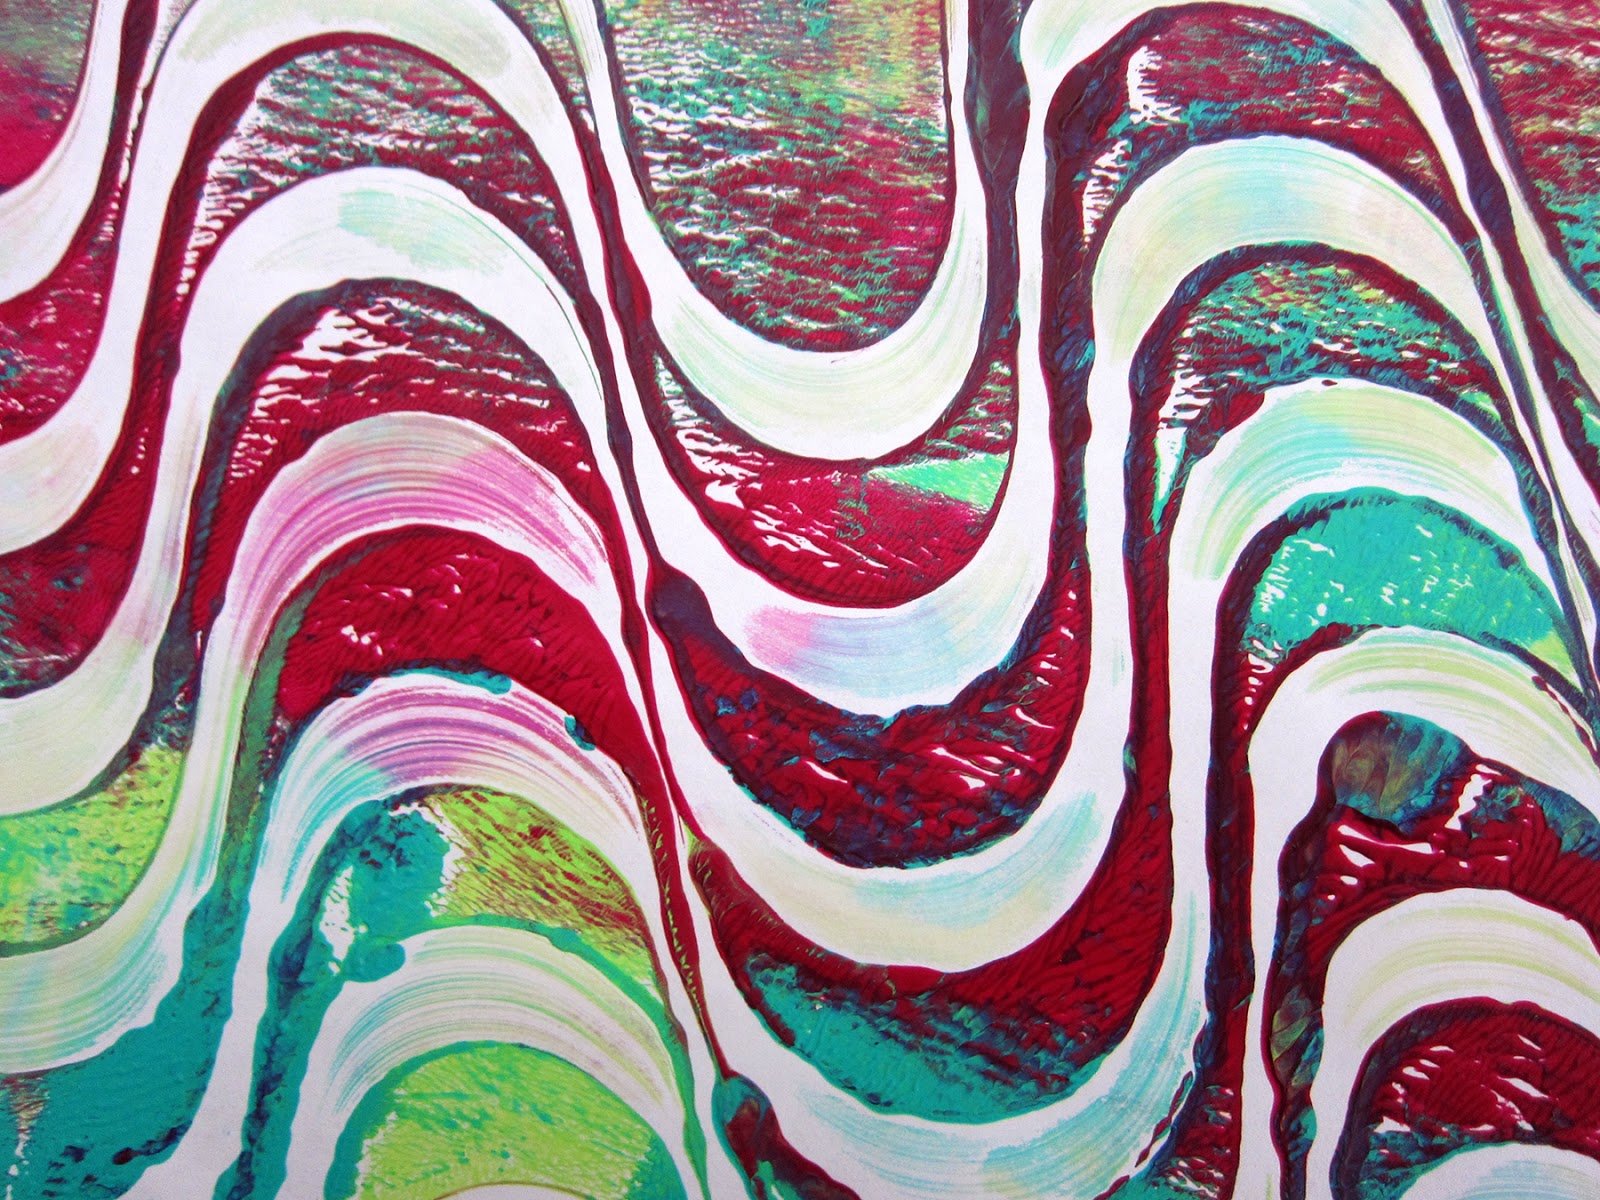
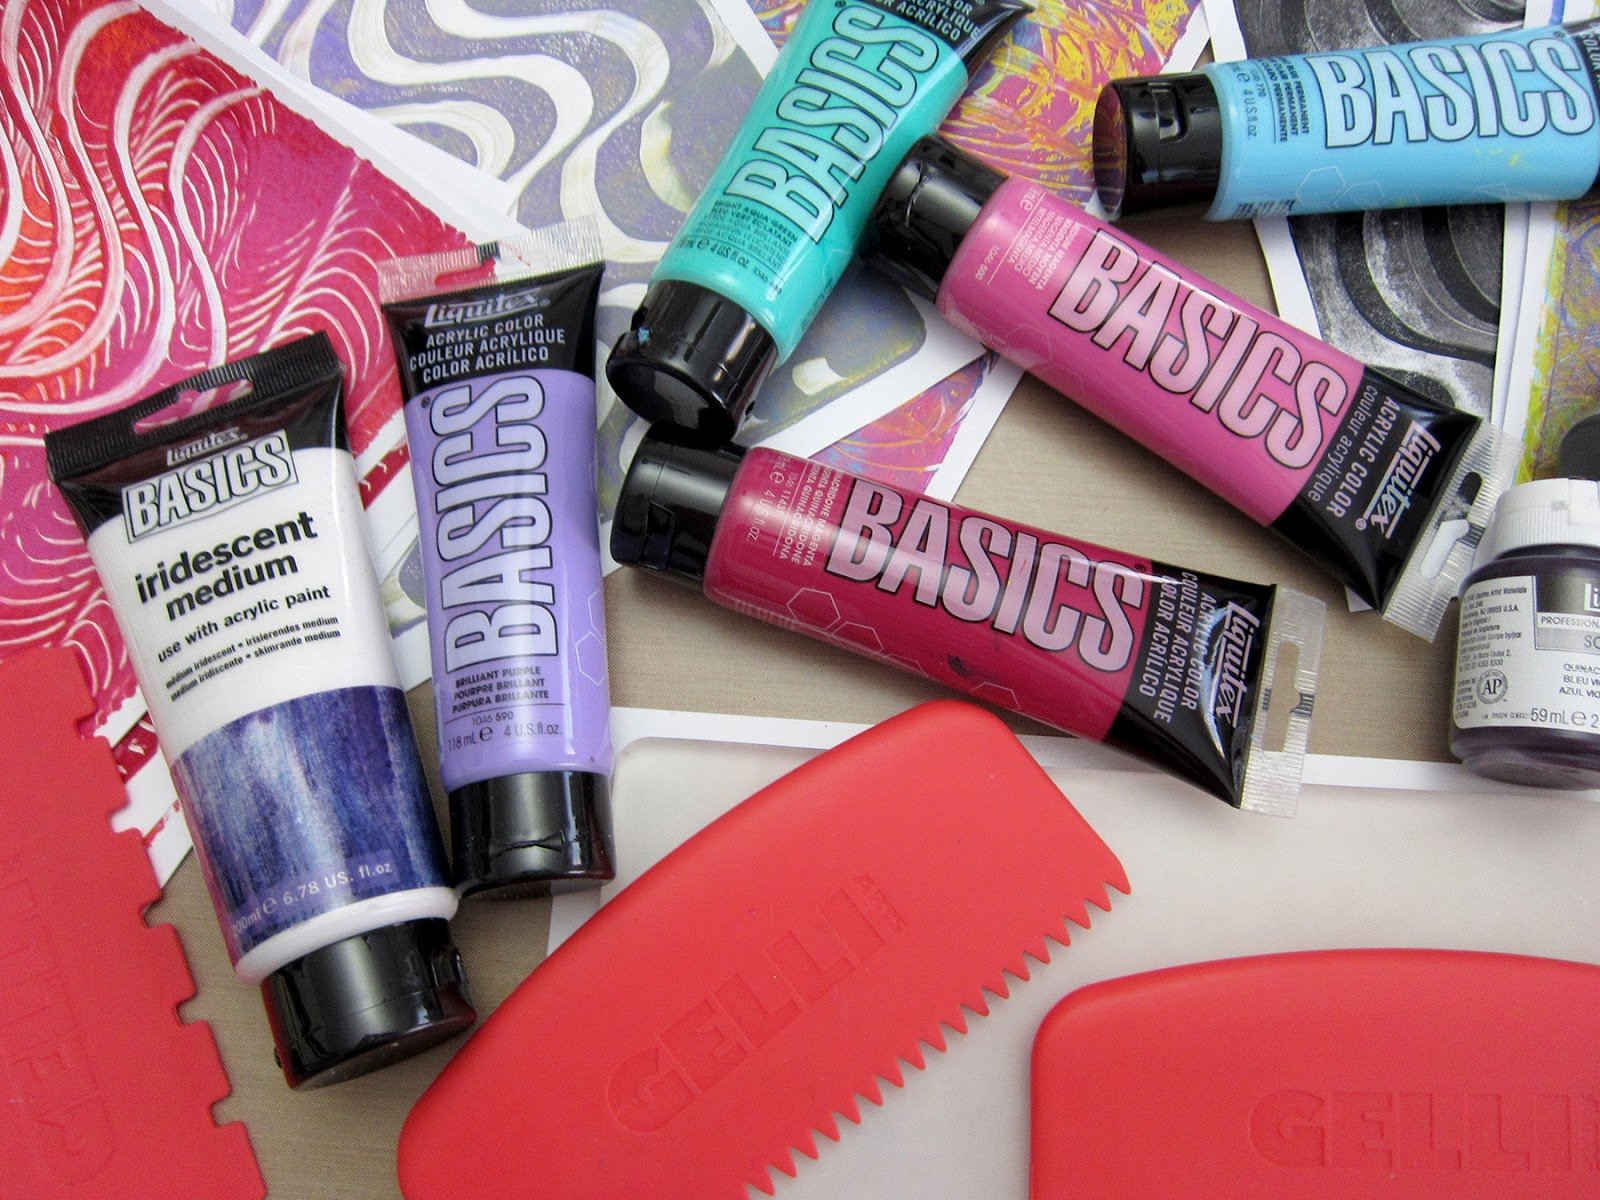
All of the paint used in the video and in the prints shown here are Liquitex® Basic and Liquitex® Professional Acrylic Color Soft Body. The colors are vibrant and the paint viscosity is wonderful for combing. As a plus, you can usually get a great ghost print (second pull) as well — and sometimes a third!
After you’ve pulled two or three prints from the plate, there’s often a thin layer of residual paint remaining on the plate. It’s too dry to print at this point. But don’t clean your plate! The dry paint will come up in the next combed print you pull! (I find this technique works best after the third pull) Simply apply fresh paint right over the dried paint on your plate, comb your design — and pull your print. Magical!
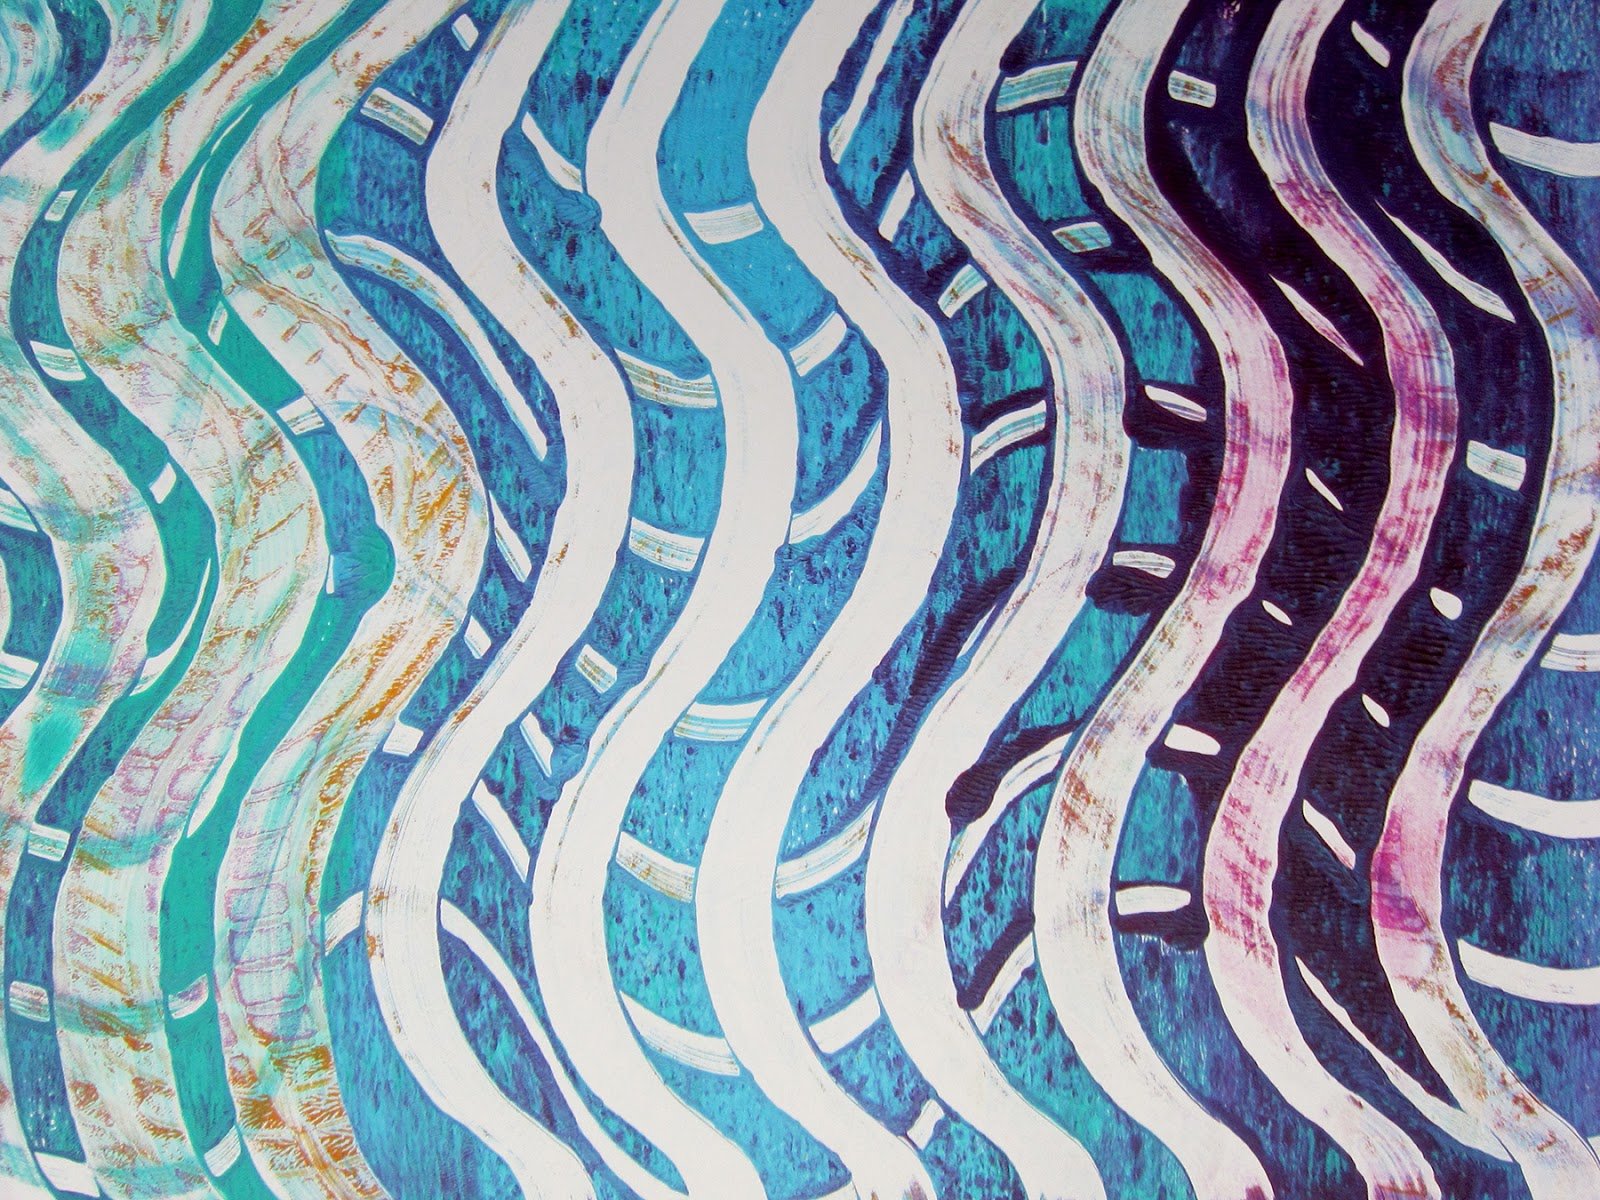
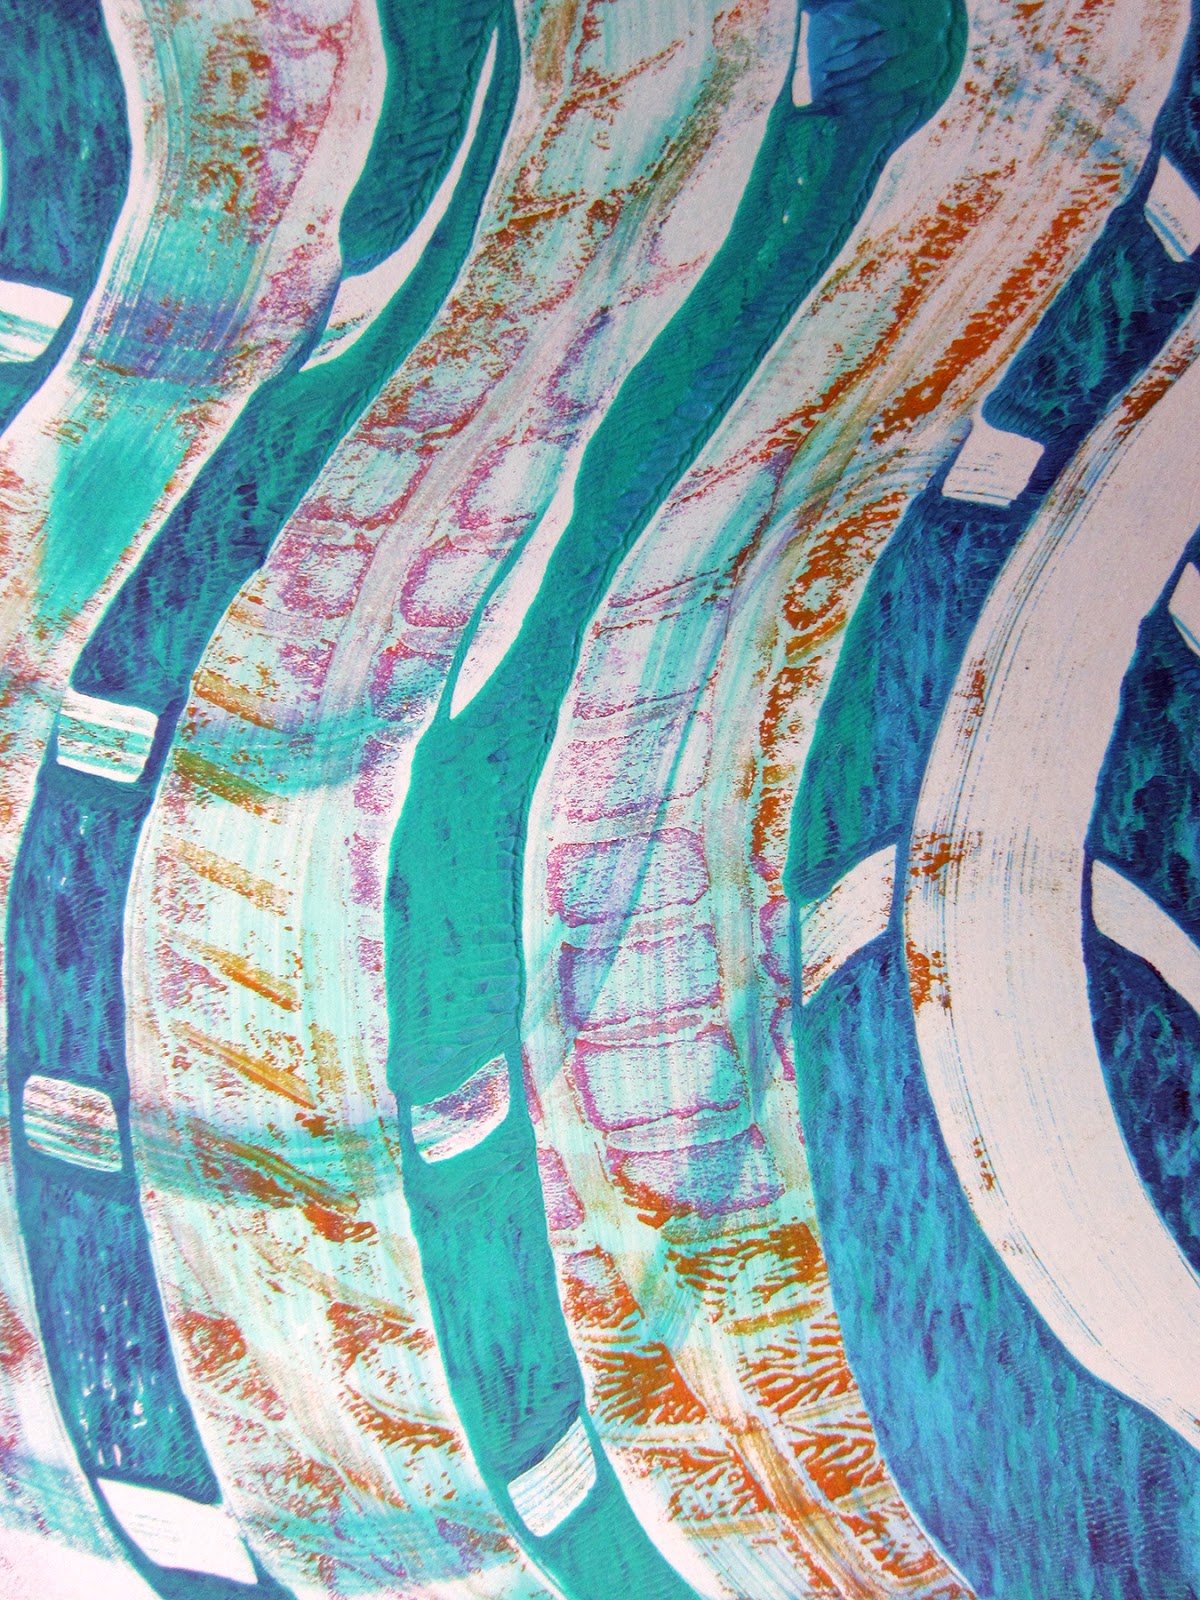
The ghost print after that first interesting print is often another great print. The negative space is usually free of paint in this pull — creating a great opportunity to work back into the negative space.
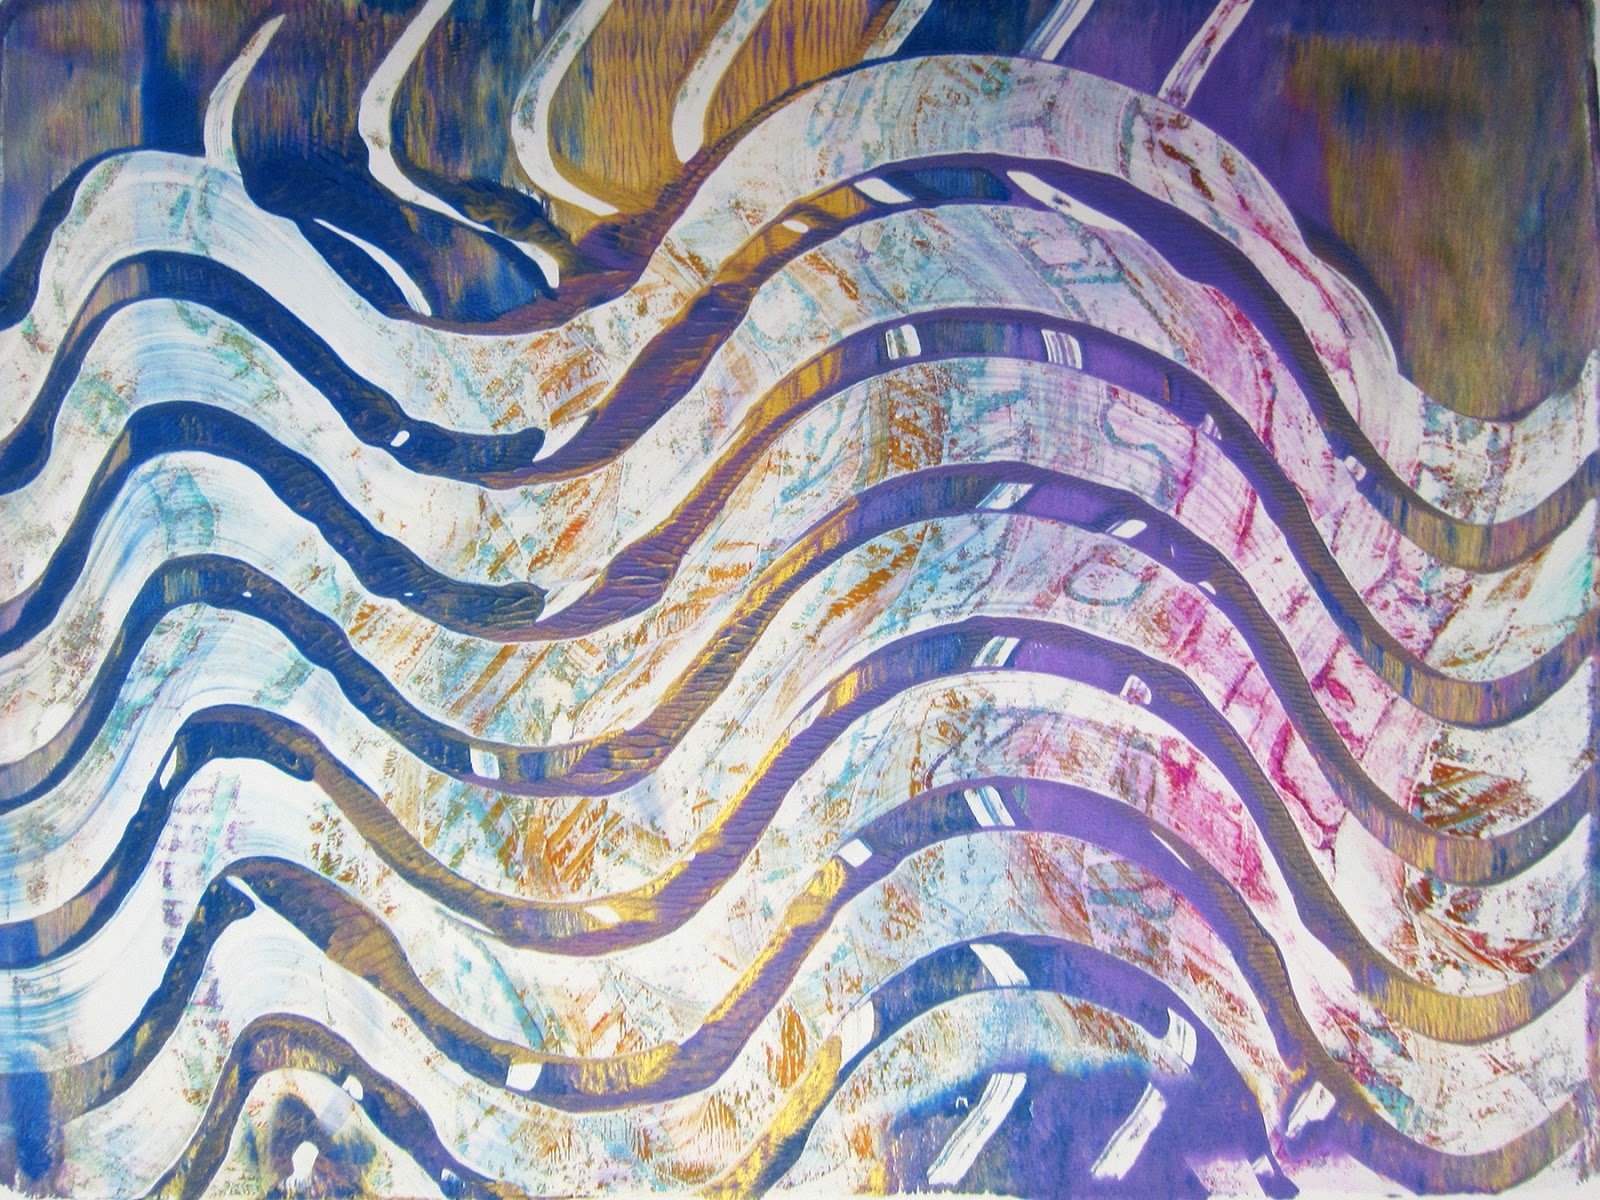
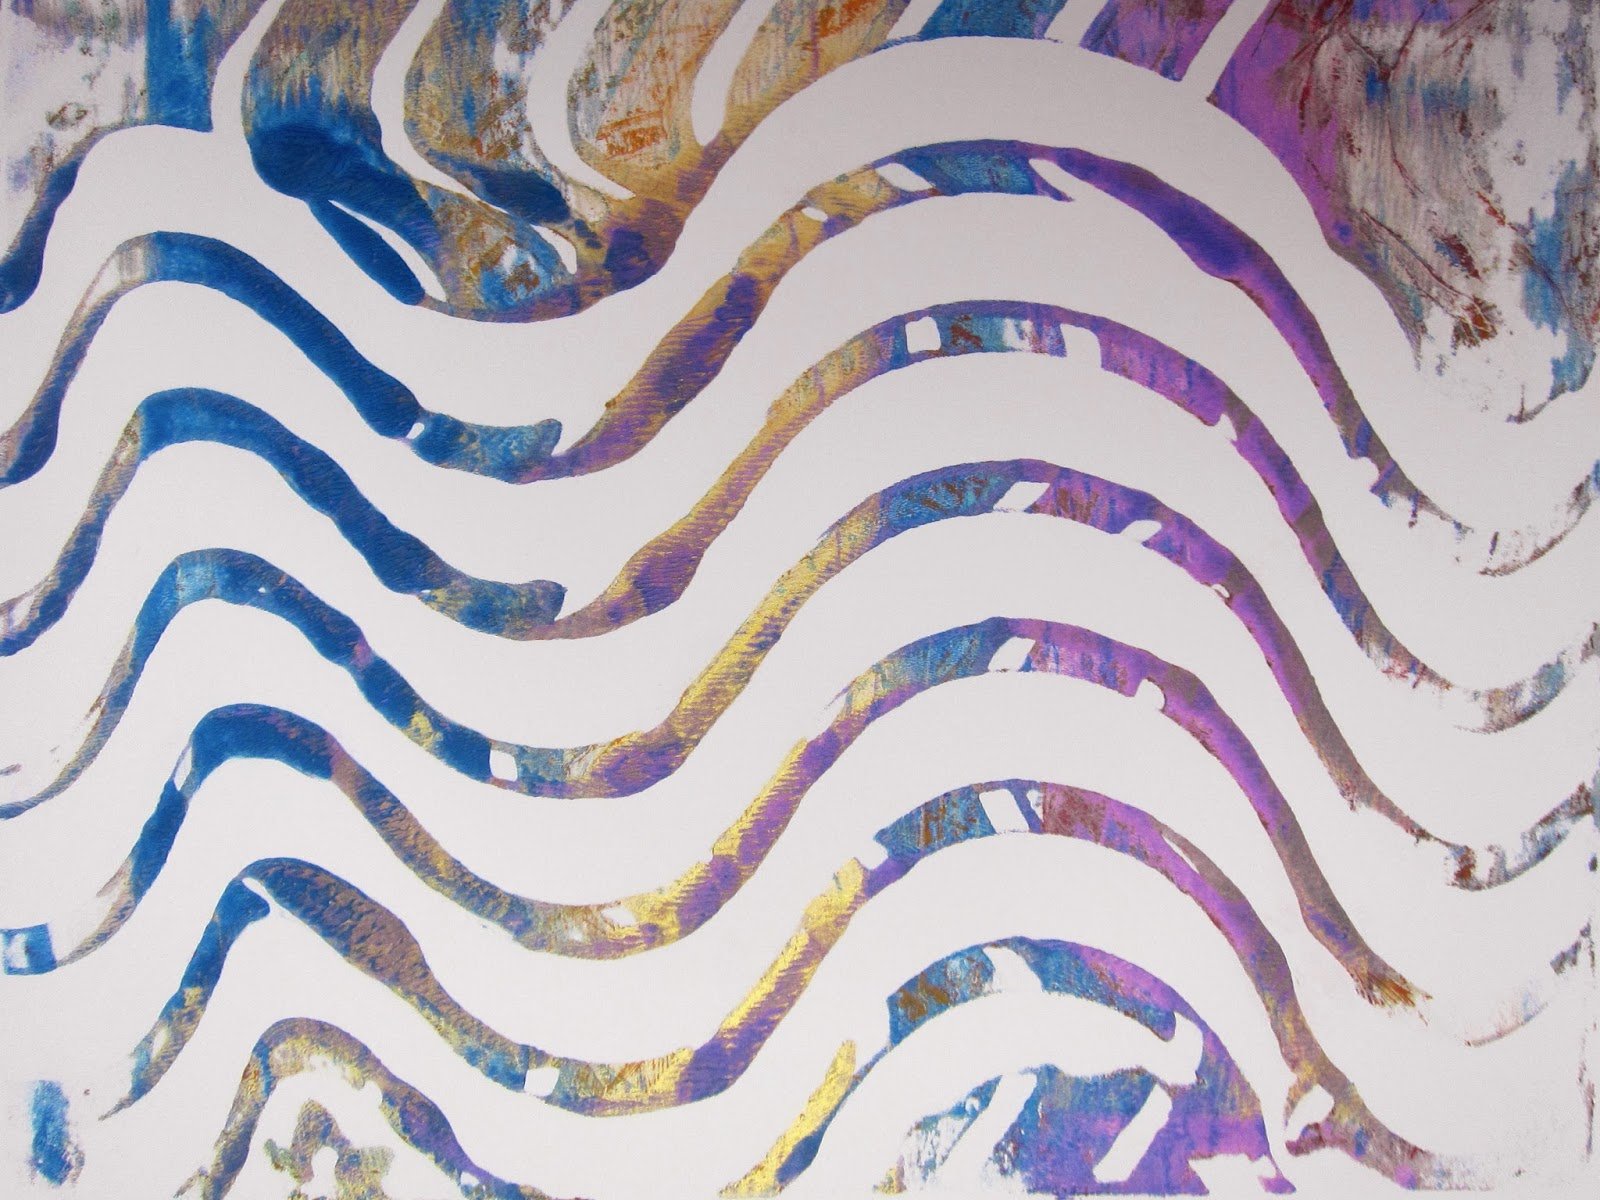
If you’re wondering if a single color produces interesting combed prints — the answer is YES! In fact, some of my favorite prints are done using black paint, resulting in beautiful movement with a lovely tonal range.
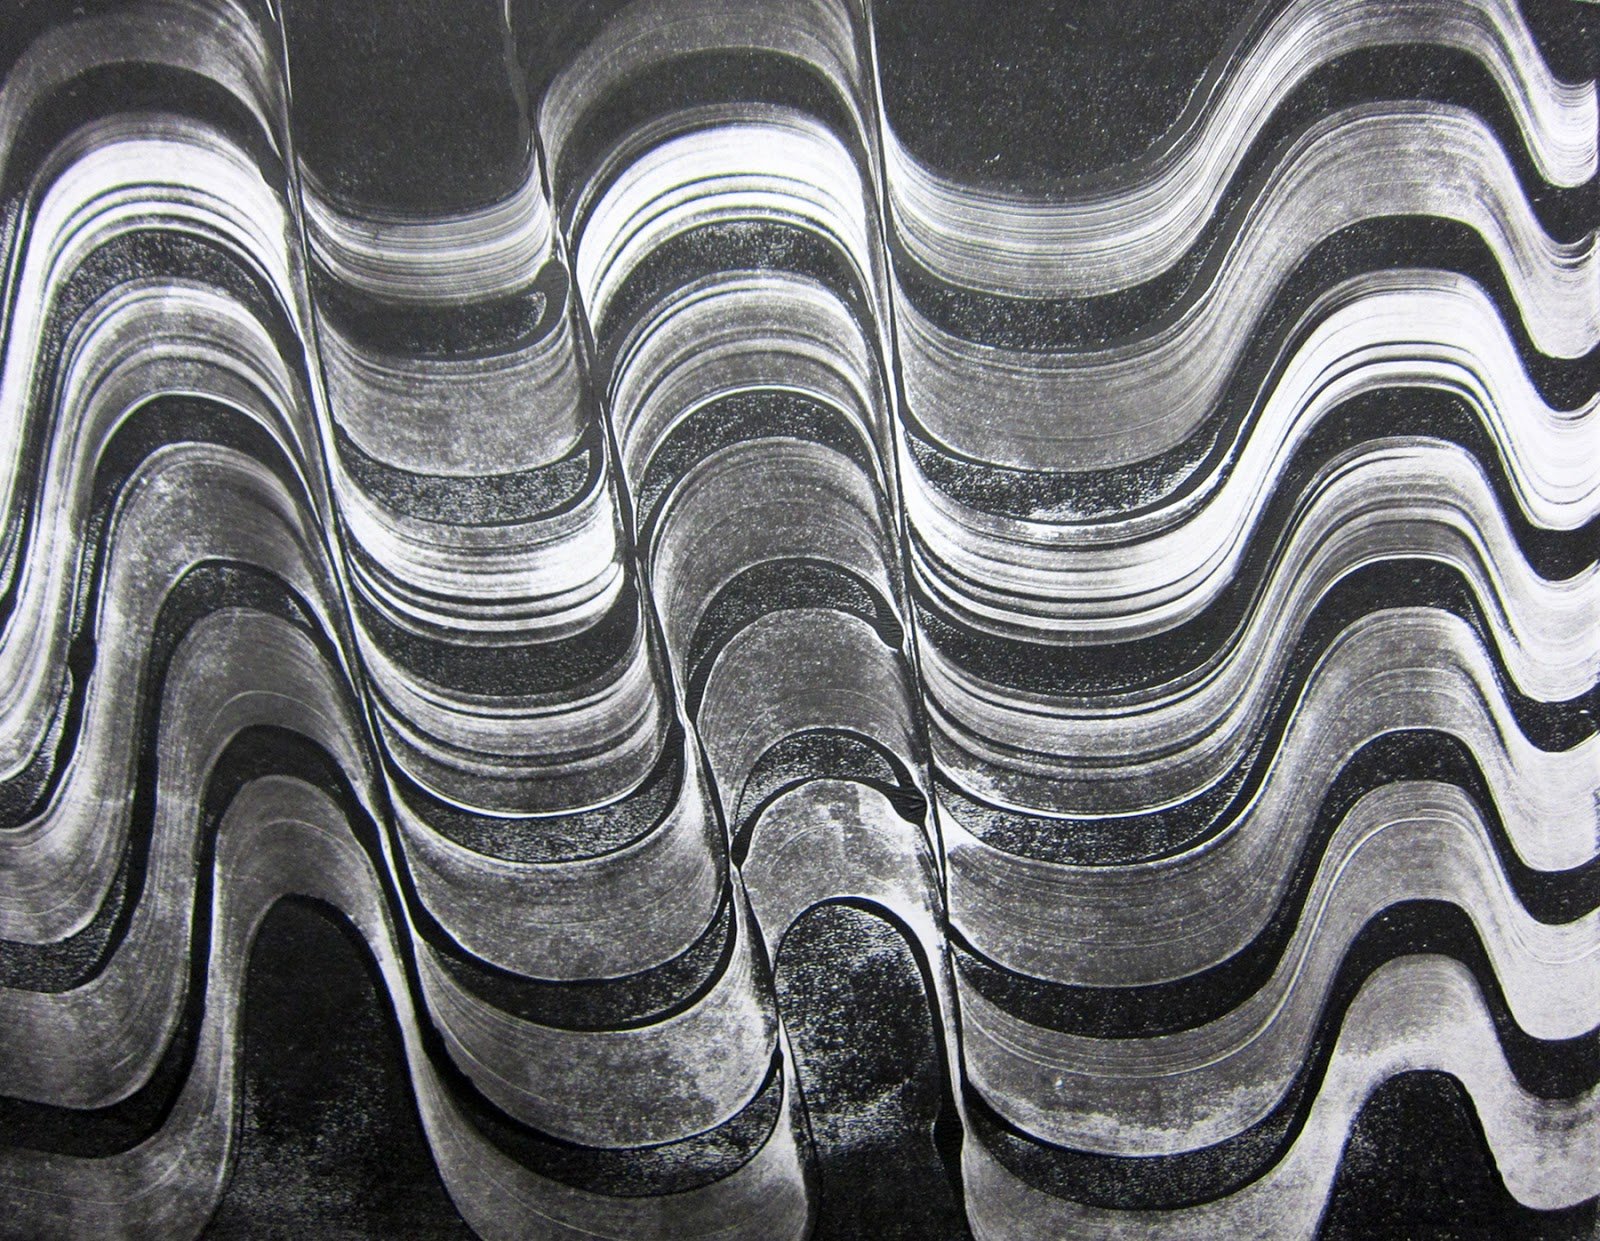
Aside from making amazing prints, these combs are sturdy and flexible — optimized for working on a Gelli® plate. They’re comfortable to hold and use. And they’re so easy to clean!
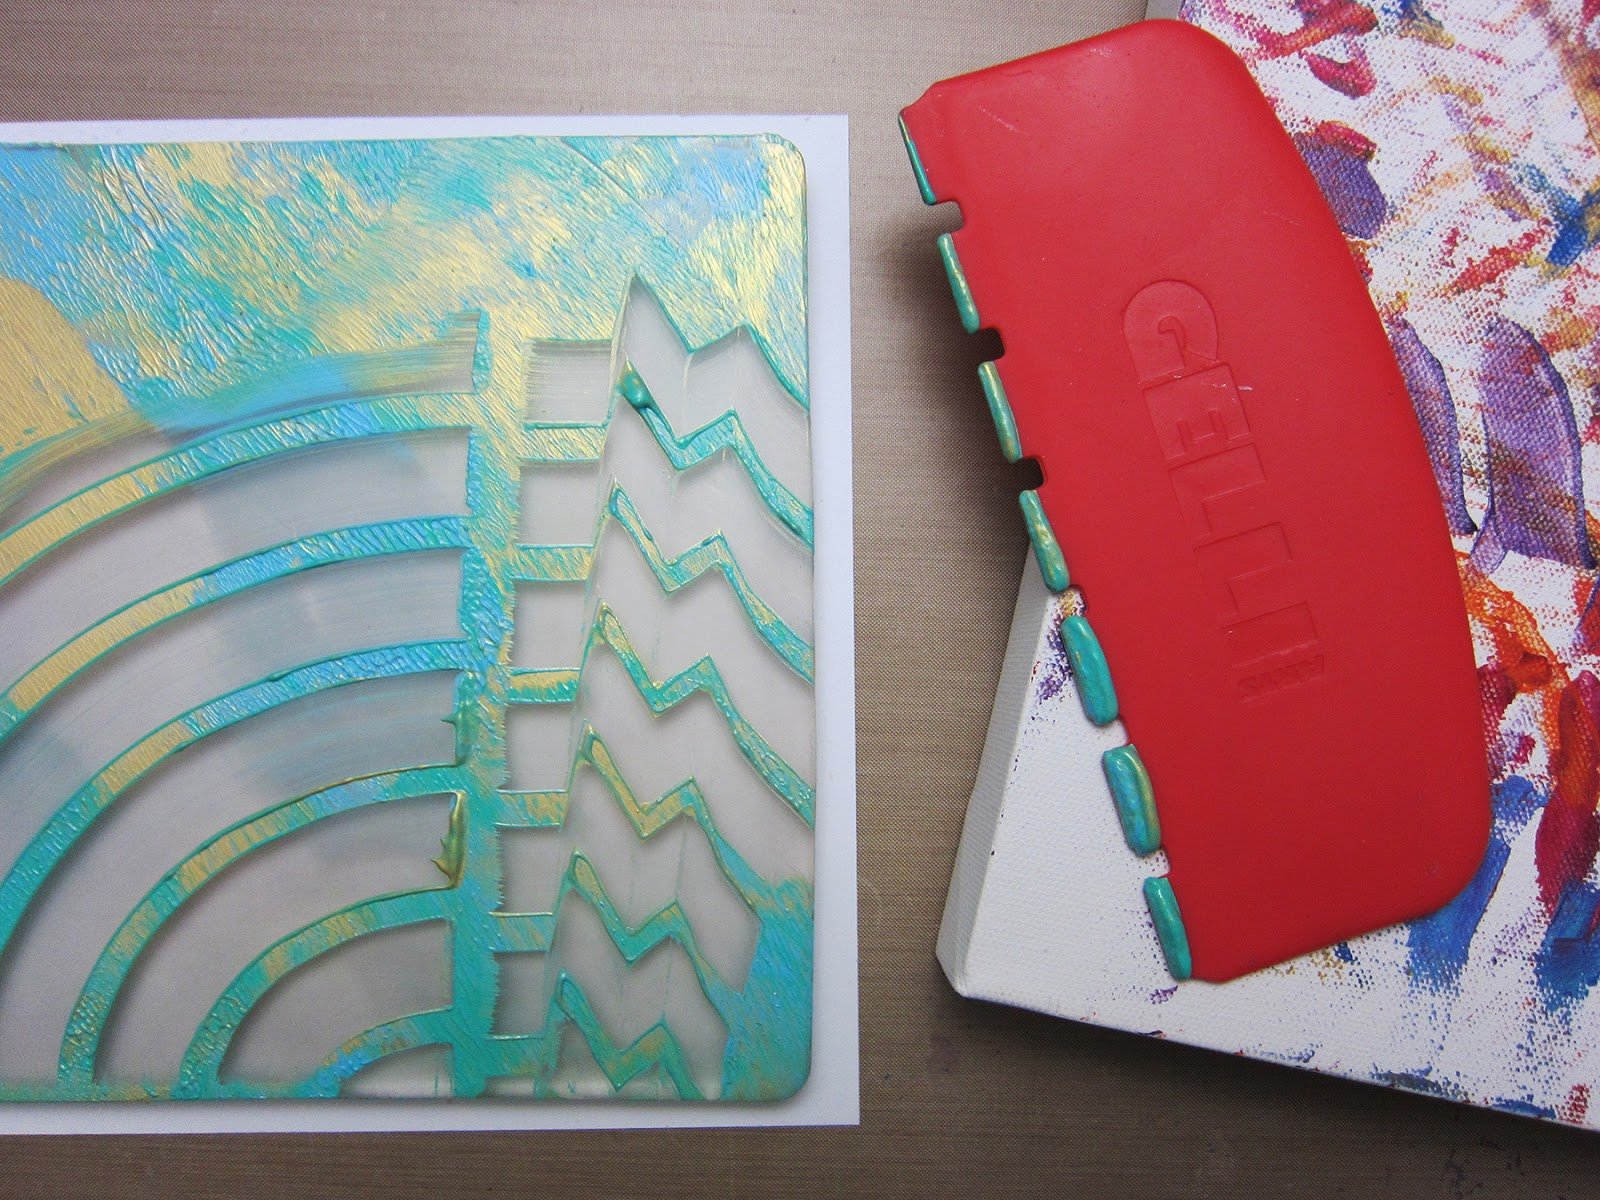
While we designed the Gelli® combs primarily for Gelli Arts® printing, you’ll find they’re perfect for any paint or medium application where you want to create interesting patterns! So keep them handy while you prepare a surface with gesso or molding paste — or for applying paint on your favorite substrate. Instant texture and pattern!!
Here I’ve added some textured sand paste with a palette knife and scraped texture into it with a Gelli® comb!
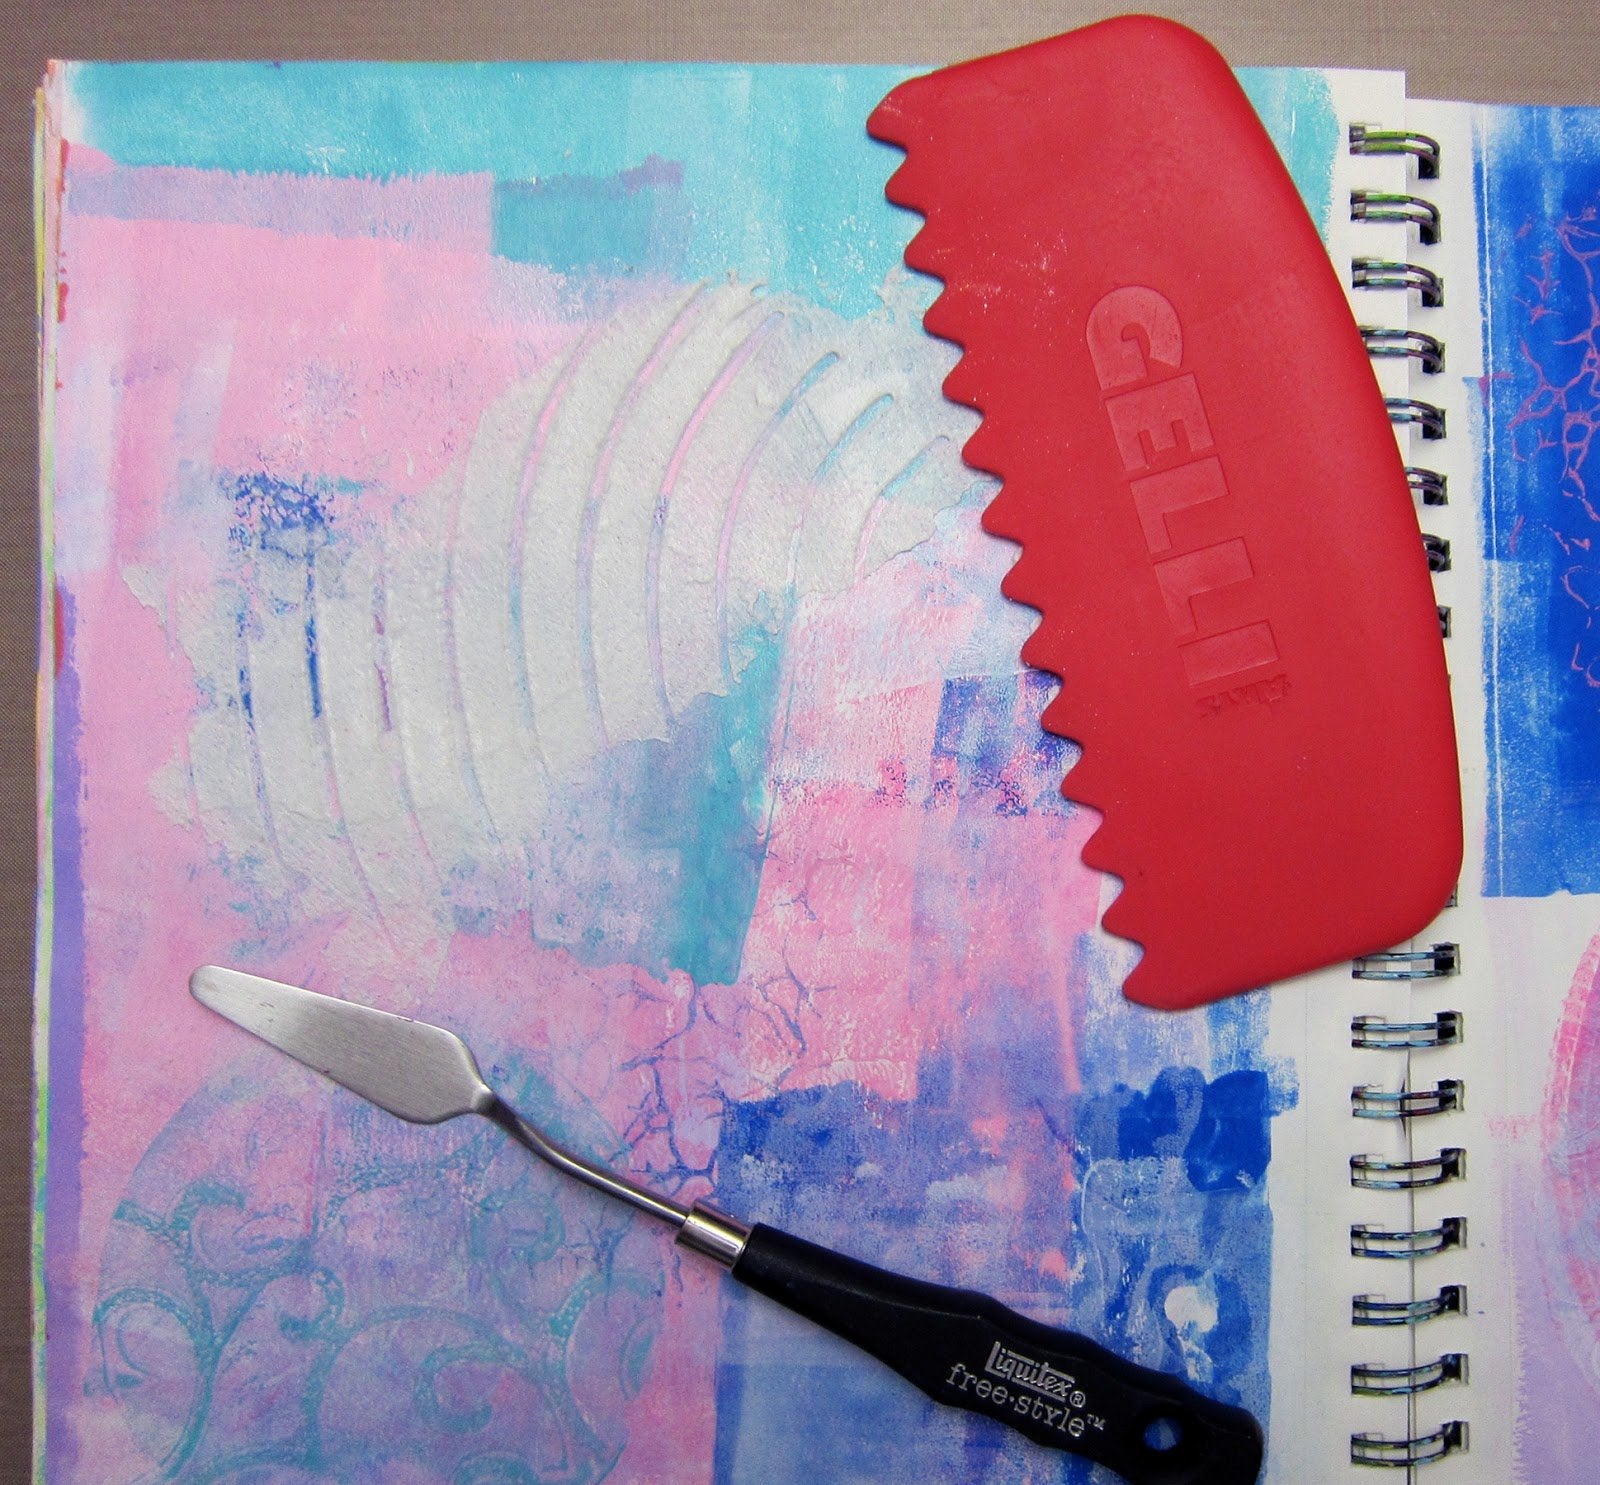
Using combs is a subtractive process — and that means you’re removing paint from the Gelli® plate to create your image. That also means you have a build-up of wet paint on your combs — so you’ll want to have paper or other substrate handy for wiping off that paint and creating more fabulous marks!
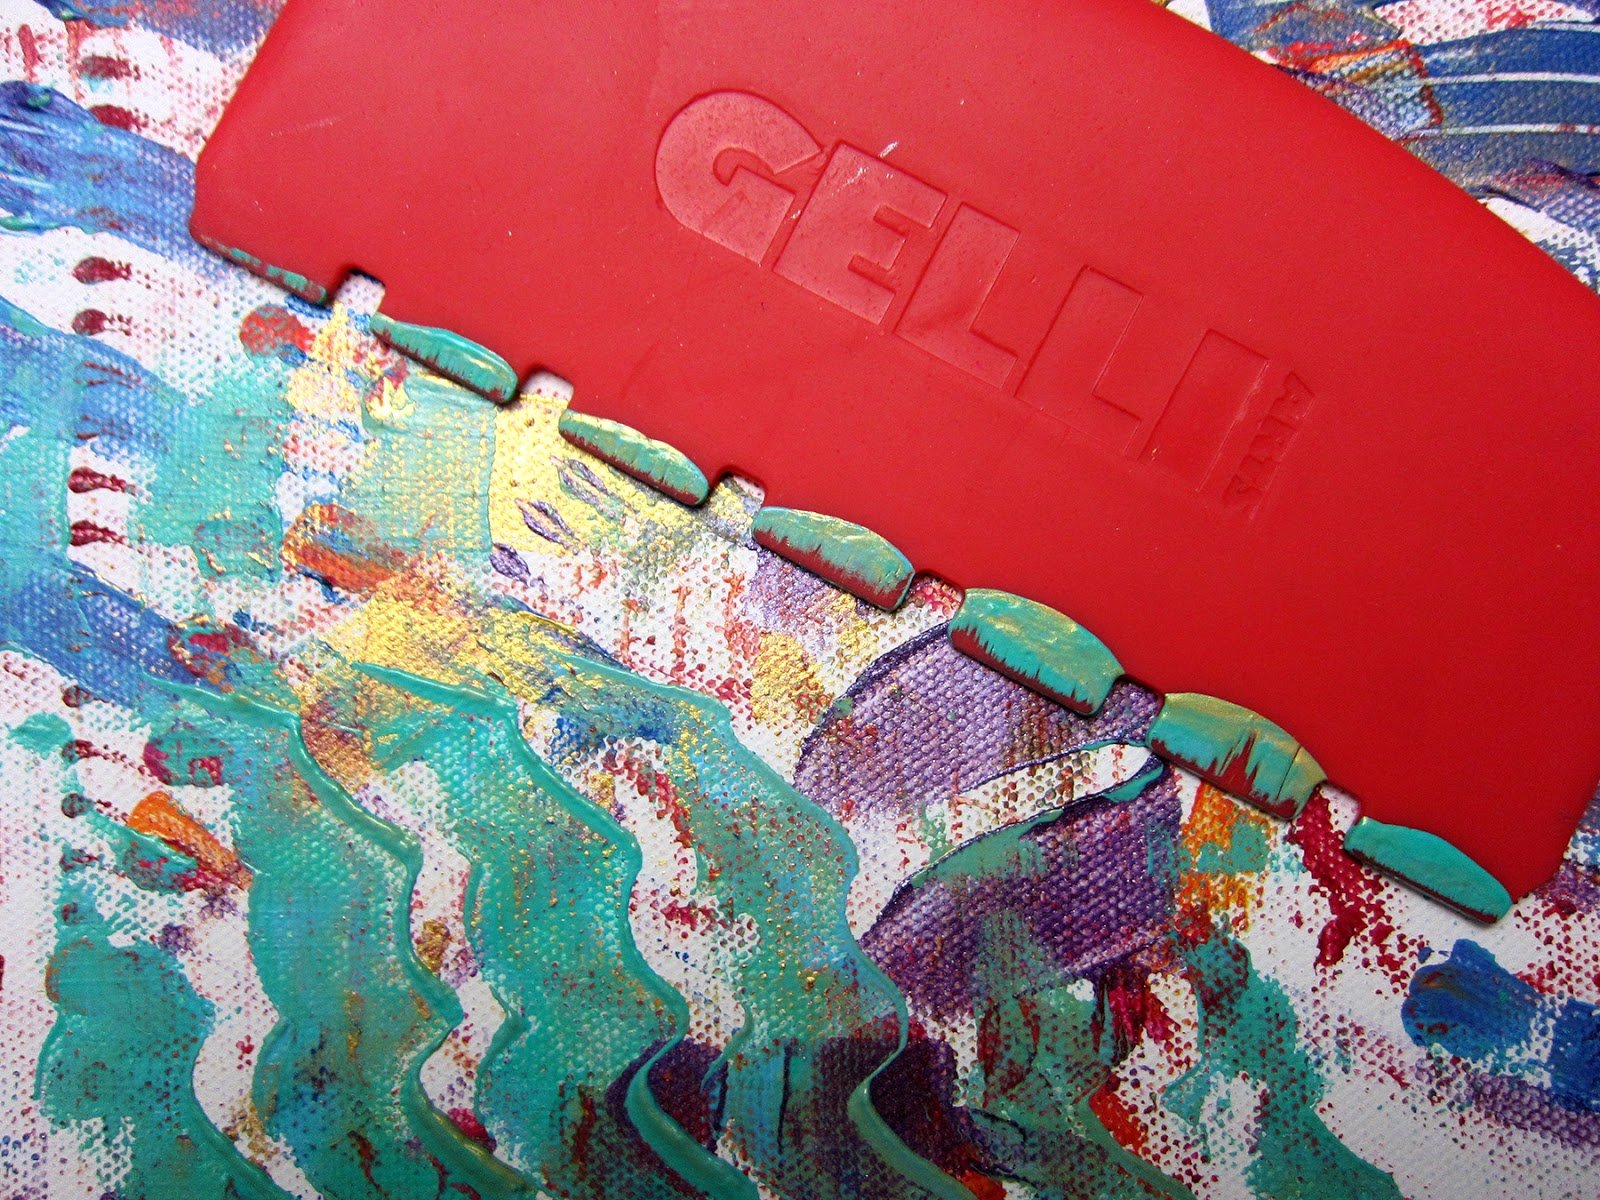
What a great way to start an abstract painting!! Be free and go with the flow!
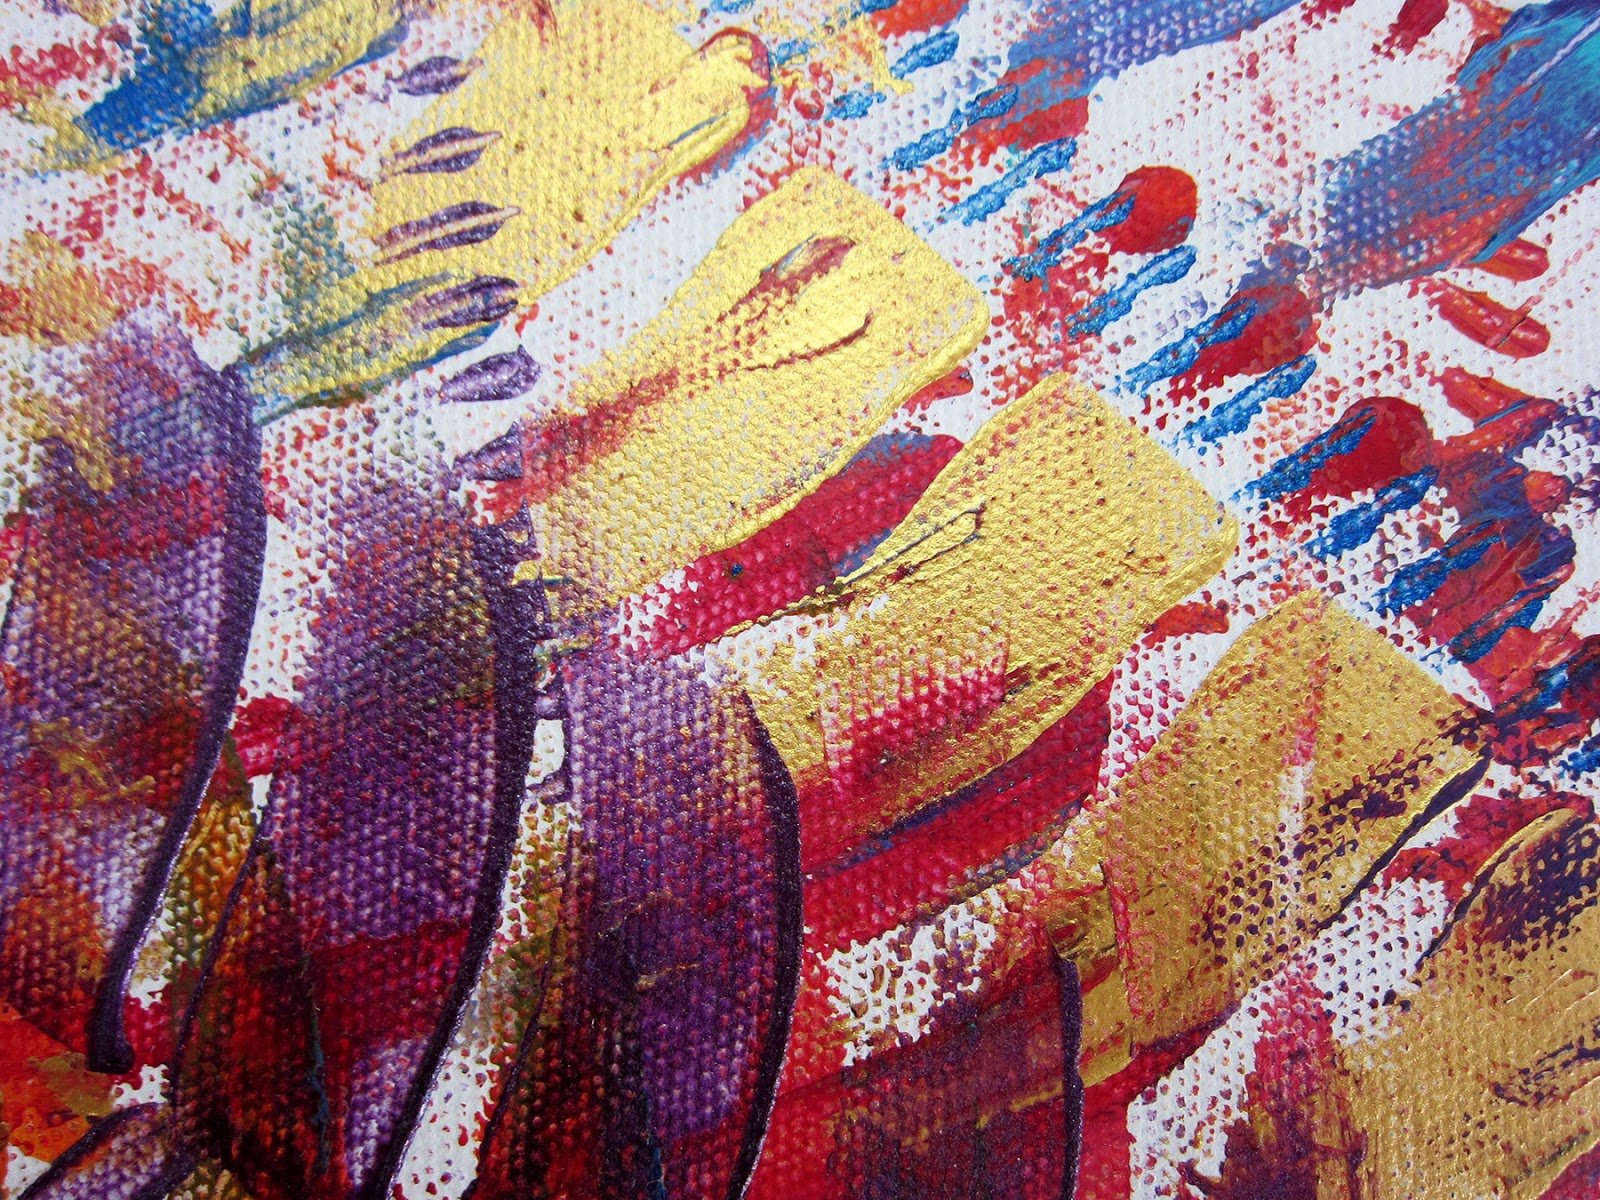
Like this project? Take the course.
Your Printmaking Journey · Fall Edition: 13 artists, six weeks, lifetime access. Started October 18. $199, enroll anytime.
Everything from the store in this lesson
The three Gelli Arts® items Gelli uses, $86.97 all in.

 Quick add
 Quick add
 Quick add
Project and photography by Gelli Arts®. First published on the Gelli Arts® blog in August 2015.


Your Printmaking Journey · Fall Edition





October 18 to November 28, 2026
13 artists teaching on video, lifetime access. $199, enroll anytime.


