

1
You can either make masks for printing either by using premade paper die-cuts, an electronic die-cutting machine, or creating your own by hand.

 Grades 9 to 12

You can either make masks for printing either by using premade paper die-cuts, an electronic die-cutting machine, or creating your own by hand.
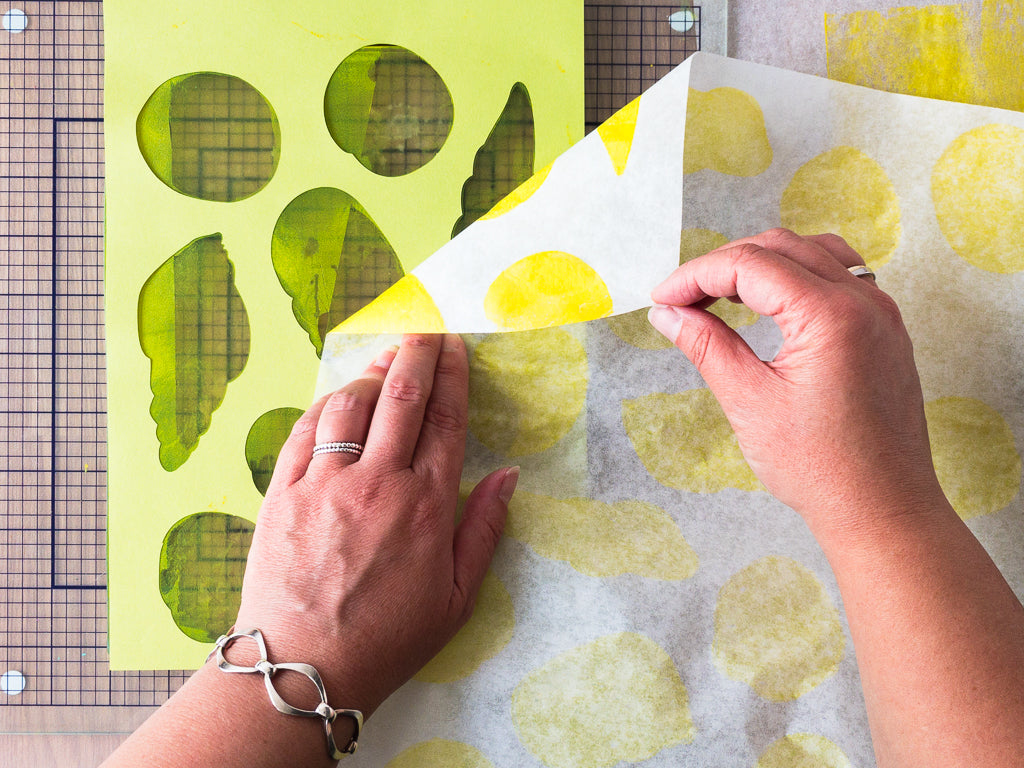
Roll acrylic paint out onto the GelliArts® gel printing plate with a brayer, place the paper stencil on top and pull a print with the parchment paper.

Use a brayer to roll paint out on a craft sheet (or another sheet of parchment paper). Then use the brayer to transfer the paint onto the GelliArts® mini gel printing plate of your choice.

Place a die-cut or mask on top of the parchment paper and stamp with the Gelli Arts® mini gel printing plate over the die-cut.

Use your favorite tools to make marks all over the sheet of parchment paper.

Use any of the left over rolled out paint to stamp images with (cling) rubber or foam stamps. Don’t let any paint dry on the stamps. Clean the stamps immediately or keep a bowl of water nearby to temporarily keep them in until you are ready to clean the paint off.

Gesso and then lightly sand a store-bought wooden magazine file or any other object you’d like to alter. The surface of the object needs to be as smooth as possible.
Tear the printed parchment paper into smaller pieces.

Brush enough decoupage glue, such as Mod Podge, onto the magazine file for one or two pieces of parchment paper at a time.

Place a piece of parchment paper on top of the glue and then brush over the paper to adhere, burnish and seal it at the same time. Let each new piece of parchment paper overlap the previously adhered piece.

Repeat until the file organizer is covered completely. Leave the glue to dry completely. Trim the edges if necessary and then put the Gelli Arts® gel printed organizer file on display in your home or anywhere!





13 artists teaching on video, lifetime access. $199, enroll anytime.