
1
This will show you how to create a complete “painting” using handmade stencils and masks on the Gelli Arts® plate.

 Grades 9 to 12
This will show you how to create a complete “painting” using handmade stencils and masks on the Gelli Arts® plate.
First, you have to create a drawing of the image you want to print and you have to think carefully about the layers you want to create. Some advice would be to try some easy prints first to get the hang of the process as it involves some thinking to get it right. You could start with three or four layers and easy shapes before making it a bit difficult.

When your drawing is done you have to mark the separate shapes with numbers corresponding with separate layers.
Use the number one for the top layer – these are the shapes that are not overlapped by anything else. They will appear the closest to you in the final image. Then, use the number two for the shapes that are only overlapped by number one. Number three for the shapes that are overlapped by ones and twos. Continue in this fashion until every shape has been numbered.

Make copies of your drawing for every layer. If there are four layers, you will need four copies of your drawing.

From the first copy, cut out all the shapes marked with the number one. From the second copy, all the shapes with number two, and so on. You have to use a craft knife, as you will need both the stencil and the mask to create your prints.

Place the original drawing underneath your Gelli Arts® gel printing plate. It is clear so you will be able to see the drawing underneath the plate.

Start with placing stencil number one on top of the Gelli Arts® plate, lining it up with the complete drawing underneath the plate. Apply the first color and then remove the stencil.

Now line up the paper you want to print on exactly with the paper underneath the Gelli Arts® plate and pull the print.

Place stencil number one back on the Gelli Arts® plate and repeat the previous steps until all the shapes of the first layer are done.

Once all the shapes of the first later are printed you have to mask them with the parts you cut from the stencil. Use a repositionable adhesive to apply the masks to the print you are working on. Make sure the paint is dry before you do so.

Now it’s time to print the second layer. Place stencil number two on the Gelli Arts® plate, apply the paint, remove the stencil, and make the print on your masks paper. Again make sure you line up the paper exactly with the drawing underneath the Gelli Arts® plate.

Complete all the steps for stencil number two before you move on to layer number three. Mask both layer number one and number two before you start printing layer number three and so on.

Repeat this process for all the layers.

If you like, you can add texture to the different shapes too.

The very last layer will be your background and then the printing is done.

You can now leave it as it is and frame it, but of course you can also stamp, doodle, write, and paint on top of your print. Even the simplest prints can be beautiful pieces of art.

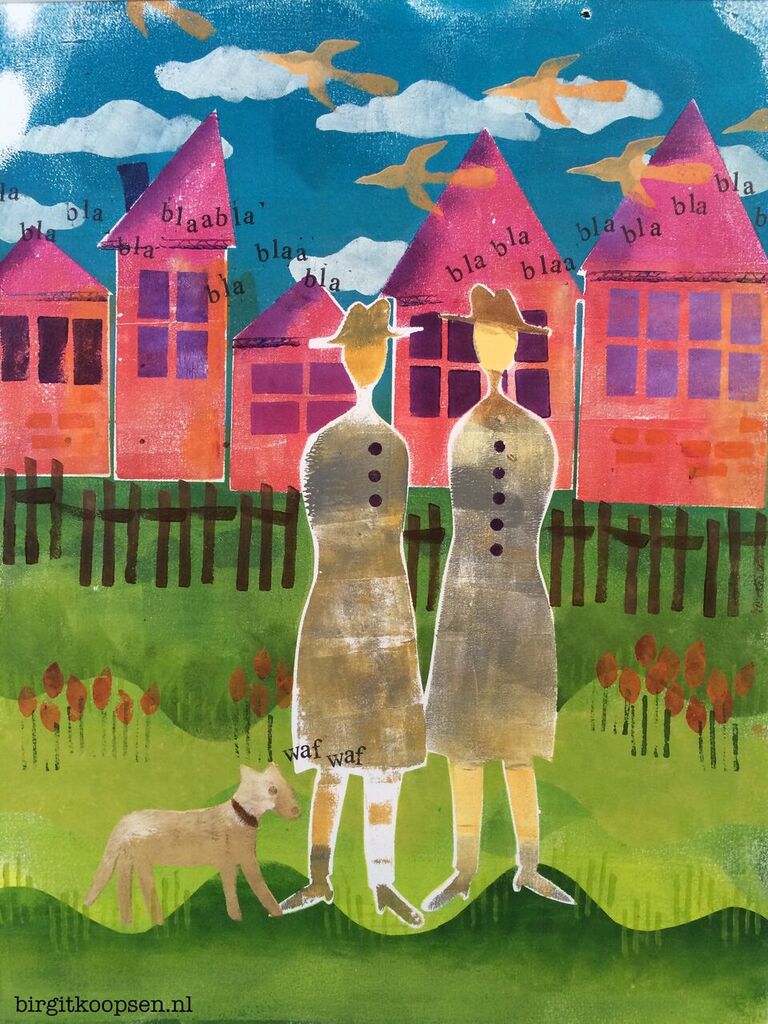

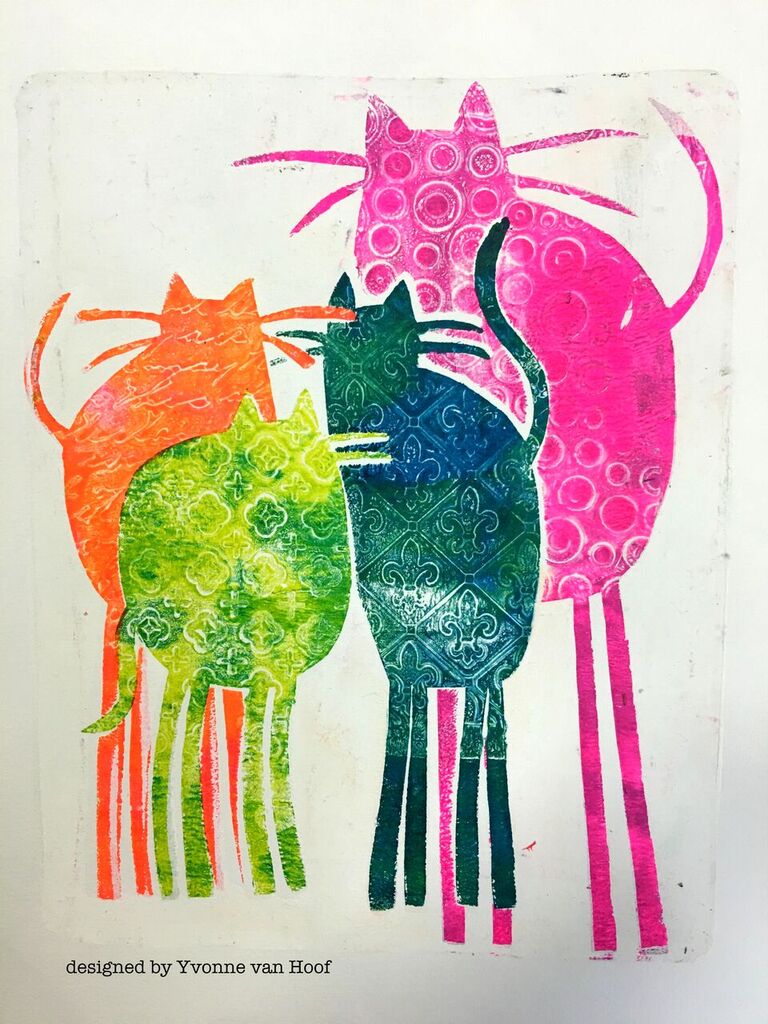
Lesson plan by Birgit Koopsen for Gelli Arts®. Photos from Birgit Koopsen’s printing with masks post on the Gelli Arts® blog.





13 artists teaching on video, lifetime access. $199, enroll anytime.