
1
Apply a thin layer of paint to your plate

 Grades 5 to 8

Apply a thin layer of paint to your plate
Use the brayer to roll out the paint (recommended: use
Finally, use a blank sheet of paper to press down and pull the print. This makes your base layer, or background.

Finally, once your print is dry, take the Mask Liquid and get to mark making. Draw with either the dropped that comes with the liquid or even a small brush to create an array of designs and patterns on your print.
One again making sure your print and now the liquid is dry, apply paint to your plate and roll it out. You can even use mark making tools such as combs or stencils.

Once you do this press down your print with the dry liquid on it to pull a new print off the plate. You can do this step at many times until you reach a print result you are satisfied with.

Once the print is dry once more, it’s time to remove the liquid. By using your hands simply pick and peel the liquid off your print to reveal the base print under it.


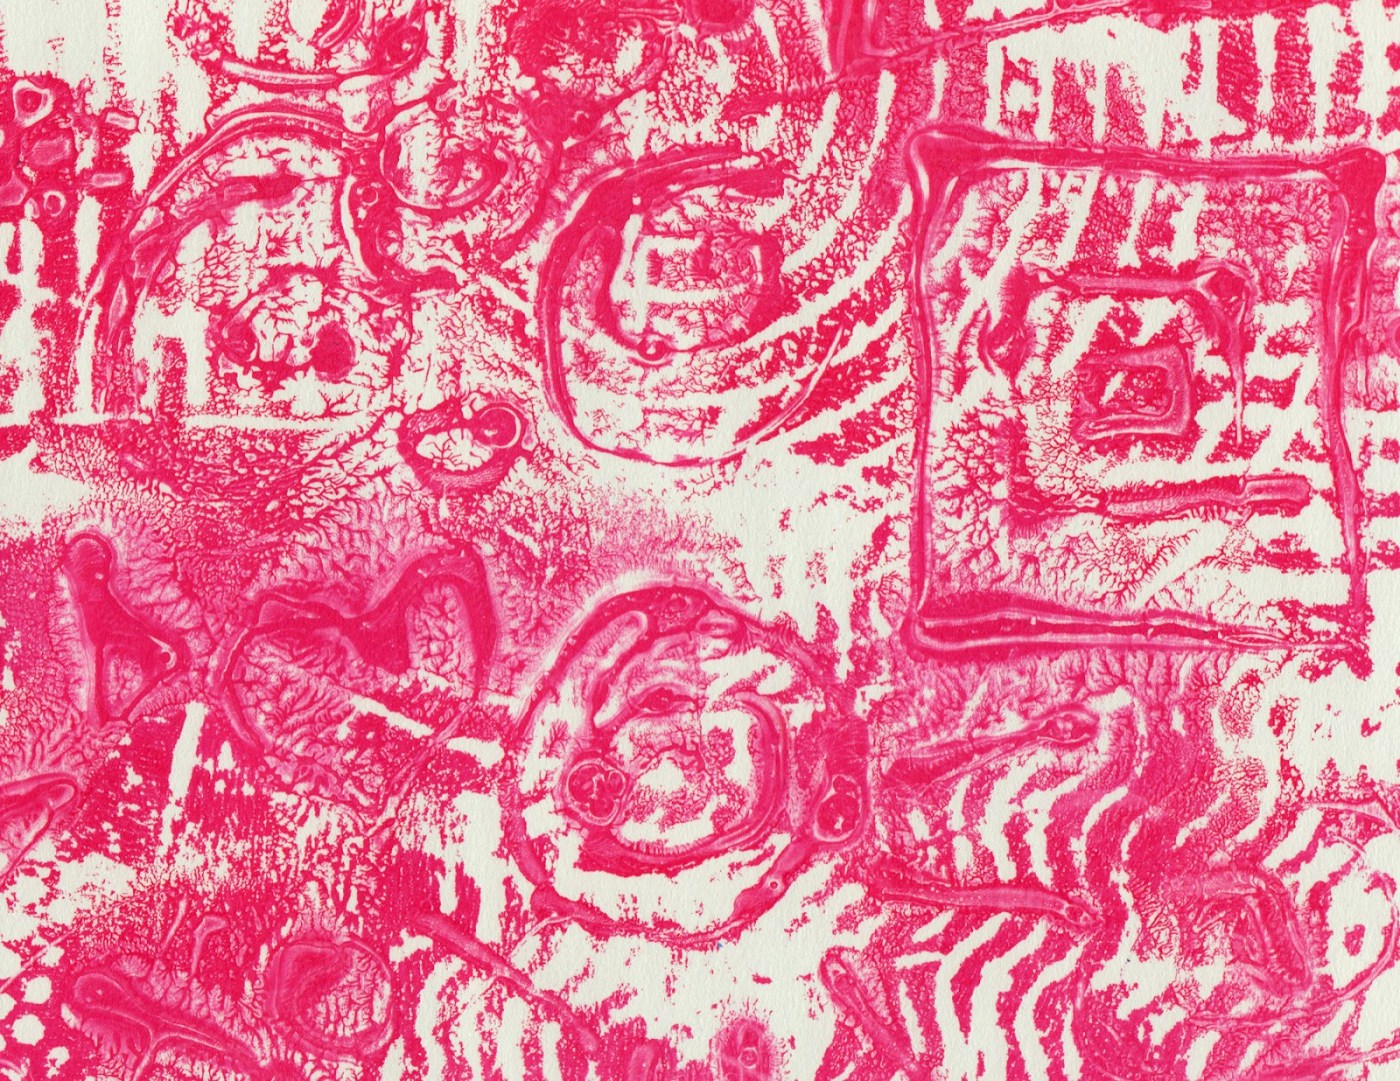
Lesson plan by Joan Bess for Gelli Arts®. Photos from Joan Bess’s masking fluid post on the Gelli Arts® blog.





13 artists teaching on video, lifetime access. $199, enroll anytime.