


Double-sided Washi Paper
 Watch
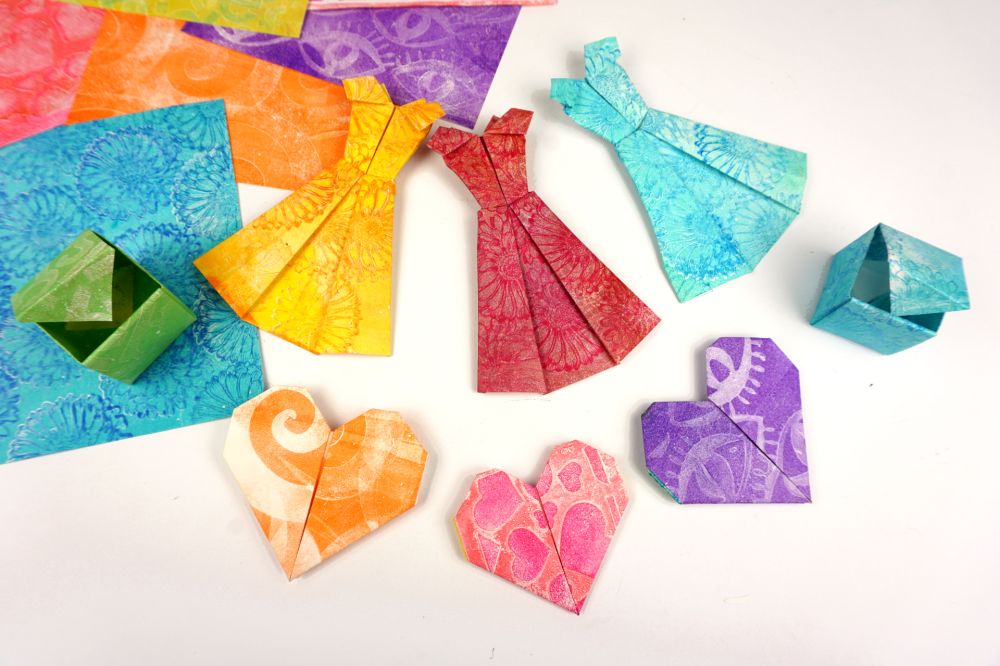
Hi Everyone! I’m Karen Elaine. I’m an artist, author and teacher living and creating in the heart of Arizona near beautiful Sedona. I have been in the art materials industry for decades and the senior creative consultant for Yasutomo. I’m excited to show you how I create beautiful double-sided papers with washi (aka rice) paper, stencils, acrylics, and the Gelli plate. You may wonder why I like to make double sided papers. First of all, they are great for origami and paper folding projects where it looks better with color on the other side instead of plain white. Folded envelopes are especially beautiful!
Karen Elaine’s prints
I love using washi papers in collage, origami, bookbinding, and all kinds of mixed media projects paper because they are strong and resilient with long fibers. They are perfect for monoprinting because of their absorbency and strength. Washi papers absorb the colors a bit differently than standard copy paper or sized paper and they are really fun to work with as long as you know a few things that I will share with you here today. 😊 Note: Washi paper has a smooth and rough side. Be sure to print on the smooth side! The rough side will not accept the color and detail of the print as well as the smooth side.


Follow along
Karen Elaine’s steps, written out in her order. The video shows each one.
Print the front
- Roll a light coat of color such as white, silver or pale gold onto the Gelli plate surface.
- Lay a stencil over the wet paint and quickly lay a sheet of washi paper (smooth side down) on the plate.
- Rub gently into the grooves of the stencil so the paper picks up the paint.
- Lift off the washi paper and set aside to dry.
- Make several prints as well as “ghost” prints with lighter colors, then add more saturated colors.
Paint the back
Once the papers are completely dry you can coat the back with a contrasting color. This is where the washi paper shines: because it is absorbent, the color soaks through to the other side except where the front is printed.
- Thin down a contrasting acrylic paint with water. I used a combination of Paynes Gray and Phthalo Turquoise. My original print is light, so I want to use a darker color.
- Lay the washi paper printed side (smooth side) down on a glass or non-absorbent surface.
- Brush the thinned paint gently over the back of the sheet. Be careful not to rub, as it may damage the paper. I always use a flat sheep hair hake brush: it holds lots of liquid and is very soft.
- Gently pick up the paper and leave it somewhere to dry flat. The paper will be strong again once it is completely dry.
Like this project? Take the course.
Your Printmaking Journey · Fall Edition: 13 artists, six weeks, lifetime access. Started October 18. $199, enroll anytime.
Everything from the store in this lesson
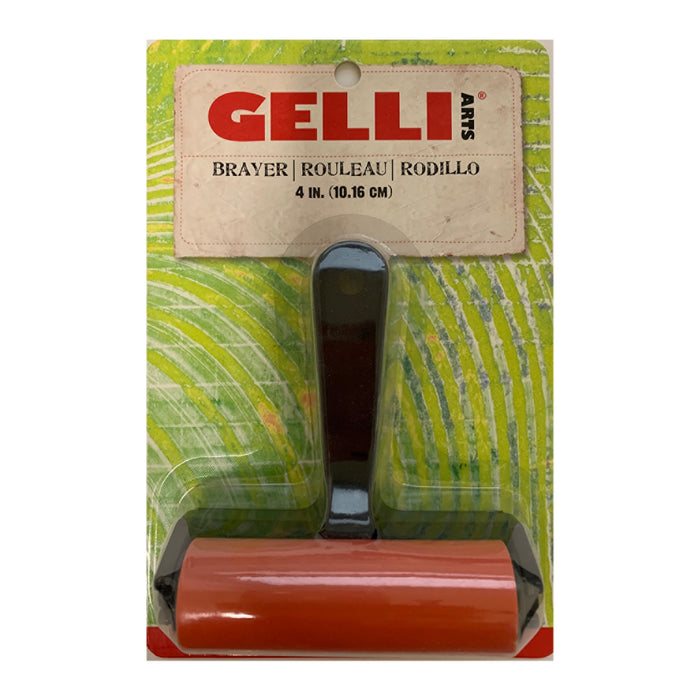
The two Gelli Arts® items Karen uses, $56.98 all in.

 Quick add
 Quick add
Project and photography by Karen Elaine for Gelli Arts®. First published on the Gelli Arts® blog in June 2023.

Your Printmaking Journey · Fall Edition





October 18 to November 28, 2026
13 artists teaching on video, lifetime access. $199, enroll anytime.

