The Original Gel Plate · Est. 2011 · Made in the USANew: Holiday Card & Ornament Kit · $43.99Your Printmaking Journey · Fall Edition on now · enroll anytime
Decorate rice paper lanterns with tissue paper, stencils and the Gelli plate
From the Gelli Arts® blog

Rice Paper Lanterns

with Marsha Valk
TechniqueGel printing
You’ll makeDecorate rice paper lanterns with tissue paper, stencils and the Gelli plate
LevelAll levels
Decorate rice paper lanterns with tissue paper, stencils and the Gelli plateWatch
From the artist

Hi there! It’s Marsha here, and today I’ll share a couple of my favourite stencil techniques, plus I’ll also show you how I decorated a rice paper lantern with the gel printed tissue paper I created in the process! Of course, I’ll use the seven fun new Gelli Arts® stencil designs by Giovanna Zara and me!

Step-by-step

Follow along

Stencil technique A

Stencil technique A

  1. Apply a thin and even layer of acrylic paint to the Gelli® plate.
  2. Place a stencil on top.
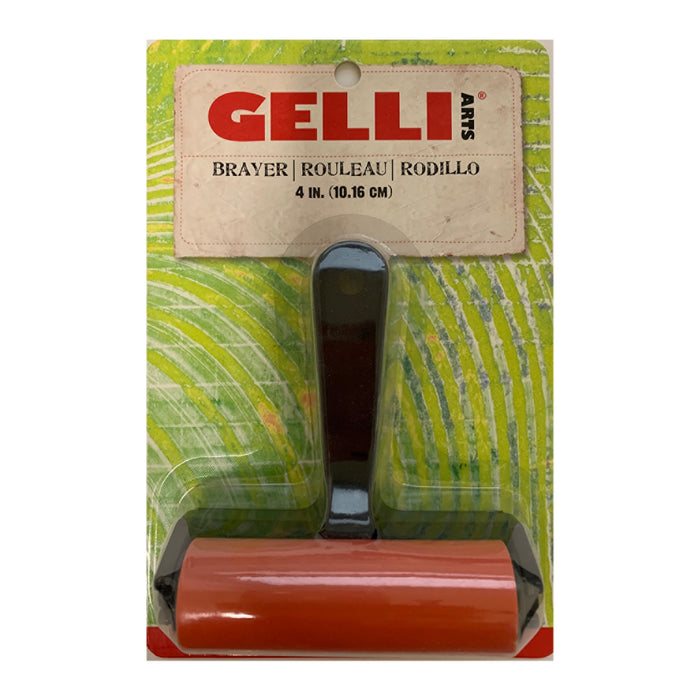
  3. Carefully roll over it with a dry brayer.
  4. Remove the stencil and pull your print.
  5. Tip Use scrap paper to prevent the color from getting onto your hands.
Stencil technique B

Stencil technique B

  1. Apply a thin and even layer of acrylic paint to the Gelli® plate.
  2. Place a stencil on top.
  3. Use tissue paper to remove paint through the openings in the stencil.
  4. Tip In the video, I’m using a new strip of the tissue paper I’m printing on; however, you could also use (a scrap) of any thin paper.
  5. Remove the stencil and pull your print.
Stencil technique C

Stencil technique C

  1. Apply a thin and even layer of acrylic paint to the Gelli® plate.
  2. Place a stencil on top.
  3. Use tissue paper or (a scrap of) thin paper to remove paint through the openings in the stencil.
  4. Leave the stencil on the plate and apply a contrasting paint color in the openings.
  5. Remove the stencil and pull your print.
Stencil technique D

Stencil technique D

  1. Apply a thin and even layer of acrylic paint to the Gelli® plate.
  2. Place a stencil on top.
  3. Pull your print.
  4. Remove the stencil and reposition the paper approximately in the same place.
  5. Pull the print.
  6. Tip You can also use another sheet of paper for step 4 and repeat the process using a different color. This time use the second sheet for step 3 and the first sheet for step 4/5.
How to pull a ghost print

How to pull a ghost print

  1. Occasionally there is dry paint on your plate after a pull. Whenever this happens, you’re invited to pull a ghost print!
  2. A ghost print is a subtle, lighter second or third print, sometimes also called a clean-up print.
  3. Roll a thin, even layer of paint over the dry paint residue on the Gelli® plate. It’s perfect when you can see the old paint through the new layer.
  4. Place your paper on top and pull your print.
  5. Tip If the ghost is still on the Gelli® plate and you only see the new color on your paper after the pull, you’ve rolled out too much paint on the plate.
Gel printing a word stencil

Gel printing a word stencil

  1. Gel printing words can be a puzzle. How do you make sure the text is readable on your print?
  2. The rule of thumb is that words must face the gel plate the right way if you want them to be readable.
  3. This applies to any texture maker with text, whether a book or magazine page, a stencil, a mask or a texture plate.
  4. In other words, the gel plate needs to be able to ‘read’ the text, so the mirror side of the stencil needs to face you!
TipThere are two solutions
  1. If you have an inkling that you’ve rolled out too much paint on the plate, place the paper on top, rub well and then wait for the paint and the paper to dry before you pull up the paper.
  2. How long you have to wait depends on the climate in the room you’re working in and how much paint you applied.
  3. Try using less paint next time!
There are two solutions
How to decorate a rice paper lantern with gel prints

How to decorate a rice paper lantern with gel prints

  1. Gel printed tissue paper is perfect for collage and decoupage projects – this time, I chose to decorate a rice paper lantern with the paper I gel printed.
  2. Create a template that mimics the paper panels of the rice paper lantern. I measured the widest part of the panels and then the narrowest parts. I tried to capture the curve by placing my blank paper onto the lantern, holding it up towards the light and then loosely tracing it. The result isn’t perfect, but it’s close enough!
  3. Use the template to trace and cut the tissue paper to size.
  4. Use matte medium or decoupage glue to adhere the tissue paper to the lantern, one panel at a time. The adhesive is white but will dry clear.
  5. Stop and take a break to let the rice paper lantern dry whenever you see or feel that everything gets too damp or too wet with glue. Even the most robust rice and tissue paper will tear when wet!
  6. Let it dry entirely once you’ve covered the entire lantern.
  7. Once the lantern is dry, you can do a last check to see if the seams need extra glue. Once those are glued down and dry, the lantern is ready!
  8. Tip I’ve decoupaged two different types of rice paper lanterns. The kind that worked best was a rice paper lantern with horizontal boning, as seen in the video.
  9. I also decorated a third lantern made of fabric instead of paper. Unfortunately, that material was much less stable, and the lantern lost some shape. So I wouldn’t recommend using a fabric lantern based on my experience!
13video classes

Like this project? Take the course.

Your Printmaking Journey · Fall Edition: 13 artists, six weeks, lifetime access. Started October 18. $199, enroll anytime.

See the course
Shop this project

Everything from the store in this lesson

The three Gelli Arts® items Marsha uses, $39.47 all in, with the stencil pattern you pick.

Add all 3 to cart

Project and photography by Marsha Valk for Gelli Arts®. First published on the Gelli Arts® blog in June 2023.

The course

Your Printmaking Journey · Fall Edition

Tania AhmedKim BloombergPhoebe GanderKim HerringeSusan CliftonJessica Russo ScherrGiovanna ZaraMary Beth ShawMaren OatesRobyn McClendonBirgit KoopsenJulia WoningStewart Taylor
13classes, six weeks

October 18 to November 28, 2026

13 artists teaching on video, lifetime access. $199, enroll anytime.

See the course
Shop this project$39.47See the kit