The Original Gel Plate · Est. 2011 · Made in the USANew: Holiday Card & Ornament Kit · $43.99Your Printmaking Journey · Fall Edition on now · enroll anytime
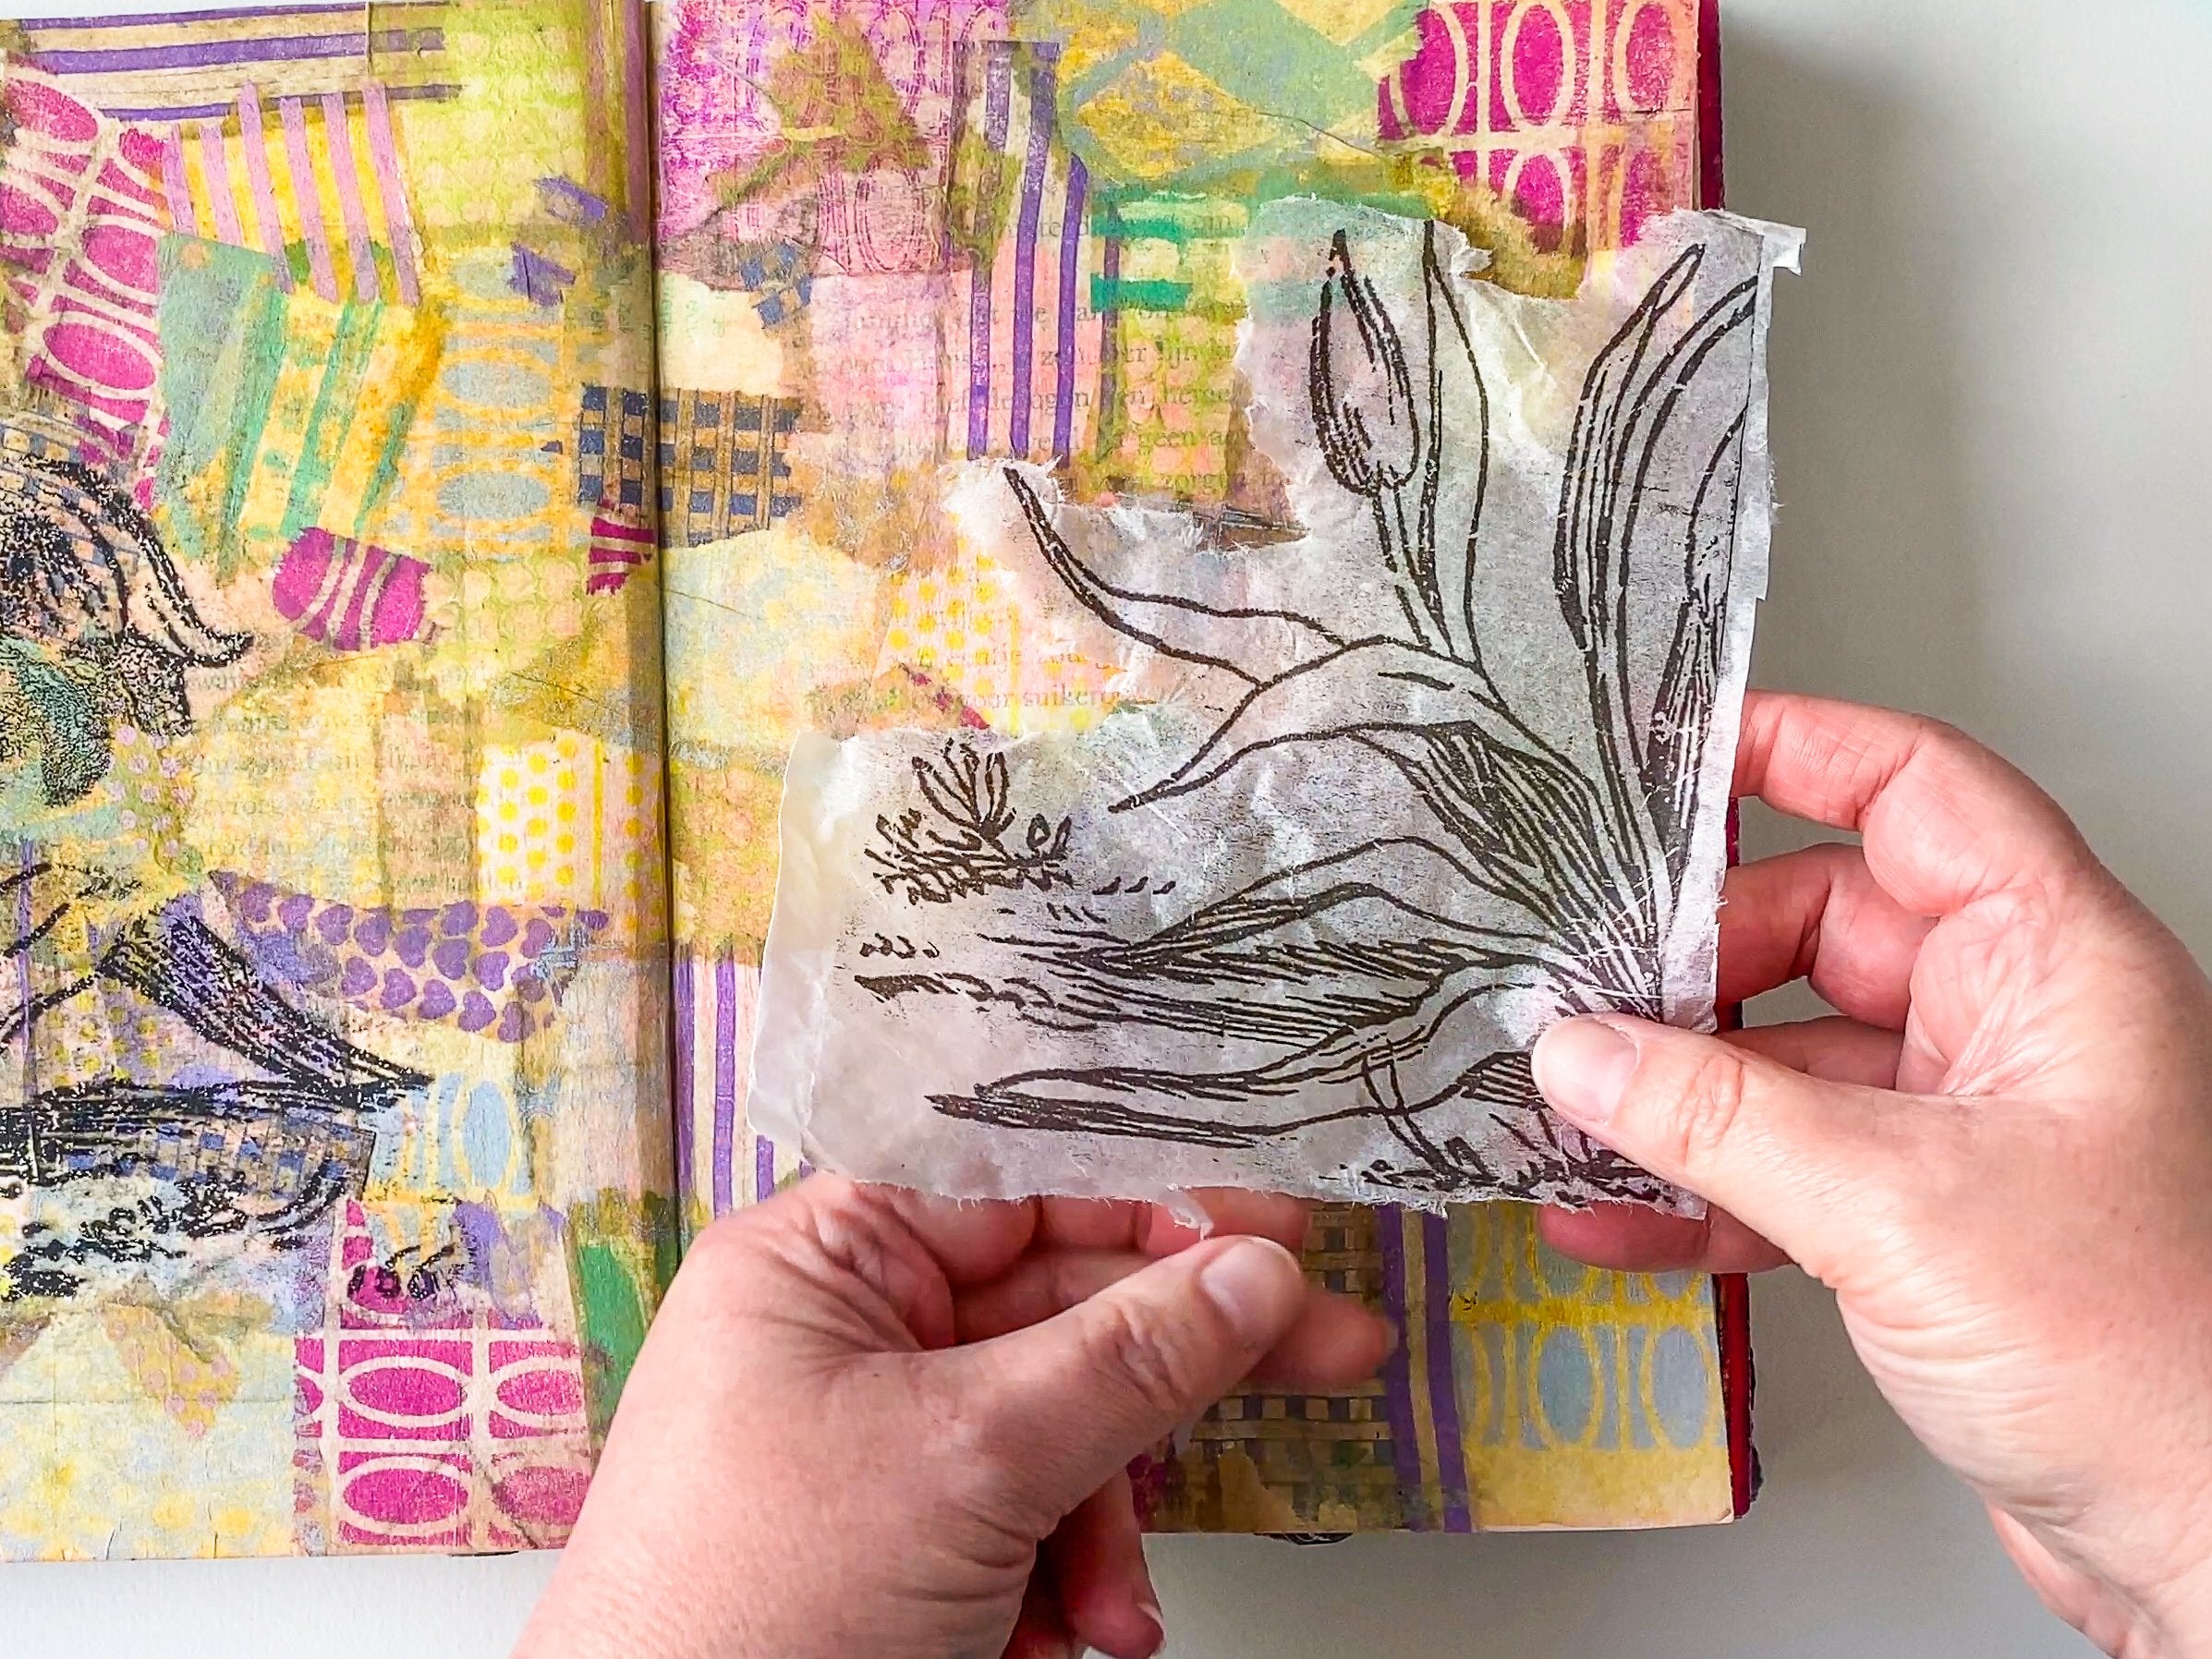
Marsha’s spring art journal spread collaged from gel printed tea bags
From the Gelli Arts® blog

Tea Bag Collage

with Marsha Valk
TechniqueGel printing on tea bags, image resist transfer
You’ll makeA tea bag collage art journal spread
LevelAll levels
Marsha’s spring art journal spread collaged from gel printed tea bagsWatch
From the artist

Hi there! It’s Marsha here today! Please grab a cup of tea because I’m sharing how to create this spring-inspired art journal spread using gel printed tea bags!

Supply list
Step by step

Follow along

How to prepare your tea bags

How to prepare your tea bags

  1. The tea bags I have are the type that is folded close and then tied with string at the top. However, you can use any tea bags that are made from paper.
  2. After I’ve brewed my cup of tea, I leave the bag to dry.
  3. Once it’s dry, I can remove the string, unfold the bag, carefully tear it open at the seams, remove the tea leaves, and flatten the paper.
  4. Different tea blends stain the paper in different colors. For example, my yellow papers are turmeric tea bags, the greenish paper is nettle tea, and the smaller reddish brown ones are from regular black tea.
Gel printing on sheer paper

Gel printing on sheer paper

  1. Gel printing on tea bags is just like printing on regular thin paper or tissue paper! Before you know it, you’ll have a colourful stack of tea bags for your art journal or decoupage projects.
  2. Because the paper is thin, the paint can seep through it, so cover the tea bag with scrap paper to prevent the paint from getting on your hands while you’re printing.
  3. Sometimes the paint dries before you can pull the print from the plate. You can pick up this paint by applying a new layer of acrylic paint and then pulling your print.
  4. This method, however, will cover all of the original stain and sheerness of your tea bag paper. The solution is easy: pick up the dried paint with a thin layer of matte medium or soft gel medium instead!
  5. Remember to check if your paper feels dry before you pull your tea bag print from the Gelli® plate. If it feels damp, the paper can stick to the plate and tear.
Prepping your journal pages for tea bag collage

Prepping your journal pages for tea bag collage

  1. One of my art journals is an old book. In the video, you see me cover the pages with gesso. This is not because I need to protect the pages. The gesso is entirely optional.
  2. However, you must be aware that the tea bags are sheer, so when you adhere them to something, whatever is underneath will shine through.
  3. So I decided to use gesso to conceal the yellow color of my pages, most of the text and some of the stenciled elephant image already on the page.
Translucent paper collage

Translucent paper collage

  1. I recommend using matte medium for adhering sheer paper to paper and decoupage glue for objects. Applying matte medium (or decoupage glue) under and over the paper will make the tea bag even more translucent.
  2. Always give the adhesive a chance to fully dry before you trim the edges of your tea bag paper!
Image resist transfer gel printing on textured surfaces

Image resist transfer gel printing on textured surfaces

  1. One of the most frequently asked questions about image resist transfer is if it works on something textured like canvas.
  2. The truth is that image resist transfers work best on a very smooth substrate. You lose a lot of detail when you gel print onto a textured surface like canvas, or in this case, my tea bag collage.
  3. If you want to use the image transfer as a guide for painting, the loss of detail might be OK. The result could fulfill your need.
  4. However, suppose you want all the details to be visible. In that case, the solution is to pull your image resist transfer on tissue paper first and then adhere that to your textured substrate.
  5. Roll out a thin and even layer of acrylic paint on your Gelli® plate
  6. Place your high-contrast black-and-white laser print face down on the plate
  7. Gently touch it to make sure all of the paper is in contact with the plate
  8. Lift the paper
  9. Leave the image to dry completely
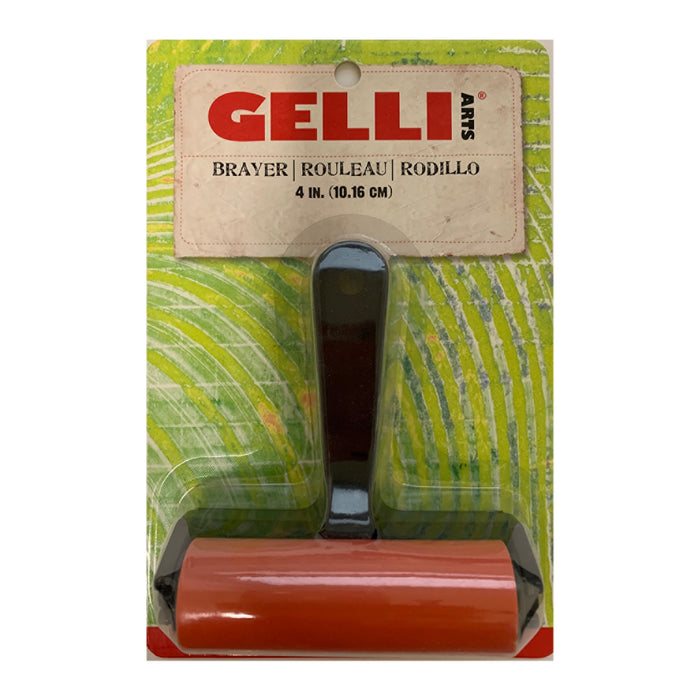
  10. Cover the roller of your brayer with (soft) gel medium
  11. Roll it out in a thin and even layer over the dry image on the plate
  12. Place a sheet of tissue paper on top
  13. Burnish well and leave the paper to fully dry on the plate
  14. Carefully pull your print
  15. If you’d like to learn more about image resist gel printing, then I recommend this blog post: Frequently Asked Questions (FAQ) about Image Resist Transfer Gel Printing by Marsha Valk
  16. I like to use soft gel medium instead of matte medium for this because matte medium can be slippery and more challenging to distribute evenly on the plate.
Image resist transfer gel printing on textured surfaces
Tear the edges

Tear the edges

  1. Opt for tearing the edges of your tissue paper instead of using scissors to cut away the excess paper before you adhere it to your project. Torn edges are less noticeable and can become nearly invisible on the page or canvas!
Finishing the art journal page

Finishing the art journal page

  1. You can finish your project in any way you wish. Use your favorite markers, crayons, coloured pencils, paint, gouache. There is no right or wrong here!
The finished piece

Happy tea bag gel printing! Please tag #GelliArts on social media when you share your tea bag gel prints. We can’t wait to see them!

Marsha.

13video classes

Like this project? Take the course.

Your Printmaking Journey · Fall Edition: 13 artists, six weeks, lifetime access. Started October 18. $199, enroll anytime.

See the course
Shop this project

Everything from the store in this lesson

The three Gelli Arts® items Marsha uses, $45.97 all in.

Add all 3 to cart

Project and photography by Marsha Valk for Gelli Arts®. First published on the Gelli Arts® blog in April 2023.

The course

Your Printmaking Journey · Fall Edition

Tania AhmedKim BloombergPhoebe GanderKim HerringeSusan CliftonJessica Russo ScherrGiovanna ZaraMary Beth ShawMaren OatesRobyn McClendonBirgit KoopsenJulia WoningStewart Taylor
13classes, six weeks

October 18 to November 28, 2026

13 artists teaching on video, lifetime access. $199, enroll anytime.

See the course
Shop this project$45.97See the kit