The Original Gel Plate · Est. 2011 · Made in the USANew: Holiday Card & Ornament Kit · $43.99Your Printmaking Journey · Fall Edition on now · enroll anytime
Cushions covered in Marsha's stencil printed tulip fabric
From the Gelli Arts® blog

Stencil Printed Fabric

with Marsha Valk
TechniqueGel printing with hand-cut stencils
You’ll makeHand printed fabric for cushion covers
LevelAll levels
Cushions covered in Marsha's stencil printed tulip fabricWatch
From the artist

Hi there! It’s Marsha here today showing how you can print your own designs on fabric using Gelli Arts® gel printing plates!

Supply list
Marsha's materials: drawing, markers, craft knife, fabric medium, paints, scissors, plates on blocks, brayer and ruler
Step by step

Follow along

Prep the fabric

Prep the fabric

  1. Pre-wash and iron the fabric before printing. The paint will grab the cotton fibers a lot better when all of the sizing is washed out.
  2. If you already know what you are going to make with the fabric once it’s printed, you can cut it to the sizes needed for your project.
Draw your designs

Draw your designs

  1. Think about designs you would like to print on your fabric. Draw them on paper.
  2. Keep it simple. Remember that even the most basic shapes transform plain fabric into something amazing.
Trace onto transparencies

Trace onto transparencies

  1. Choose the designs you want to use. Trace them onto transparencies. I’ve cut my transparencies to a size that covers the Gelli Arts® gel printing plates I’m going to use.
  2. Trace each element of the design that you would like to have a different color, onto a separate transparency.
  3. Having to clean stencils in between prints will slow your printing process, so think about making duplicate or even triplicate stencils beforehand.
Cut your stencils

Cut your stencils

    Set up your station

    Set up your station

    1. Set up your printing station. I cover my work surface with a non-slip plastic desk mat so the fabric can lay flat and won’t move. The plastic desk mat also ensures I can quickly wipe away any paint that ends up on the work surface so that it doesn’t accidentally stain the fabric.
    2. I also make sure I have plenty of room in the vicinity of my work surface to store all the stencils I’m using in between prints.
    3. Choose the paint colors you want to use. Limit your color palette to a maximum of two colors plus a neutral.
    4. You can use regular acrylic paint to monoprint on fabric, but if you need it to be washable, you’ll need to use a fabric paint or acrylic paint mixed with a fabric medium.
    5. Follow the instructions on the fabric medium packaging to make sure you are mixing the correct amount of paint/medium for the best result.
    6. I’m using acrylic paint mixed with a fabric medium. I’m using three plexiglass palettes and three brayers, one for each color.
    Start printing

    Start printing

    1. Start with gel printing your fabric. If you want to print a repeat pattern, it’s easiest to start in the center of your material, printing one row at a time.
    Add the stencil

    Add the stencil

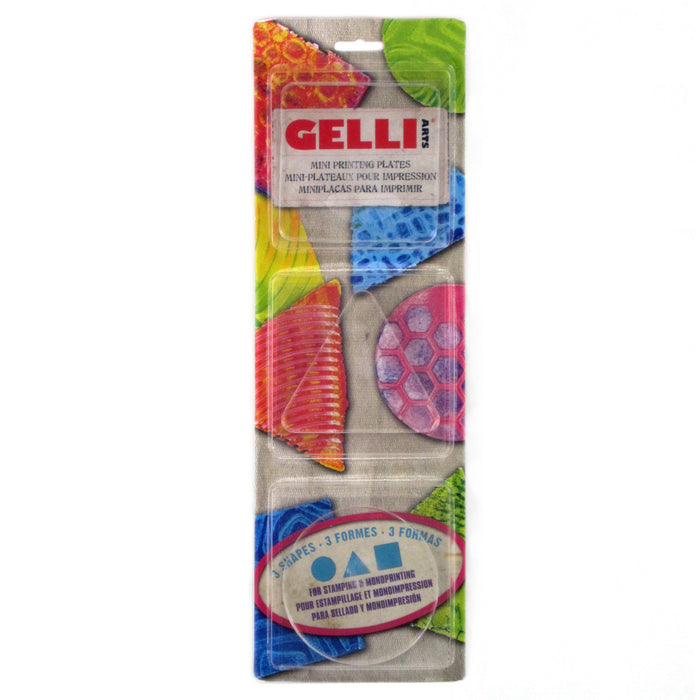
    1. Place the stencil of your choice onto the Gelli Arts® gel printing plate. I’m using a selection of smaller gel printing plates, each placed on an acrylic-stamping block.
    Roll and press

    Roll and press

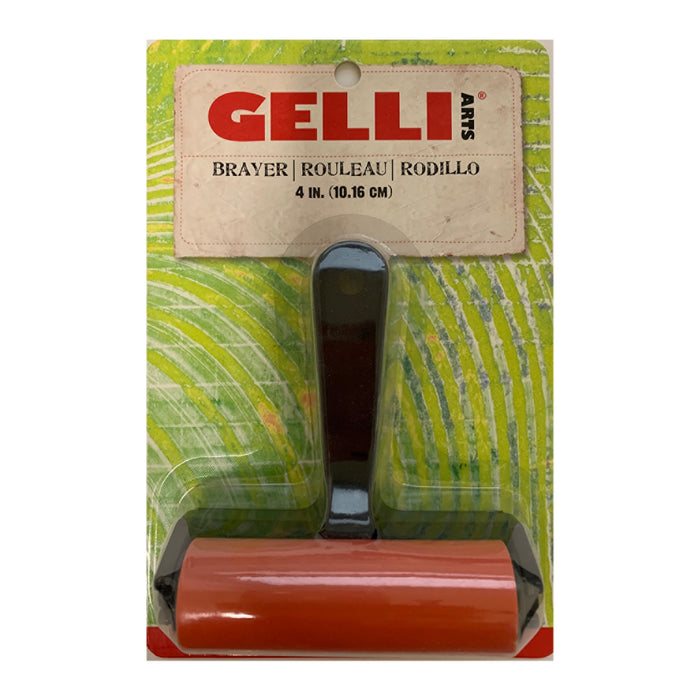
    1. Cover your brayer with paint and then roll the paint over the stencil. Remove the stencil and press the Gelli Arts® gel printing plate paint-side down onto the fabric.
    Lift and check

    Lift and check

    1. Lift up the gel printing plate and determine if the print needs another layer of paint. If so, you can quickly put the stencil back on to the gel printing plate, apply paint again, remove the stencil, and stamp over the previous print.
    2. Wipe the plate clean with a damp cloth or a baby wipe whenever you want to change your paint color.
    Keep printing

    Keep printing

    1. Keep going until you are satisfied with the result!
    Heat set the paint

    Heat set the paint

    1. Leave your gel printed fabric to dry entirely before heat setting the paint with an iron. Consult the label of your fabric paint or fabric medium for the exact instructions.
    2. Be sure to protect your ironing board cover with a cloth or parchment paper before ironing monoprinted fabric. This will prevent the paint from accidentally staining the cover.
    Make the cushion covers

    Make the cushion covers

    1. Voila! Your fabric is ready for further use!
    2. I gel printed enough fabric to cover all of my cushions. I’m not a trained seamstress, so I turned to YouTube and found a ton of cushion cover tutorials that were super helpful. Most of them are easy to follow, even for beginners!
    3. Wishing you a very happy and festive season!
    13video classes

    Like this project? Take the course.

    Your Printmaking Journey · Fall Edition: 13 artists, six weeks, lifetime access. Started October 18. $199, enroll anytime.

    See the course
    Shop this project

    Everything from the store in this lesson

    The three Gelli Arts® items Marsha uses, $51.97 all in.

    Add all 3 to cart

    Project and photography by Marsha Valk for Gelli Arts®. First published on the Gelli Arts® blog in December 2018.

    The course

    Your Printmaking Journey · Fall Edition

    Tania AhmedKim BloombergPhoebe GanderKim HerringeSusan CliftonJessica Russo ScherrGiovanna ZaraMary Beth ShawMaren OatesRobyn McClendonBirgit KoopsenJulia WoningStewart Taylor
    13classes, six weeks

    October 18 to November 28, 2026

    13 artists teaching on video, lifetime access. $199, enroll anytime.

    See the course
    Shop this project$51.97See the kit